- How to Record Your Computer Screen: The 10 Best Programs
- Screen capturing features of your Mac or PC
- How to Record a Video on a Mac
- How to Record a Screen Capture Video on a Windows PC
- The 10 best computer screen recorders
- 1. Movavi Screen Recorder
- 2. Camtasia Studio
- 3. Snagit
- 4. FlashBack
- 5. ScreenFlowScreenFlow
- Best Free Screen Recording Software
- 6. OBS Studio
- 7. iSpring Free Cam
- 8. Icecream Screen Recorder
- 9. FastStone Capture
- 10. UVScreen Camera
- How to Record Screen on PC Using Movavi Screen Recorder
- How to record your screen in Windows 10
- How to record your screen in Windows 10
- How To Record Screen In Windows 10 in 2021 (Without Any Software)
- Steps To Record Screen In Windows 10 in 2021
- Using VLC Media Player
How to Record Your Computer Screen: The 10 Best Programs

 789
789- 8 min
 789
789 8 min
8 min
Show, don’t tell, as the saying goes. In many cases, one video works better than thousands of words. That’s why so many marketers, HR professionals, and managers use screen capture videos to explain how their software works. At the end of the day, many of us know how much easier it is to make a quick video tutorial for our grandparents than to spend an hour on the phone telling them how to use that new program they downloaded.
Looking for a decent screen capturing program? You’ve come to the right place – we’ve gathered information on the 10 best programs to help you with those tasks! But did you know that your laptop or PC also has built-in screen recording features? You might not even need to download another program. Let’s see what your options are.
Screen capturing features of your Mac or PC
If you don’t need to create a fancy video with effects and zooms, you can use the features on your computer. Both Macs and Windows-based devices have built-in screen recording capabilities.
How to Record a Video on a Mac
Use QuickTime Player to make a screen capture video on your Macbook.
1. Open QuickTime Player, choose File and press New Screen Recording. 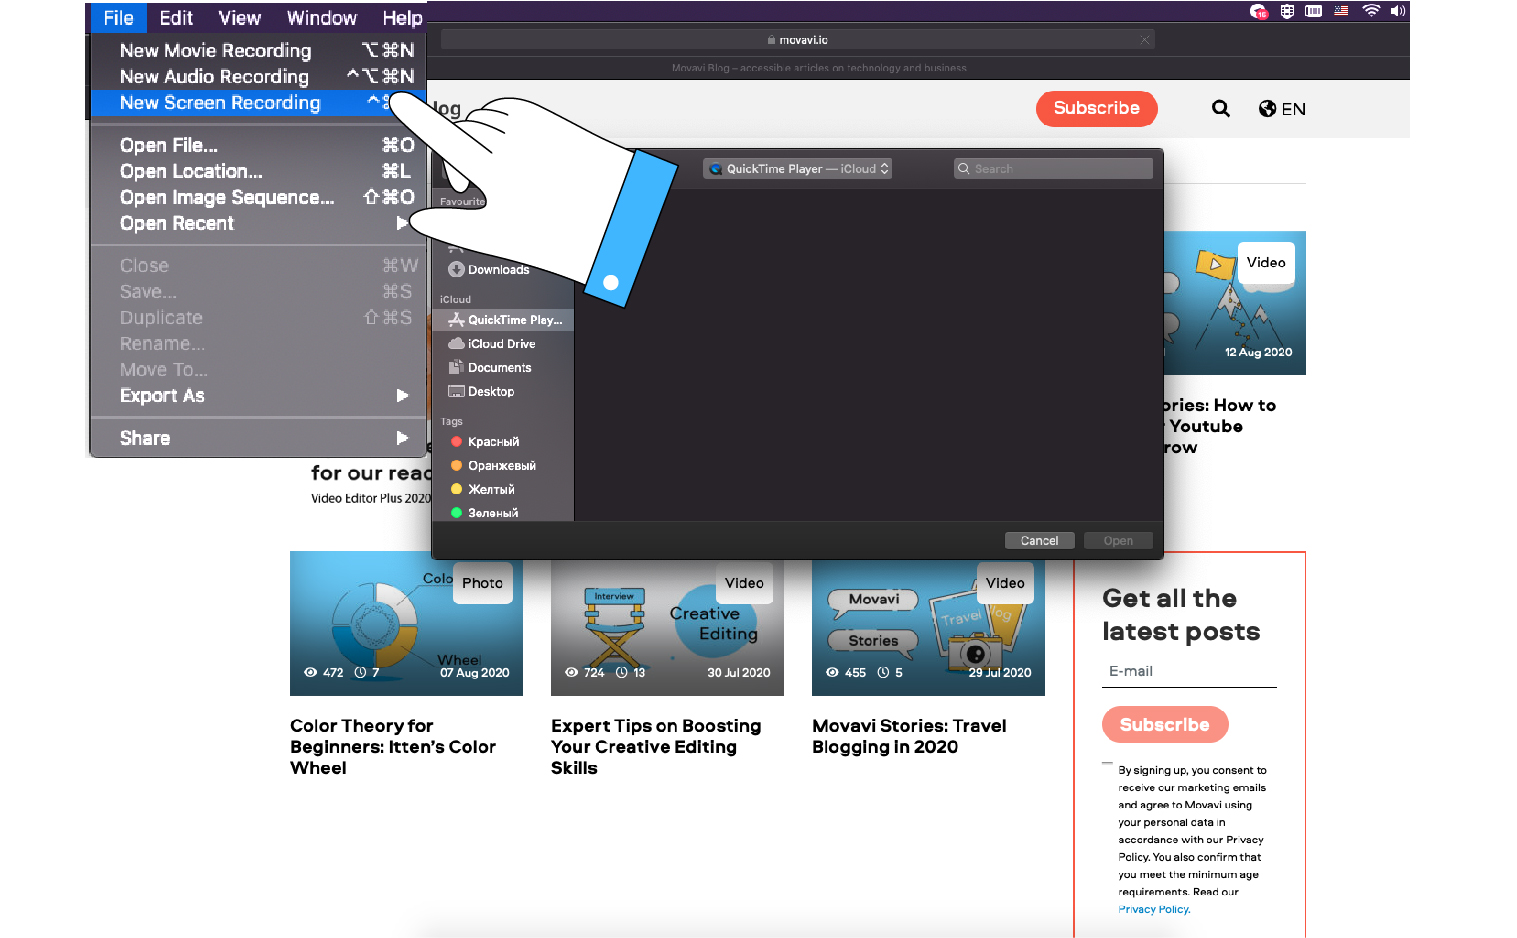
2. In the controller that appears, choose the location where you want to save your recording, set the recording area, and adjust the pointer and sound settings.
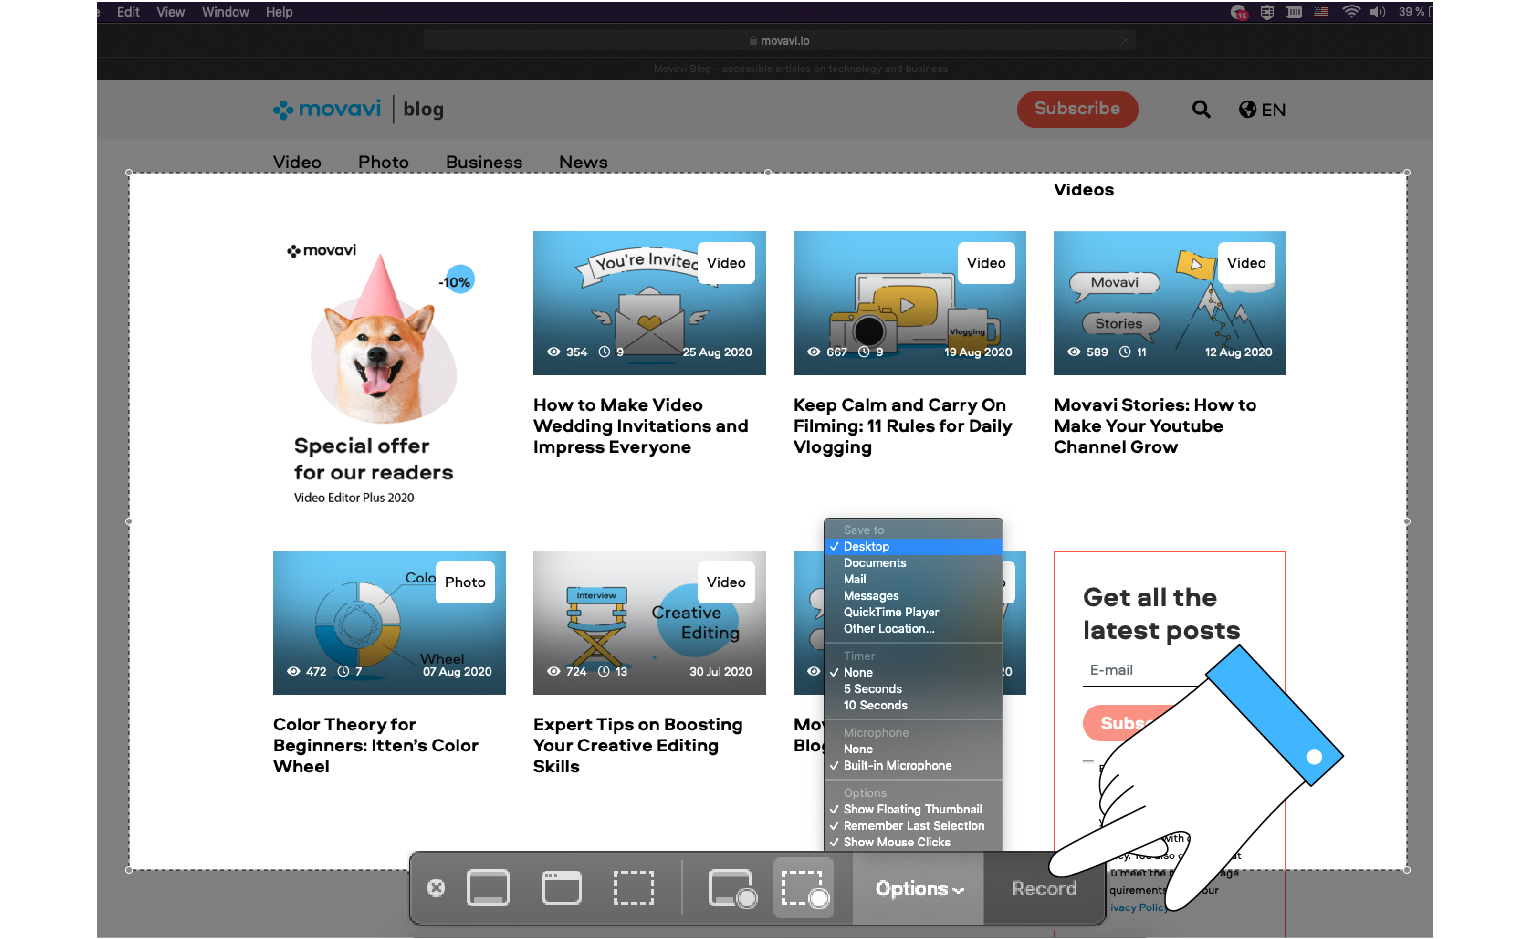
3. Click Record to start recording .
4. To finish recording, click the Stop button in the menu bar.

How to Record a Screen Capture Video on a Windows PC
Here’s how to launch the built-in screen recording app on your Windows 10 PC:
- Open the screen you want to start the recording from and press Win+G. This will open the free Xbox Game Bar app (you don’t need to have Xbox to use it).
- In the Screencast and capture bar that appears, press the Record button to start recording.
- Hit the microphone button if you want to turn on your mic and include commentary.
- Click the red Stop button to end the recording.
The 10 best computer screen recorders
The built-in capabilities on your computer are fine if you need to make a simple video quickly. But if your task is a little bit more complicated, you’re better off using a screen recording program with more features. These come in handy when you want to edit a recorded screencast, capture several areas of your screen at once, or add titles to your video. Don’t worry, there are plenty of applications to choose from. Here are 10 of the best.
1. Movavi Screen Recorder
One of the best screen recording apps out there. The interface is very user-friendly and at the same time, the program has many useful features that will make your video look more professional. With Movavi Screen Recorder, you can schedule your recordings, specify the screencasting area, and quickly edit the video after it’s recorded.
You can download the app for free – it has all the same features as the paid version, but adds a watermark to every video. To avoid this, you can get the full version – don’t forget to use the promo code BLOG for our readers that gives you a 30% discount! Or simply click on one of the buttons below:
Pricing: $27.96 including discount
2. Camtasia Studio

Camtasia is great when you need to do some extra editing on your screencast. Its built-in video editor has many useful features that will take your video to another level. With this app, you can easily apply cool effects, add stock media, and, of course, crop the footage of your screen.
Pricing: $49.75 per year or $249 for a lifetime license for up to 2 computers.
3. Snagit
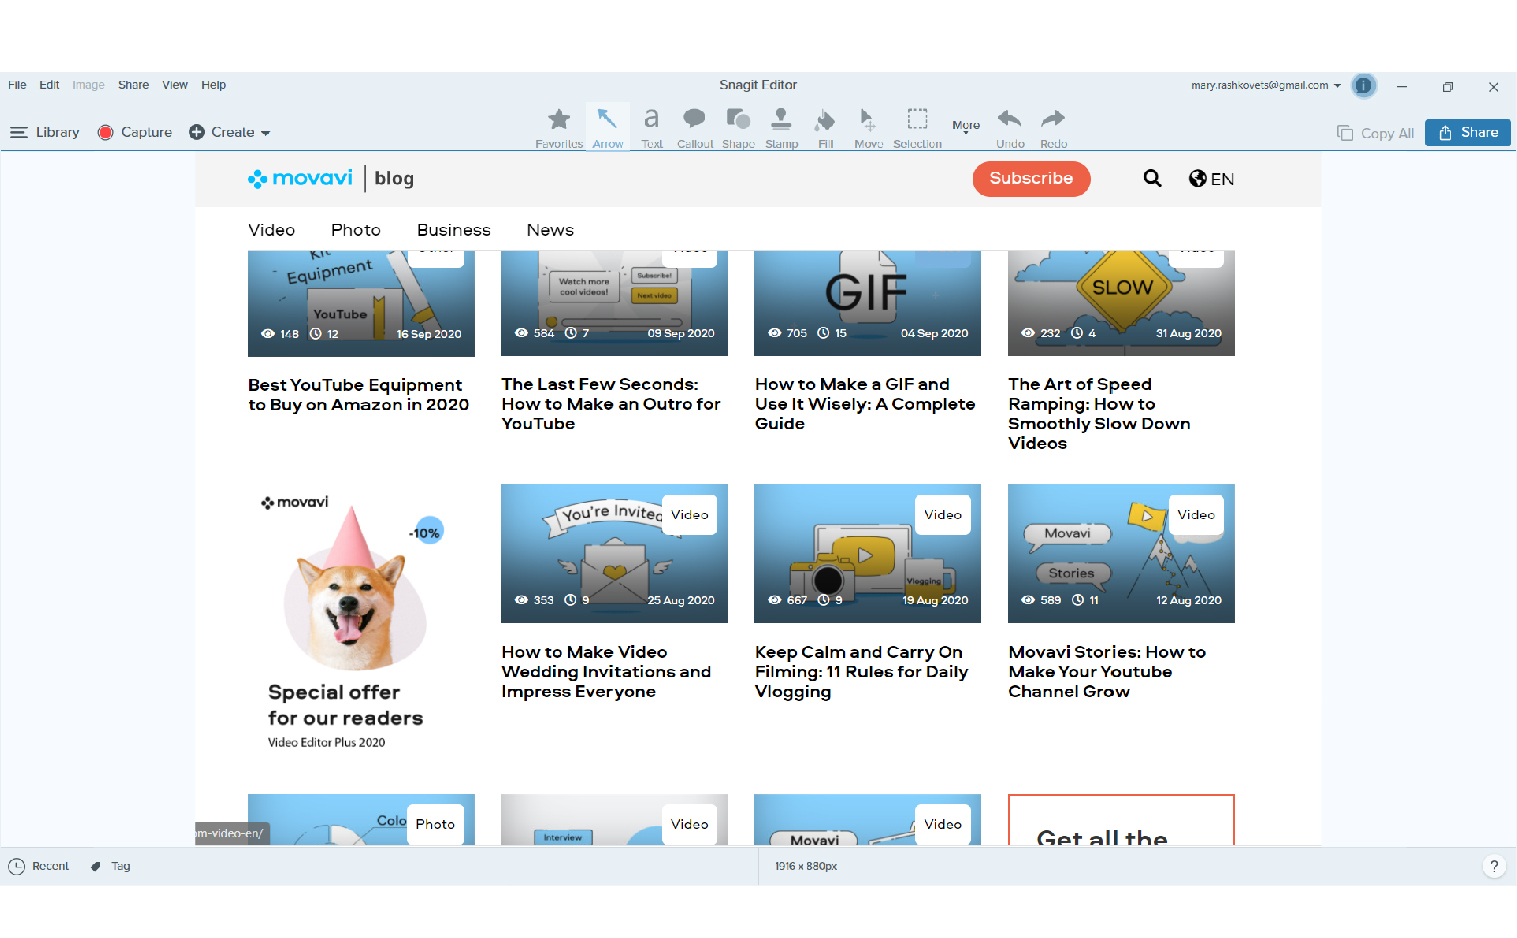
A cool and easy-to-use app from the same developer as Camtasia. This app is focused more on capturing screenshots but gets screencasts done as well. Snagit doesn’t have as many editing tools as Camtasia, though you still can add some stickers and effects to your video. This app might be the solution if you need to quickly make a decent video and share it, but don’t have time for a lot of editing.
Pricing: $12.49 per year or $49.99 for a lifetime license
4. FlashBack
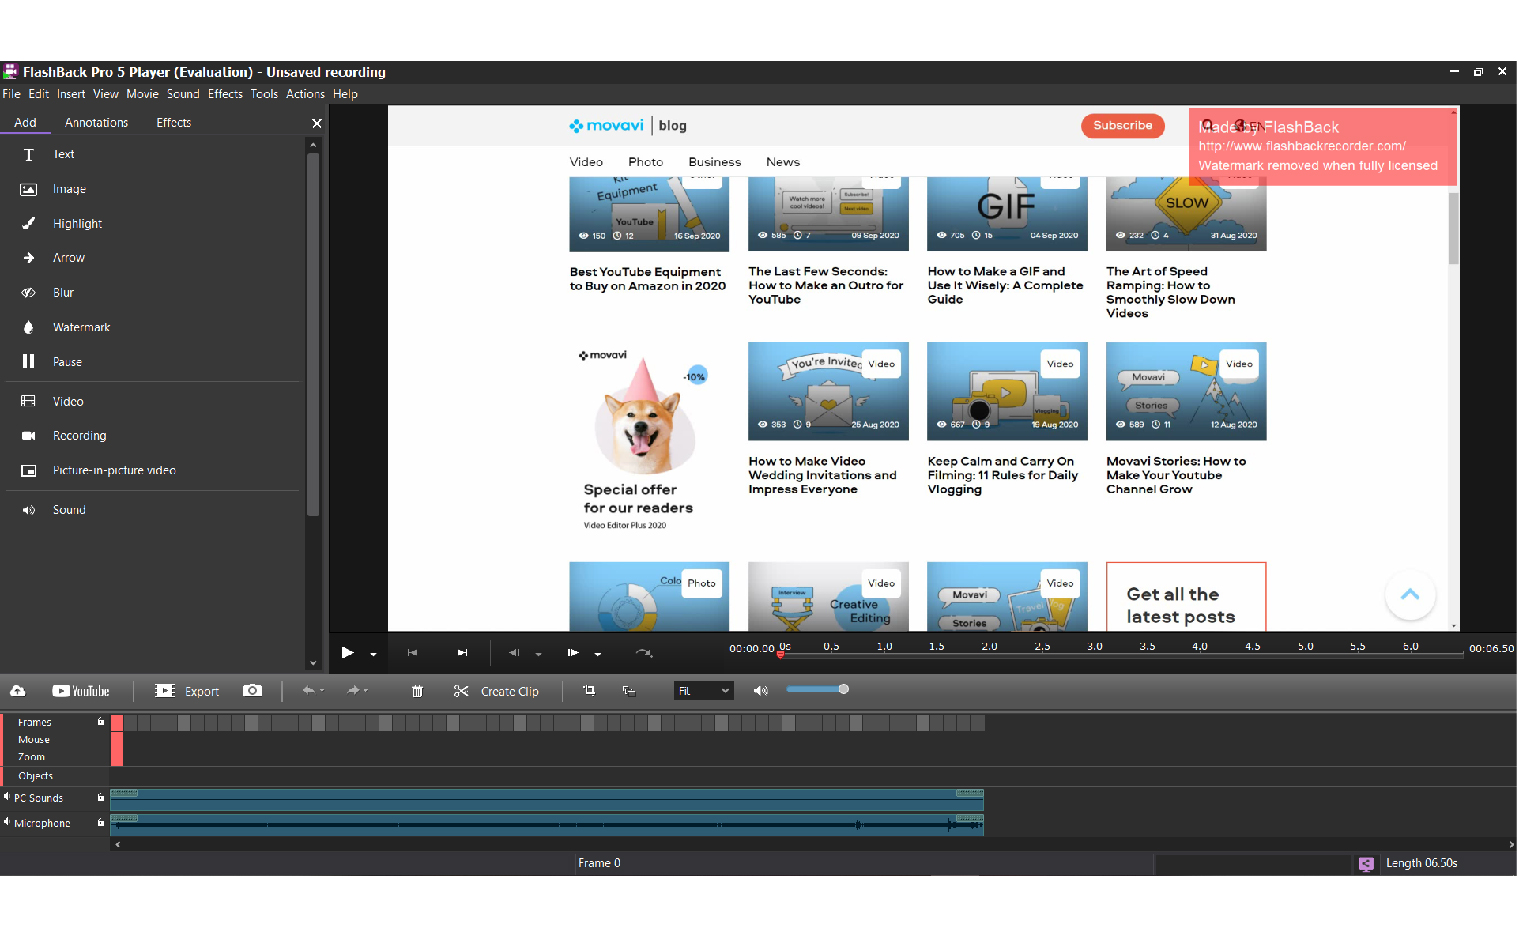
Another great tool to help with your screen recordings. Users say that the voice recording feature of FlachBack is outstanding: the program is easy to navigate and performs well every time. The built-in editor will help you remove background noise and normalize the microphone and system volume to the same level.
The only downside of FlashBack is that it only works on Windows-based computers.
Pricing: $49 one time purchase
5. ScreenFlowScreenFlow
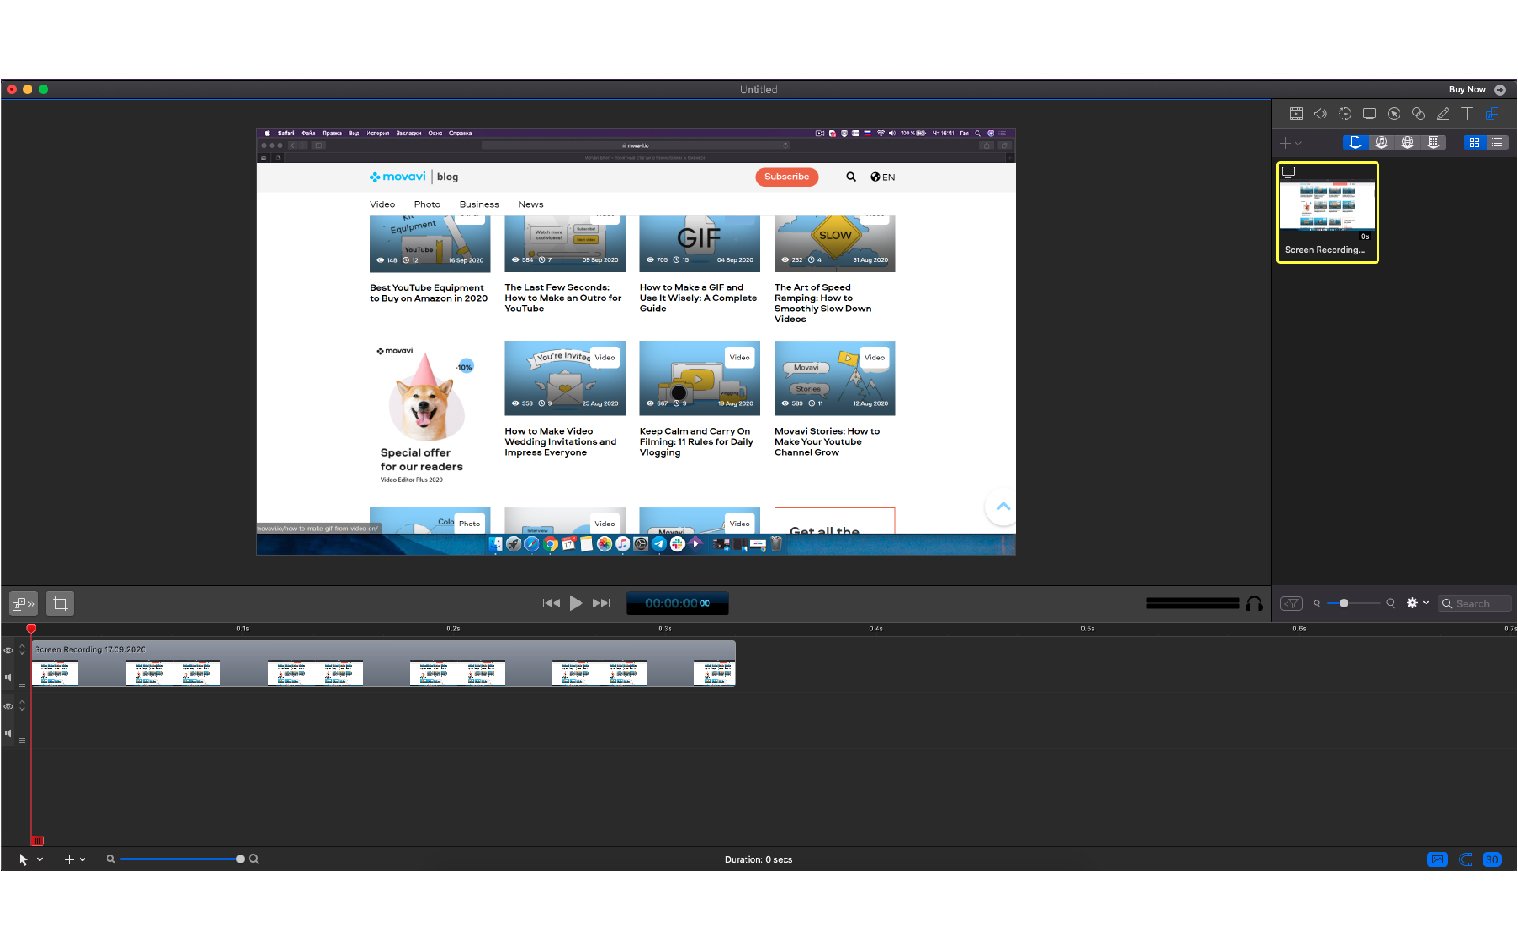
ScreenFlow helps you make very high-quality videos – it can even record your screen at retina resolution! Another great thing about this app is its range of editing tools. The interface is not the most user-friendly, but once you get used to it, you’ll be able to make truly memorable videos. ScreenFlow’s stock library has hundreds of thousands of free-to-use images, audio clips, and videos that will help you create a unique tutorial or webinar. Works only on Mac.
Pricing: $129 one-time purchase
Best Free Screen Recording Software
6. OBS Studio
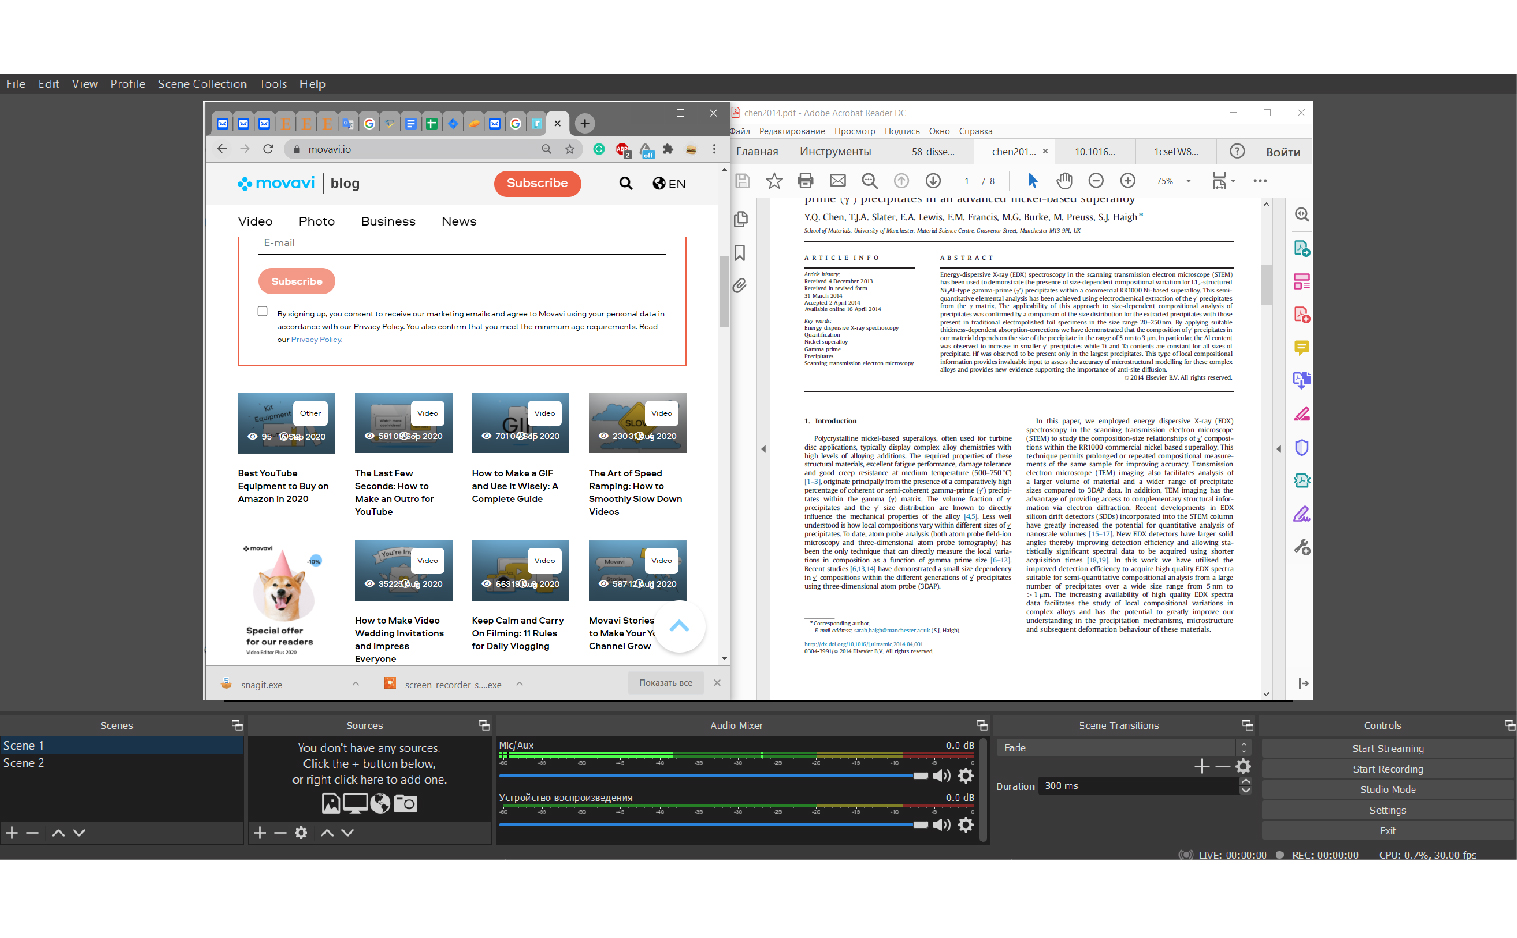
One of the best free screen recording and streaming programs. It does not have a lot of editing tools, but hey, it’s completely free and has everything needed for a decent screencast. You can overlay a webcam video on your recording, adjust the sound and record a specific area of the screen. The only thing about OBS is that it’s not for beginners – the installation process is quite complicated, and the interface is not very user-friendly.
7. iSpring Free Cam
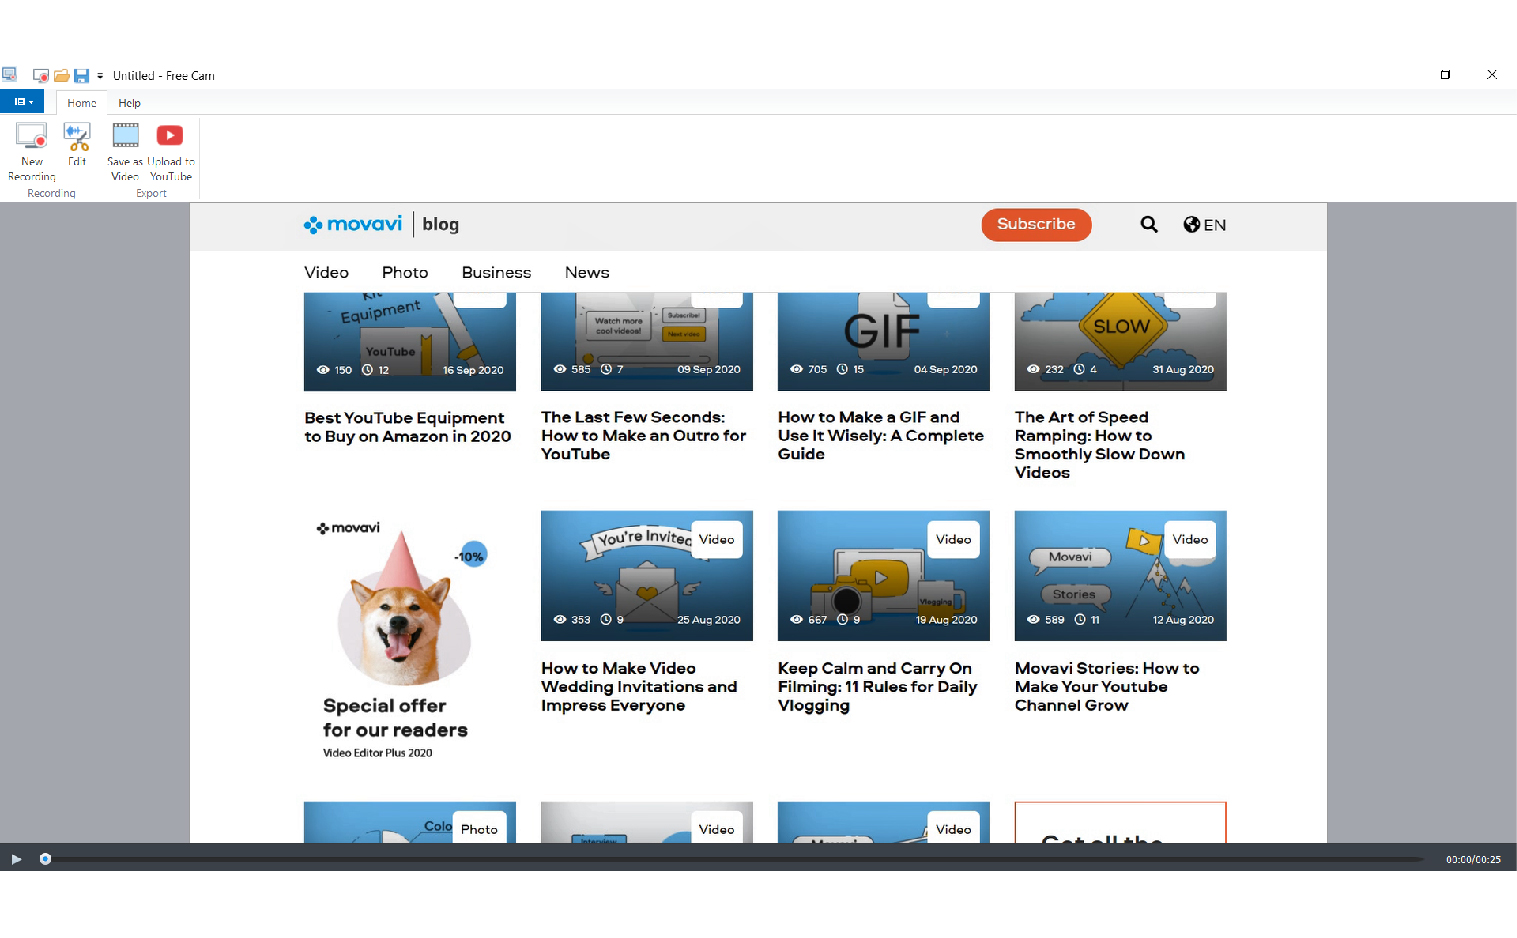
Here’s the one that is best for beginners. iSpring doesn’t have many advanced features, but it has just enough to make your video look good enough for YouTube and other social media platforms. Works only on Windows.
8. Icecream Screen Recorder
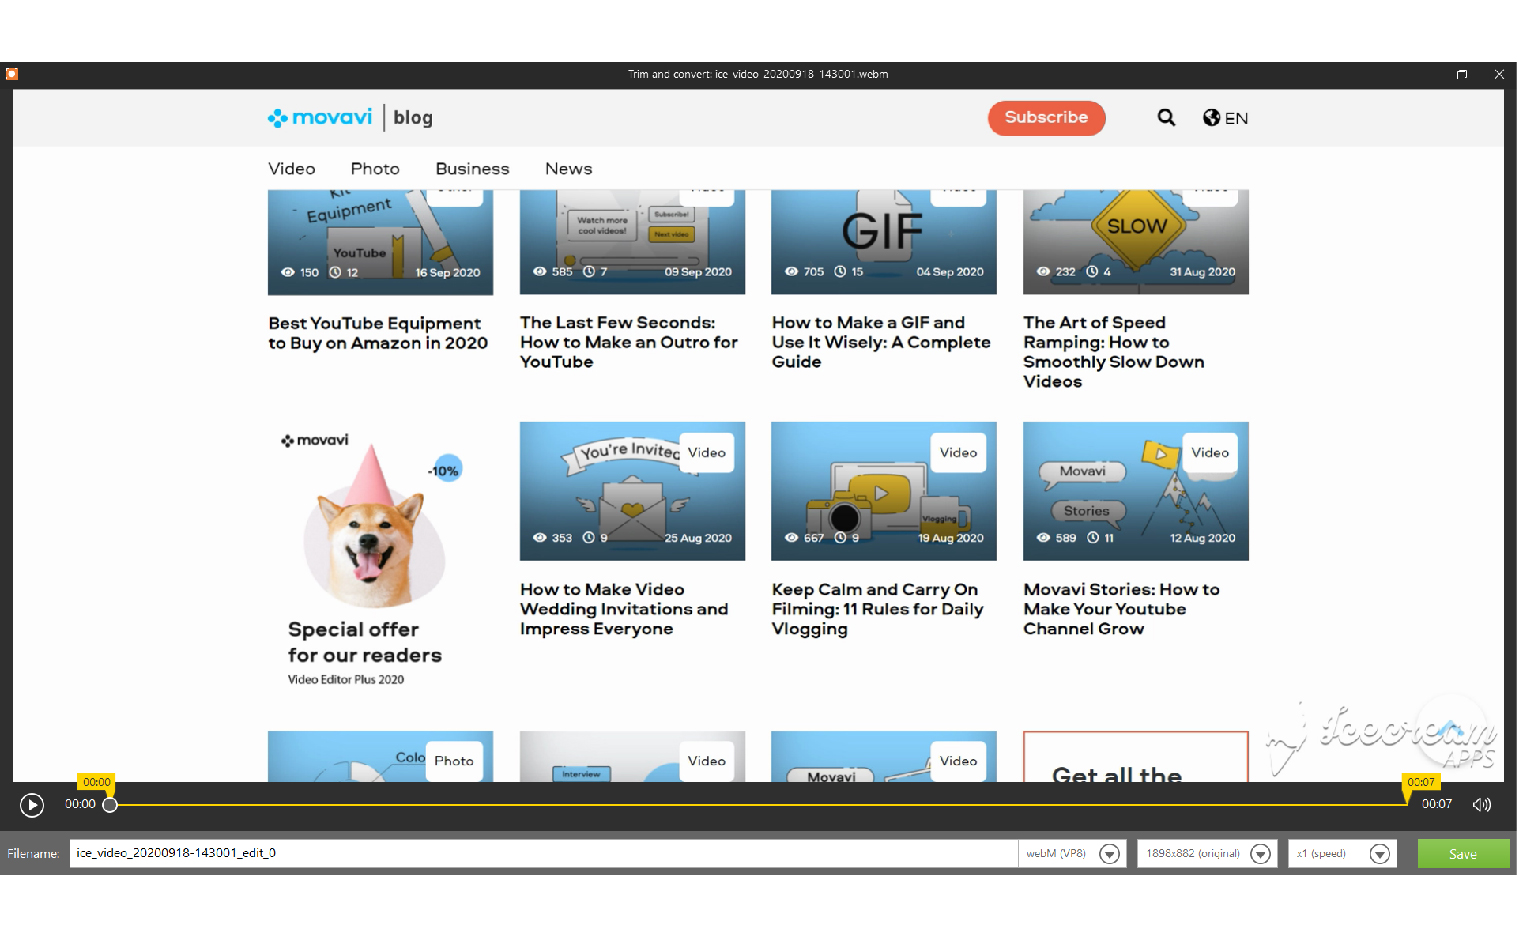
Another simple program that gets things done quickly and with no hassle. With Icecream, you can start the recording in just two clicks. Note that the free version lets you only make videos of less than 5 minutes.
9. FastStone Capture
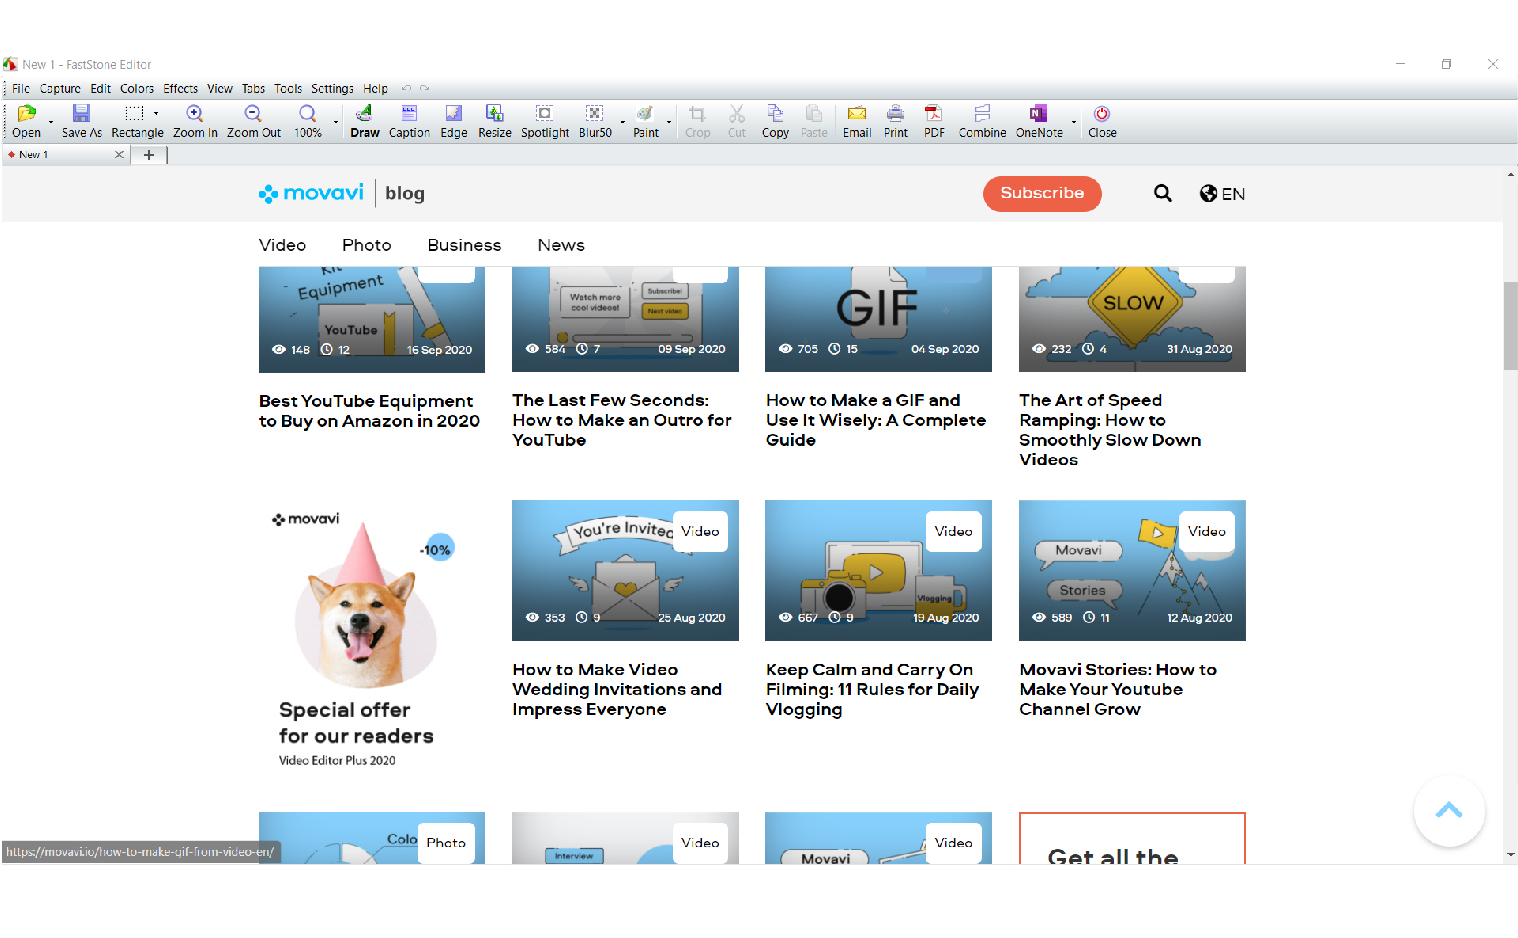
The best thing about FastStone is that it performs well on any desktop or laptop PC – no matter how old and slow it is. It’s a very lightweight program that has all the tools you might need for a quick screen recording. Works only on Windows.
10. UVScreen Camera
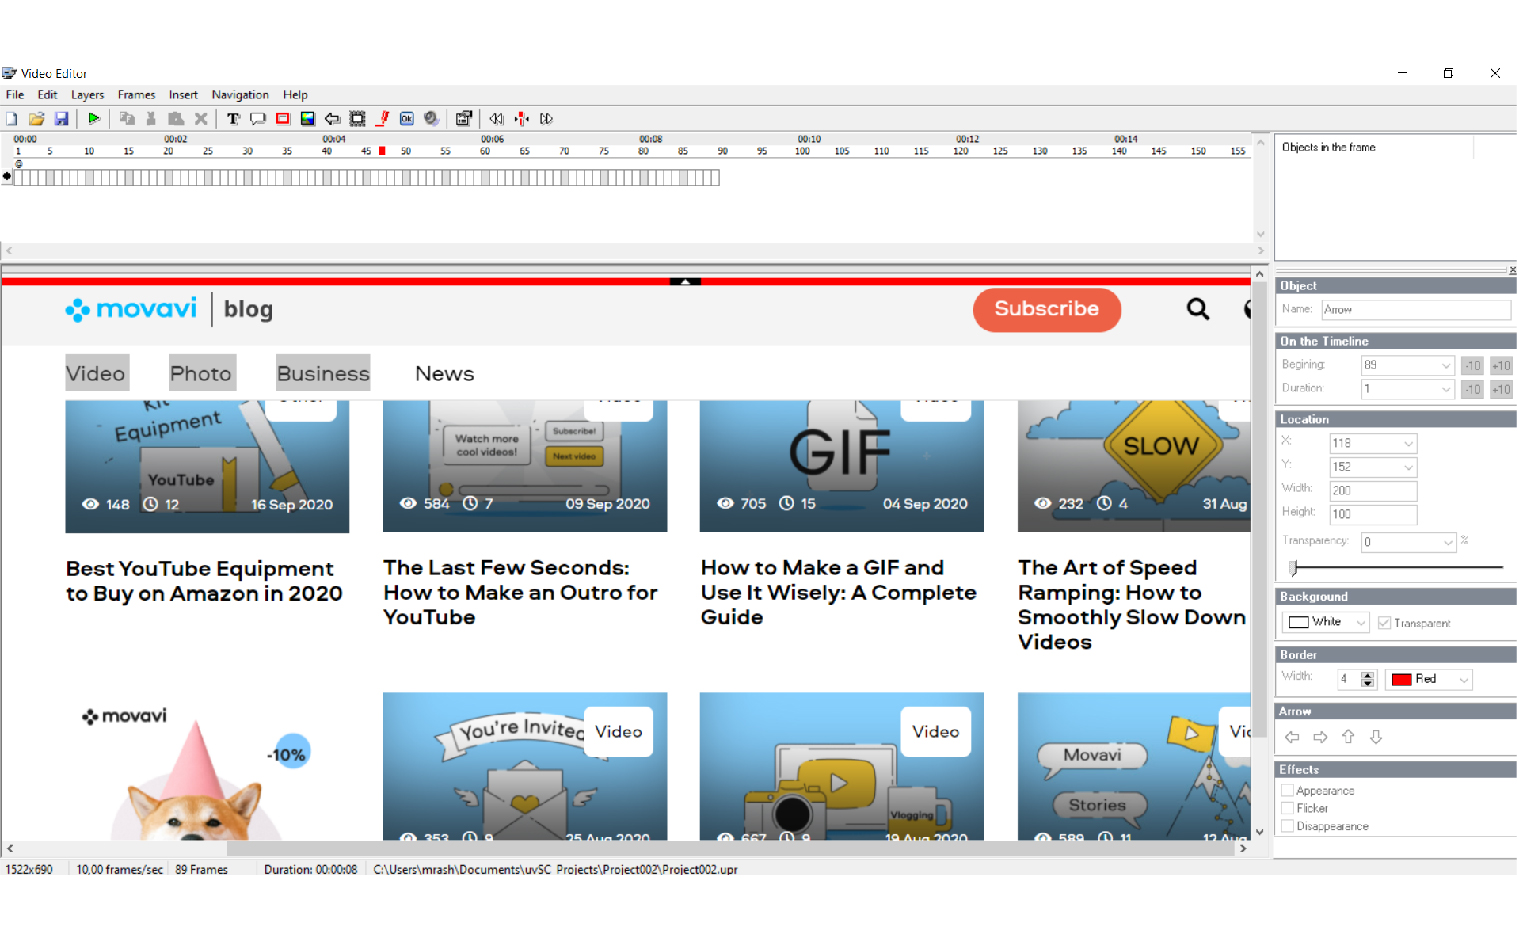
Another great app that will get things done in just one click. The main UVS advantage over FastStone is its user-friendly interface.
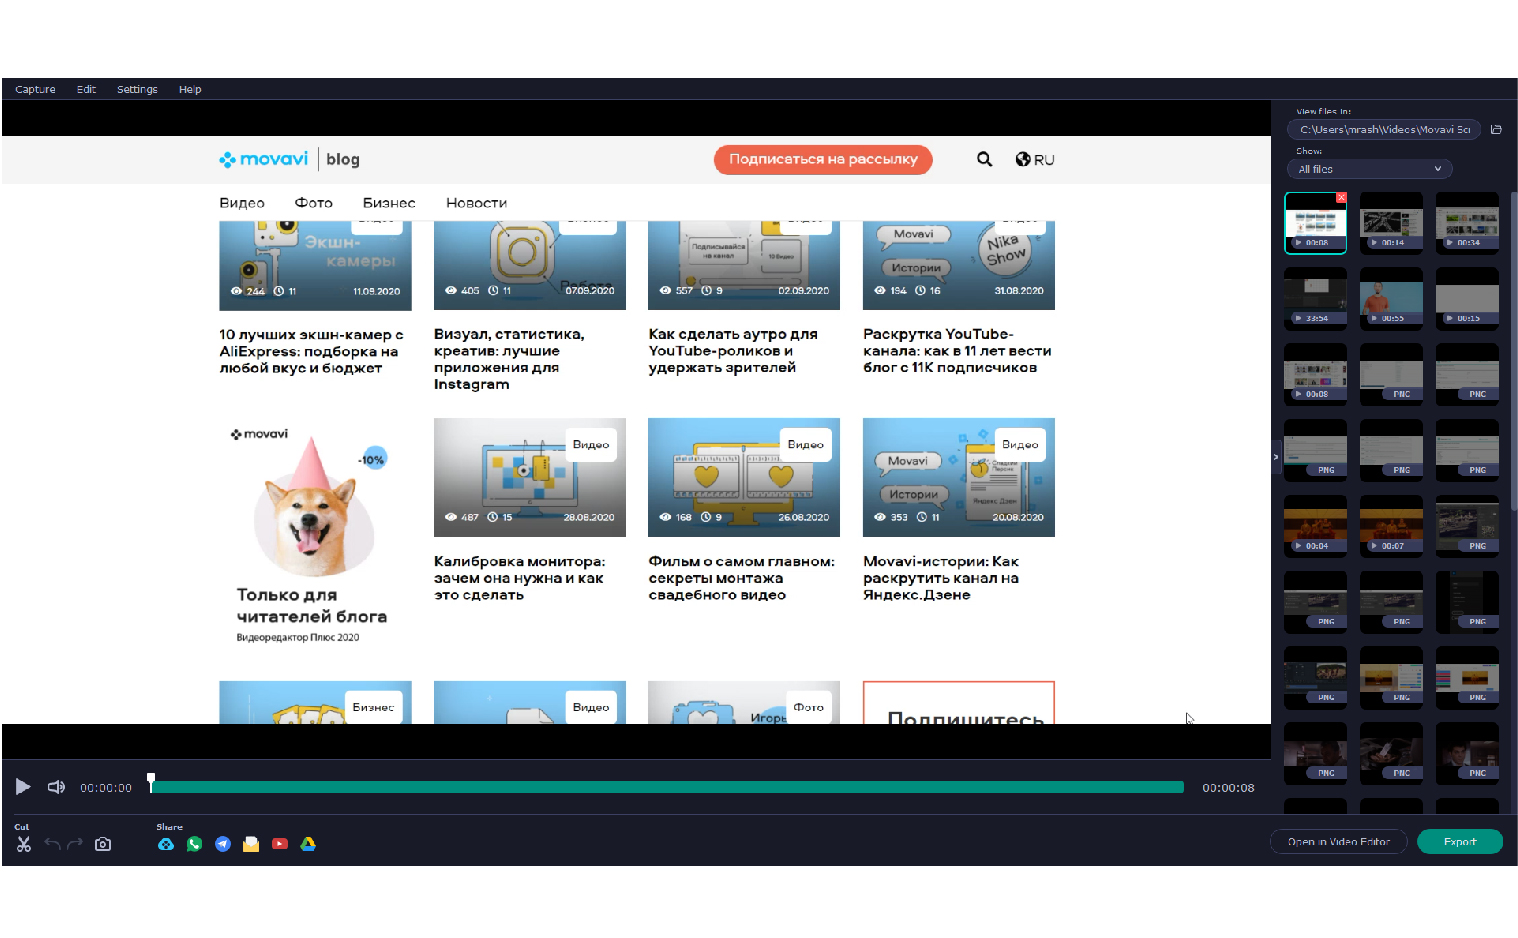
How to Record Screen on PC Using Movavi Screen Recorder
1. Install the program on your computer and launch it.
2. In the right-hand menu, click the video camera button.

3. Select the area you want to record.
4. Use the toolbar in the corner to adjust the sound recording settings.
5. Press the red button to start recording.
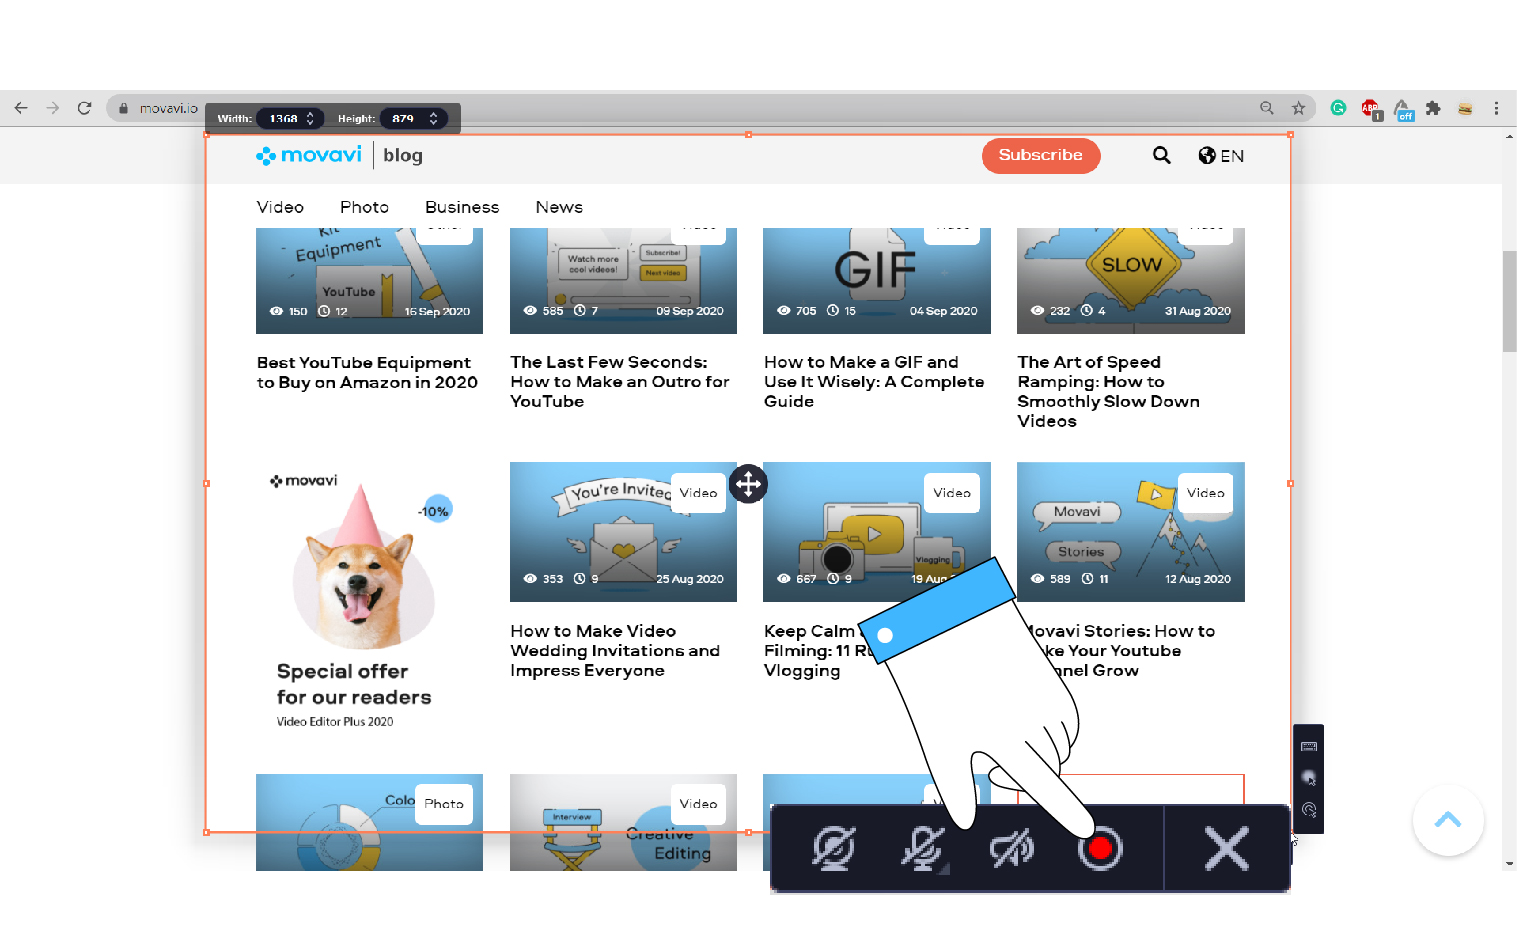
6. To end the recording, hit the Stop button.
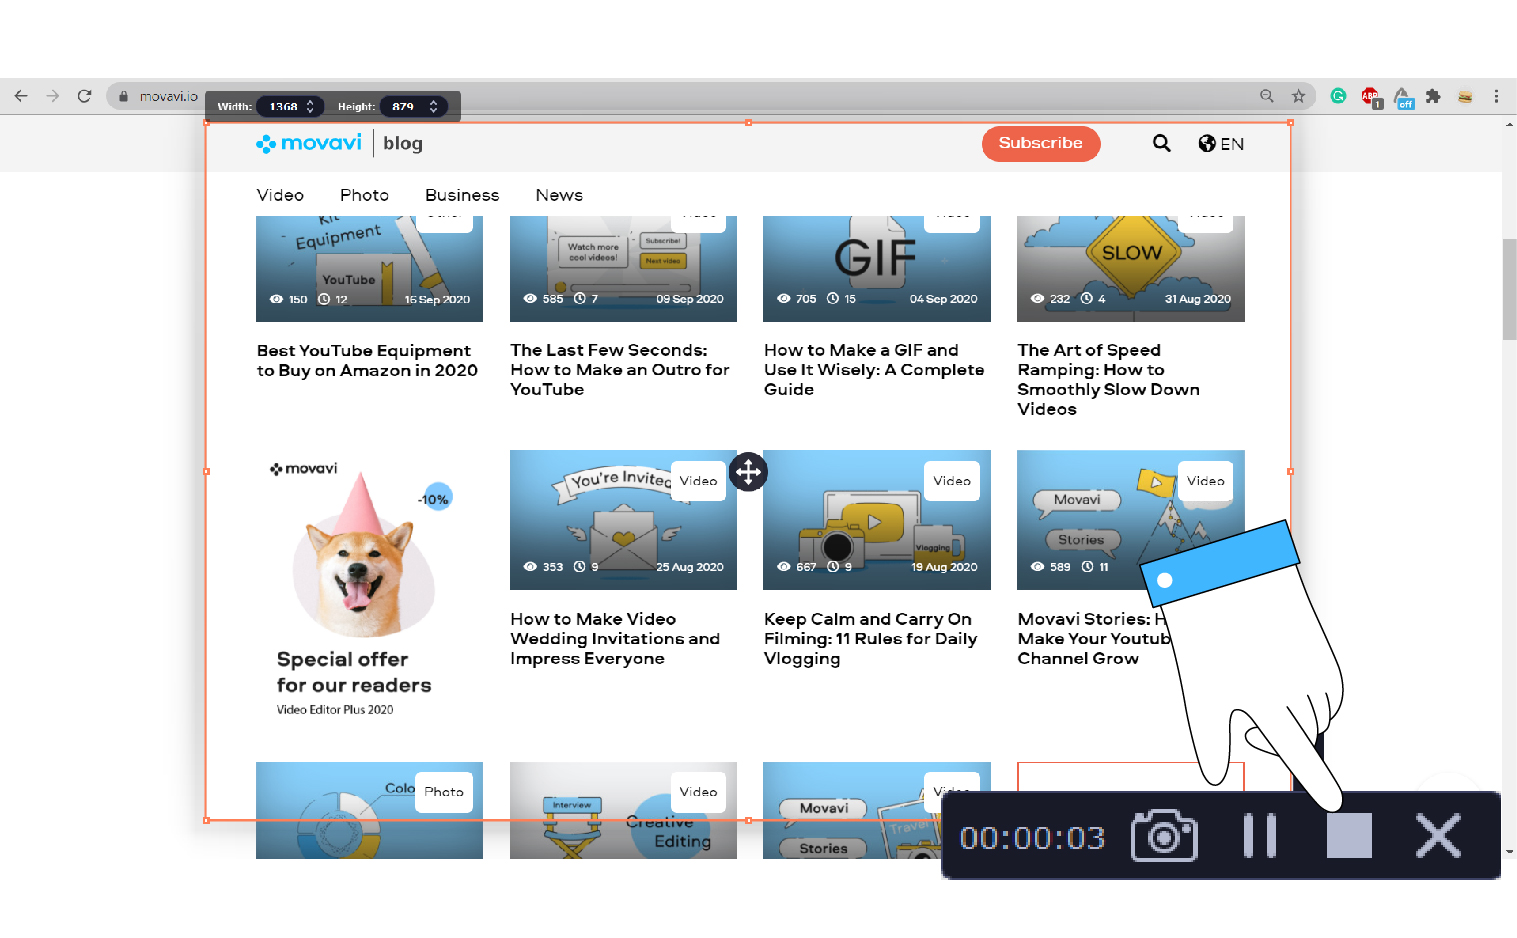
7. Edit your video and save it to your computer.
How to record your screen in Windows 10
By Melanie Pinola 22 December 2020
Save your actions by learning how to record your screen in Windows 10
Did you know Windows 10 has a screen recording utility called the Xbox Game Bar? With it, you can record a video of your actions in just about any Windows app on your laptop, whether you want to capture gameplay or create a tutorial for someone on using Microsoft Office. To make it easier for you, we’ve outlined a few simple steps on how to record your screen in Windows 10.

The screen recording tool is part of the Xbox app that comes installed by default in Windows 10. Xbox Game Bar recently received some major updates to make it more useful, so you can now take screenshots and even make memes.
How to record your screen in Windows 10
1. Open the app you want to record. Unfortunately, the screen recorder tool can’t capture some programs, such as File Manager, or the entire desktop, but it does work in regular apps, whether from the Windows Store or desktop apps.
2. Press the Windows key + G at the same time to open the Game Bar dialog.
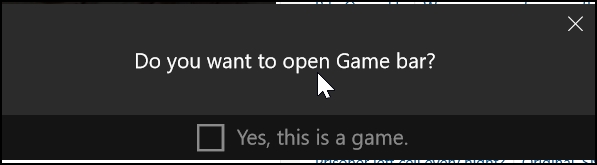
3. Check the «Yes, this is a game» checkbox to load the Game Bar. This is the procedure whether you are screen recording a game or another kind of app.
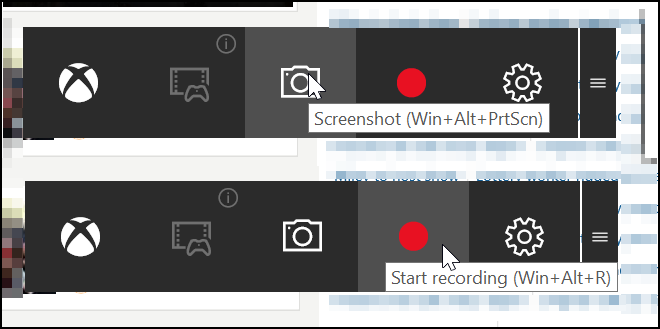
4. Click on the Start Recording button (or Win + Alt + R) to begin capturing video.
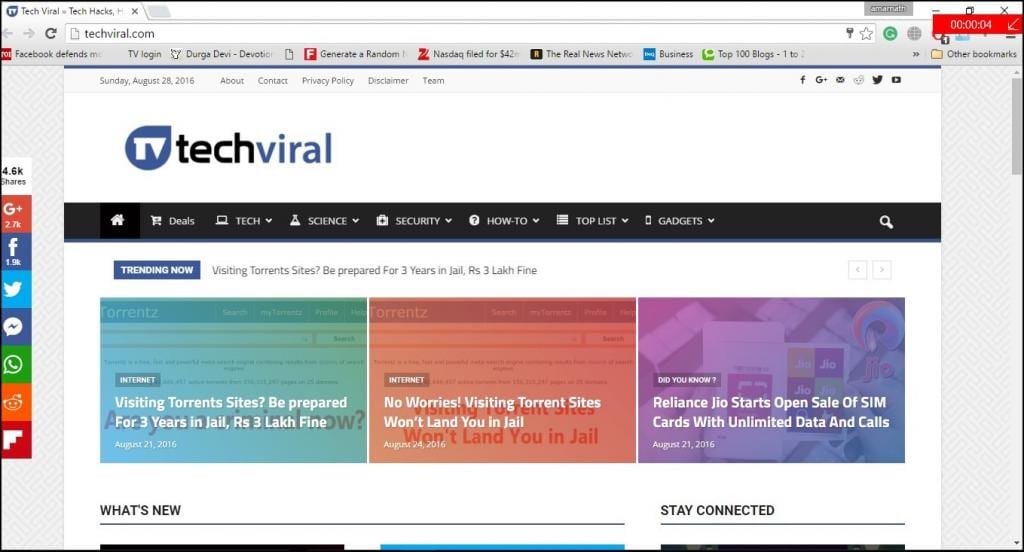
5. Stop the recording by clicking on the red recording bar that will be on the top right of the program window. (If it disappears on you, press Win + G again to bring the Game Bar back.)
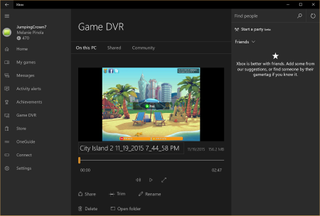
That’s it! You’ll find your recorded videos, which are MP4 files, under the Videos folder in a subfolder called Captures. You’ll also find them in the Xbox app under the Game DVR menu, where you can trim a video and share it on Xbox live (if it’s a game).
Note that you can also use the Xbox screen recording tool to take screenshots. Instead of clicking the recording button, click the camera icon on the Game Bar or Win+Alt+PrtScn.
We hope that this helped, and you could even teach someone else how to screen record in Windows 10.
How To Record Screen In Windows 10 in 2021 (Without Any Software)
You might be using Windows 10 for a while, but that doesn’t mean that you have discovered everything it has to offer. Actually, Windows 10 offers users lots of features, but most remain undiscovered. In this article, we will talk about a hidden feature of Windows 10 that would allow you to record your screen.
To record the screen on Windows 10, users generally need to install third-party software. However, what if I tell you that you can record the Windows 10 screen without installing any additional software? Windows 10 has a hidden screen recording tool built into the Game Bar.
The screen recording tool is specially designed for gamers who want to record their gameplay videos. In this article, we will share a working method that would help you record Windows 10 screens easily. So, let’s check out how to Record a screen in Windows 10 without using any software.
Steps To Record Screen In Windows 10 in 2021
The method is straightforward, and you need to use some shortcut keys on your keyboard. Windows 10 will display the game bar you will use to record the screen. So follow the complete steps below.
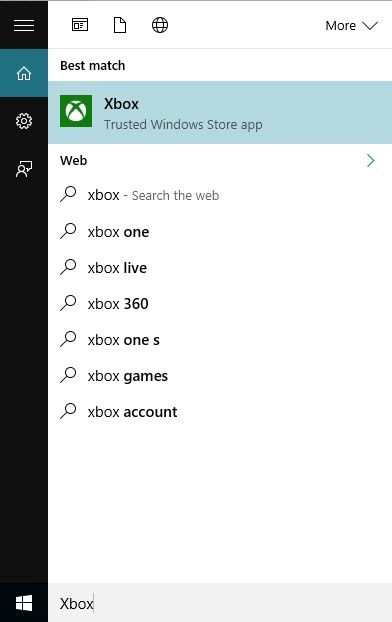
Step 1. First of all, in your Windows 10, click on start and then type “Xbox app” and then open the Xbox app.
Step 2. Now in the Xbox app, you have to press a keyboard that is “win+G” this can be done on the screen you want to record. Now, as soon as you press this combination, the popup will appear, asking you that it is a game? Simple click on Yes, it is a game.
Step 3. Now you will see few options that are “Screenshot,” “Start Recording,” and “Settings.”
Step 4. Now select the Start recording button, and the recording will get started, and you can stop recording when you are done.
By default, all your recordings get saved to the folder
“C/Users/Videos/Captures“.
That’s it! You are done; now, you can easily record the screen with this cool trick that will not need any third-party tool. You can also choose out the screenshot feature in this game bar tool.
Using VLC Media Player
Well, VLC Media Player is software, and the reason I had mentioned VLC Media player is that almost everyone uses it. With the VLC Media player’s help, you can record the screen without any external third-party recording software. You can use this method in Windows 7,8, and 10. Let’s know how to record the screen using the VLC media player.
Step 1. First of all, download and install VLC Media Player on your Windows computer if you don’t have one.
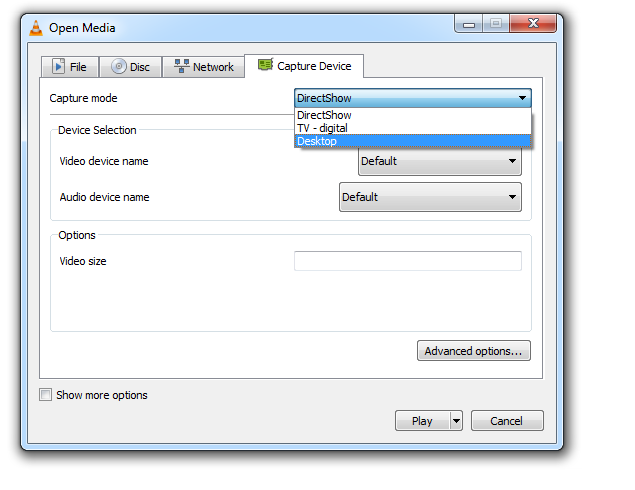
Step 2. Now launch the VLC media player, click on “Media,” and then select “Open Capture Device.”

Step 3. Under Capture mode, you need to click on the drop-down and then select desktop.
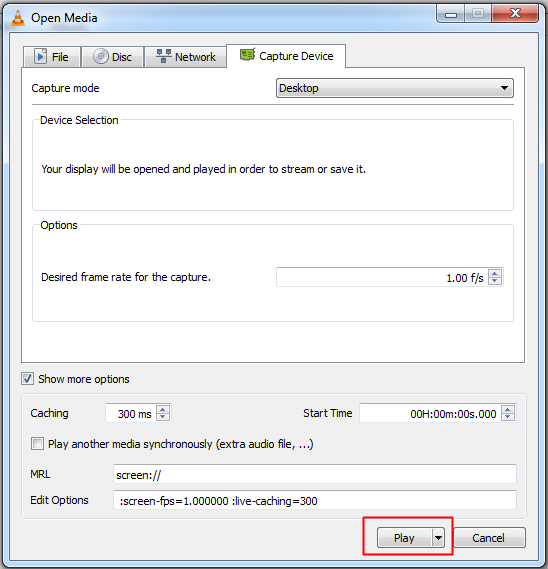
Step 4. Set all other options according to your wish, and then click on the “Play” button.
Step 5. Now you need to click on the “Stop” button.
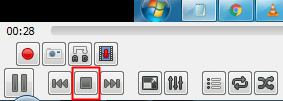
Step 6. Now you will see the screen like below. Here you need to right-click on your recording and select the option “Save,” and save it to your desired location.

That’s it! You are done. This VLC media player method works with every Windows version. You don’t need any additional software to record your desktop screen.
So, this is all about Windows 10 screen recording. We have shared the two best methods to record Windows 10 screen. If you don’t want to go through all hassle and want a straightforward way to record Windows 10 screen, you need to visit our article Best Screen Recording Software For Windows. I hope this article helped you! Please share it with others also.


