- Windows Forms overview
- Windows Forms and smart client apps
- Build rich, interactive user interfaces
- Create forms and controls
- Display and manipulate data
- Display and manipulate data
- Deploy apps to client computers
- Deploy ClickOnce apps
- Other controls and features
- Implement other controls and features
- Создание приложения Windows Forms на C# в Visual Studio Create a Windows Forms app in Visual Studio with C#
- Создание проекта Create a project
- Создание приложения Create the application
- Добавление кнопки на форму Add a button to the form
- Добавление метки на форму Add a label to the form
- Добавление кода на форму Add code to the form
- Запуск приложения Run the application
- Следующие шаги Next steps
Windows Forms overview
The following overview discusses the advantages of smart client applications, the main features of Windows Forms programming, and how you can use Windows Forms to build smart clients that meet the needs of today’s enterprises and end users.
Windows Forms and smart client apps
With Windows Forms you develop smart clients. Smart clients are graphically rich applications that are easy to deploy and update, can work when they are connected to or disconnected from the Internet, and can access resources on the local computer in a more secure manner than traditional Windows-based applications.
Build rich, interactive user interfaces
Windows Forms is a smart client technology for the .NET Framework, a set of managed libraries that simplify common application tasks such as reading and writing to the file system. When you use a development environment like Visual Studio, you can create Windows Forms smart-client applications that display information, request input from users, and communicate with remote computers over a network.
In Windows Forms, a form is a visual surface on which you display information to the user. You ordinarily build Windows Forms applications by adding controls to forms and developing responses to user actions, such as mouse clicks or key presses. A control is a discrete user interface (UI) element that displays data or accepts data input.
When a user does something to your form or one of its controls, the action generates an event. Your application reacts to these events by using code, and processes the events when they occur. For more information, see Creating Event Handlers in Windows Forms.
Windows Forms contains a variety of controls that you can add to forms: controls that display text boxes, buttons, drop-down boxes, radio buttons, and even Web pages. For a list of all the controls you can use on a form, see Controls to Use on Windows Forms. If an existing control does not meet your needs, Windows Forms also supports creating your own custom controls using the UserControl class.
Windows Forms has rich UI controls that emulate features in high-end applications like Microsoft Office. When you use the ToolStrip and MenuStrip control, you can create toolbars and menus that contain text and images, display submenus, and host other controls such as text boxes and combo boxes.
With the drag-and-drop Windows Forms Designer in Visual Studio, you can easily create Windows Forms applications. Just select the controls with your cursor and add them where you want on the form. The designer provides tools such as gridlines and snap lines to take the hassle out of aligning controls. And whether you use Visual Studio or compile at the command line, you can use the FlowLayoutPanel, TableLayoutPanel and SplitContainer controls to create advanced form layouts in less time.
Finally, if you must create your own custom UI elements, the System.Drawing namespace contains a large selection of classes to render lines, circles, and other shapes directly on a form.
Windows Forms controls are not designed to be marshaled across application domains. For this reason, Microsoft does not support passing a Windows Forms control across an AppDomain boundary, even though the Control base type of MarshalByRefObject would seem to indicate that this is possible. Windows Forms applications that have multiple application domains are supported as long as no Windows Forms controls are passed across application domain boundaries.
Create forms and controls
For step-by-step information about how to use these features, see the following Help topics.
| Description | Help topic |
|---|---|
| Using controls on forms | How to: Add Controls to Windows Forms |
| Using the ToolStrip Control | How to: Create a Basic ToolStrip with Standard Items Using the Designer |
| Creating graphics with System.Drawing | Getting Started with Graphics Programming |
| Creating custom controls | How to: Inherit from the UserControl Class |
Display and manipulate data
Many applications must display data from a database, XML file, XML Web service, or other data source. Windows Forms provides a flexible control that is named the DataGridView control for displaying such tabular data in a traditional row and column format, so that every piece of data occupies its own cell. When you use DataGridView, you can customize the appearance of individual cells, lock arbitrary rows and columns in place, and display complex controls inside cells, among other features.
Connecting to data sources over a network is a simple task with Windows Forms smart clients. The BindingSource component represents a connection to a data source, and exposes methods for binding data to controls, navigating to the previous and next records, editing records, and saving changes back to the original source. The BindingNavigator control provides a simple interface over the BindingSource component for users to navigate between records.
You can create data-bound controls easily by using the Data Sources window. The window displays data sources such as databases, Web services, and objects in your project. You can create data-bound controls by dragging items from this window onto forms in your project. You can also data-bind existing controls to data by dragging objects from the Data Sources window onto existing controls.
Another type of data binding you can manage in Windows Forms is settings. Most smart client applications must retain some information about their run-time state, such as the last-known size of forms, and retain user preference data, such as default locations for saved files. The Application Settings feature addresses these requirements by providing an easy way to store both types of settings on the client computer. After you define these settings by using either Visual Studio or a code editor, the settings are persisted as XML and automatically read back into memory at run time.
Display and manipulate data
For step-by-step information about how to use these features, see the following Help topics.
| Description | Help topic |
|---|---|
| Using the BindingSource component | How to: Bind Windows Forms Controls with the BindingSource Component Using the Designer |
| Working with ADO.NET data sources | How to: Sort and Filter ADO.NET Data with the Windows Forms BindingSource Component |
| Using the Data Sources window | Bind Windows Forms controls to data in Visual Studio |
| Using application settings | How to: Create Application Settings |
Deploy apps to client computers
After you have written your application, you must send the application to your users so that they can install and run it on their own client computers. When you use the ClickOnce technology, you can deploy your applications from within Visual Studio by using just a few clicks, and provide your users with a URL pointing to your application on the Web. ClickOnce manages all the elements and dependencies in your application, and ensures that the application is correctly installed on the client computer.
ClickOnce applications can be configured to run only when the user is connected to the network, or to run both online and offline. When you specify that an application should support offline operation, ClickOnce adds a link to your application in the user’s Start menu. The user can then open the application without using the URL.
When you update your application, you publish a new deployment manifest and a new copy of your application to your Web server. ClickOnce will detect that there is an update available and upgrade the user’s installation; no custom programming is required to update old assemblies.
Deploy ClickOnce apps
For a full introduction to ClickOnce, see ClickOnce Security and Deployment. For step-by-step information about how to use these features, see the following Help topics,
| Description | Help topic |
|---|---|
| Deploying an application by using ClickOnce | How to: Publish a ClickOnce Application using the Publish Wizard Walkthrough: Manually Deploying a ClickOnce Application |
| Updating a ClickOnce deployment | How to: Manage Updates for a ClickOnce Application |
| Managing security with ClickOnce | How to: Enable ClickOnce Security Settings |
Other controls and features
There are many other features in Windows Forms that make implementing common tasks fast and easy, such as support for creating dialog boxes, printing, adding Help and documentation, and localizing your application to multiple languages. Additionally, Windows Forms relies on the robust security system of the .NET Framework. With this system, you can release more secure applications to your customers.
Implement other controls and features
For step-by-step information about how to use these features, see the following Help topics.
Создание приложения Windows Forms на C# в Visual Studio Create a Windows Forms app in Visual Studio with C#
В рамках этого краткого знакомства с возможностями интегрированной среды разработки Visual Studio (IDE) вы создадите простое приложение на C# с пользовательским интерфейсом на основе Windows. In this short introduction to the Visual Studio integrated development environment (IDE), you’ll create a simple C# application that has a Windows-based user interface (UI).
Установите Visual Studio бесплатно со страницы скачиваемых материалов Visual Studio, если еще не сделали этого. If you haven’t already installed Visual Studio, go to the Visual Studio downloads page to install it for free.
Установите Visual Studio бесплатно со страницы скачиваемых материалов Visual Studio, если еще не сделали этого. If you haven’t already installed Visual Studio, go to the Visual Studio downloads page to install it for free.
На некоторых снимках экрана в этом учебнике используется темная тема. Some of the screenshots in this tutorial use the dark theme. Если вы не используете темную тему, но хотите переключиться на нее, см. страницу Персонализация интегрированной среды разработки и редактора Visual Studio. If you aren’t using the dark theme but would like to, see the Personalize the Visual Studio IDE and Editor page to learn how.
Создание проекта Create a project
Сначала вы создадите проект приложения на C#. First, you’ll create a C# application project. Для этого типа проекта уже имеются все нужные файлы шаблонов, что избавляет вас от лишней работы. The project type comes with all the template files you’ll need, before you’ve even added anything.
Откройте Visual Studio 2017. Open Visual Studio 2017.
В верхней строке меню последовательно выберите Файл > Создать > Проект. From the top menu bar, choose File > New > Project.
В левой области диалогового окна Новый проект разверните узел Visual C# и выберите Рабочий стол Windows. In the New Project dialog box in the left pane, expand Visual C#, and then choose Windows Desktop. На средней панели выберите Приложение Windows Forms (.NET Framework) . In the middle pane, choose Windows Forms App (.NET Framework). Назовите файл HelloWorld . Then name the file HelloWorld .
Если шаблон проекта Приложение Windows Forms (.NET Framework) отсутствует, закройте диалоговое окно Новый проект и в верхней строке меню выберите Сервис > Получить средства и компоненты. If you don’t see the Windows Forms App (.NET Framework) project template, cancel out of the New Project dialog box and from the top menu bar, choose Tools > Get Tools and Features. Запускается Visual Studio Installer. The Visual Studio Installer launches. Выберите рабочую нагрузку .Разработка классических приложений .NET и затем элемент Изменить. Choose the .NET desktop development workload, then choose Modify.

Запустите Visual Studio 2019. Open Visual Studio 2019.
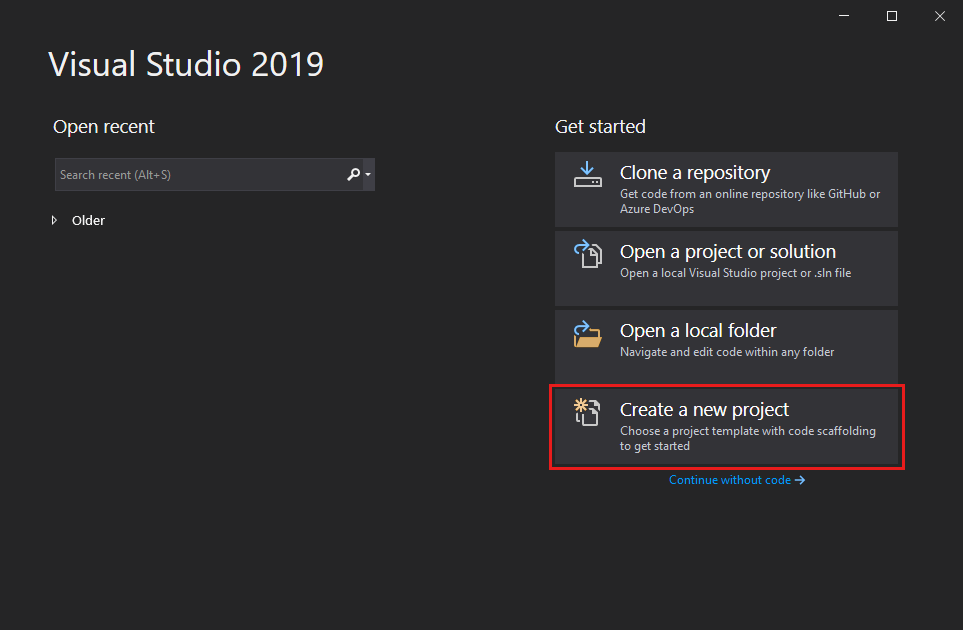
На начальном экране выберите Создать проект. On the start window, choose Create a new project.
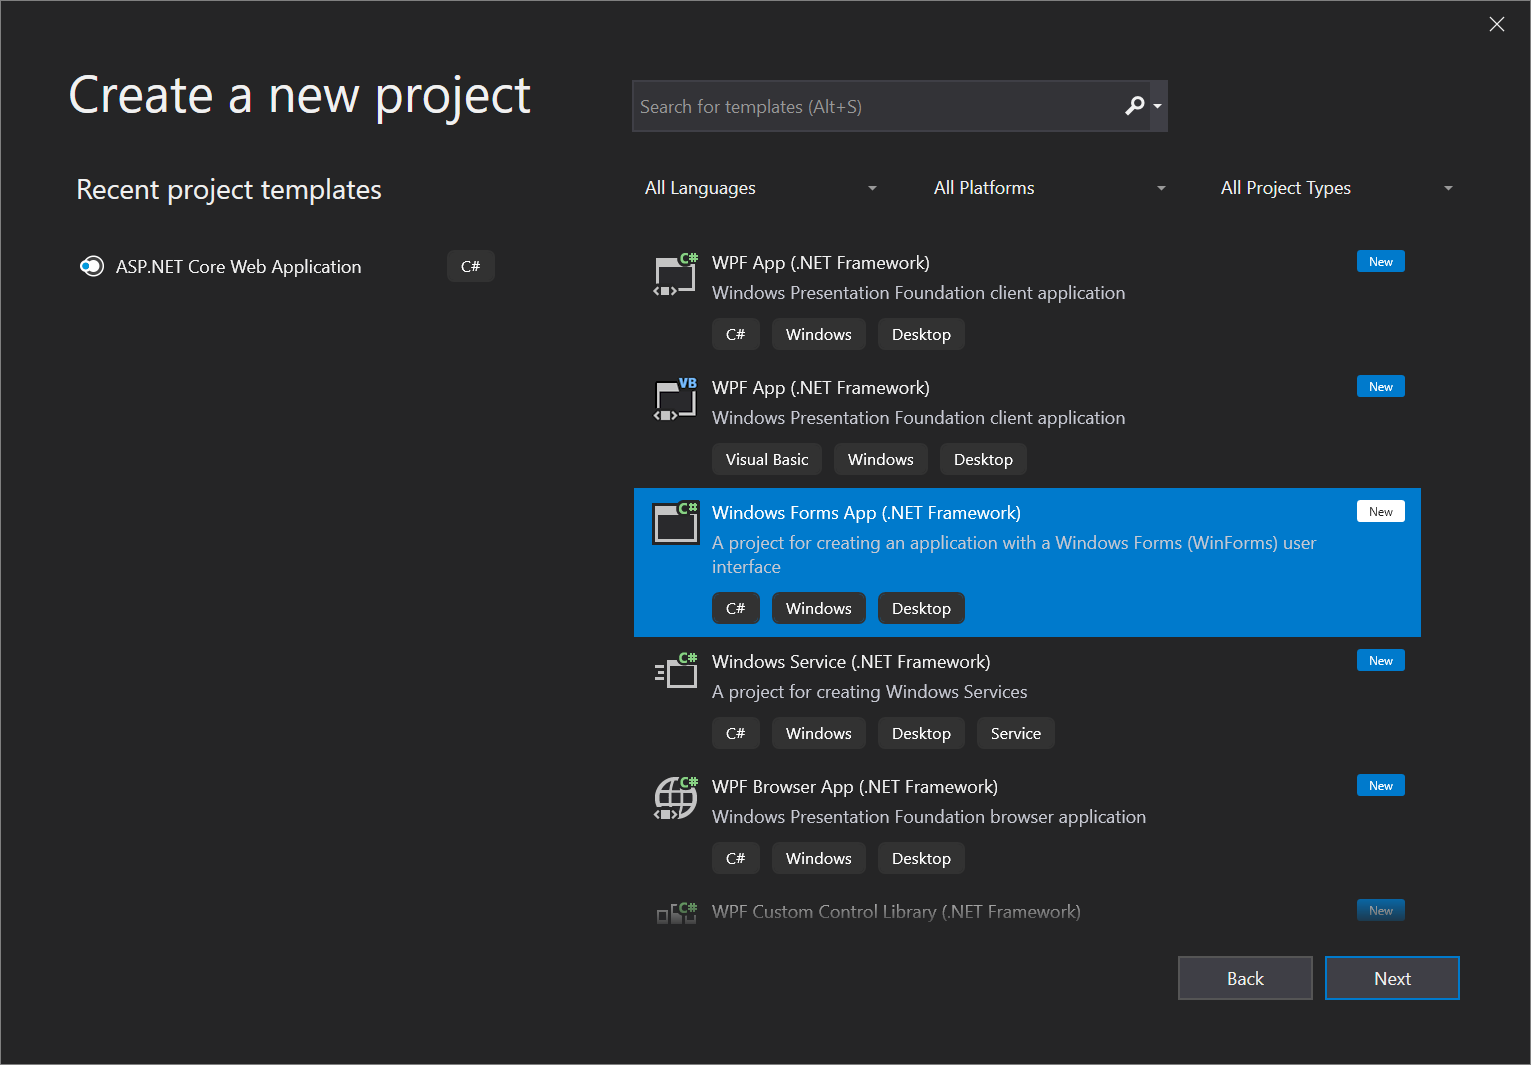
В окне Создать проект выберите шаблон Приложение Windows Forms (.NET Framework) для C#. On the Create a new project window, choose the Windows Forms App (.NET Framework) template for C#.
(При желании вы можете уточнить условия поиска, чтобы быстро перейти к нужному шаблону. (If you prefer, you can refine your search to quickly get to the template you want. Например, введите Приложение Windows Forms в поле поиска. For example, enter or type Windows Forms App in the search box. Затем выберите C# в списке языков и Windows в списке платформ.) Next, choose C# from the Language list, and then choose Windows from the Platform list.)
Если шаблон Приложение Windows Forms (.NET Framework) отсутствует, его можно установить из окна Создание проекта. If you do not see the Windows Forms App (.NET Framework) template, you can install it from the Create a new project window. В сообщении Не нашли то, что искали? выберите ссылку Установка других средств и компонентов. In the Not finding what you’re looking for? message, choose the Install more tools and features link.

После этого в Visual Studio Installer выберите рабочую нагрузку Разработка классических приложений .NET. Next, in the Visual Studio Installer, choose the Choose the .NET desktop development workload.
Затем нажмите кнопку Изменить в Visual Studio Installer. After that, choose the Modify button in the Visual Studio Installer. Вам может быть предложено сохранить результаты работы; в таком случае сделайте это. You might be prompted to save your work; if so, do so. Выберите Продолжить, чтобы установить рабочую нагрузку. Next, choose Continue to install the workload. После этого вернитесь к шагу 2 в процедуре Создание проекта. Then, return to step 2 in this «Create a project» procedure.
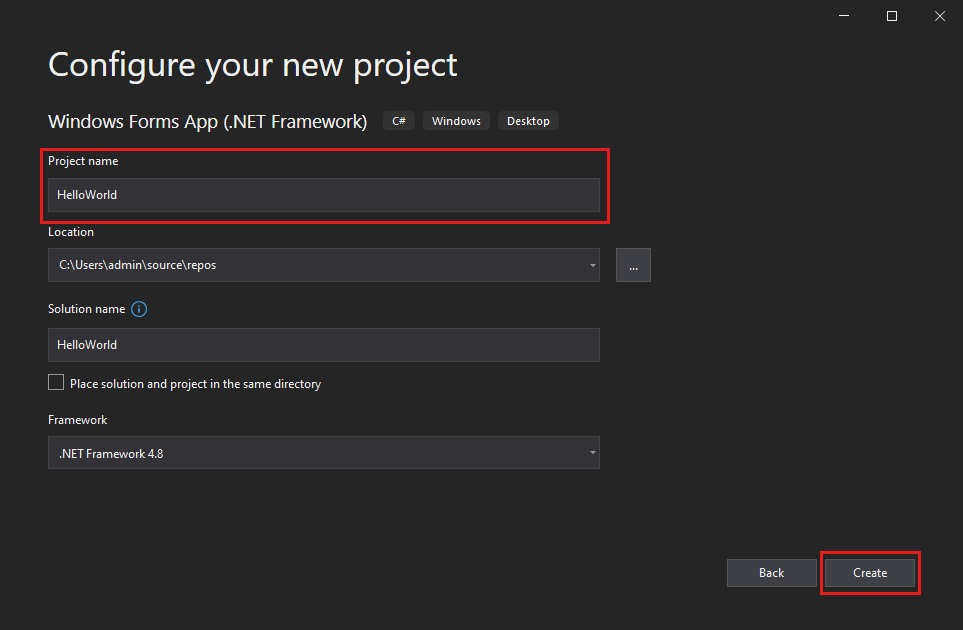
В поле Имя проекта окна Настроить новый проект введите HelloWorld. In the Configure your new project window, type or enter HelloWorld in the Project name box. Затем нажмите Создать. Then, choose Create.
Новый проект открывается в Visual Studio. Visual Studio opens your new project.
Создание приложения Create the application
Когда вы выберете шаблон проекта C# и зададите имя файла, Visual Studio открывает форму. After you select your C# project template and name your file, Visual Studio opens a form for you. Форма является пользовательским интерфейсом Windows. A form is a Windows user interface. Мы создадим приложение Hello World, добавив элементы управления на форму, а затем запустим его. We’ll create a «Hello World» application by adding controls to the form, and then we’ll run the app.
Добавление кнопки на форму Add a button to the form
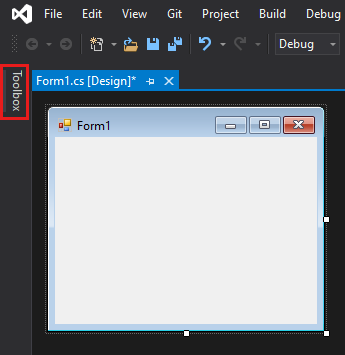
Щелкните Панель элементов, чтобы открыть всплывающее окно «Панель элементов». Choose Toolbox to open the Toolbox fly-out window.
(Если параметр для всплывающего окна Панель элементов отсутствует, его можно открыть в строке меню. (If you don’t see the Toolbox fly-out option, you can open it from the menu bar. Для этого выберите Вид > Панель элементов. To do so, View > Toolbox. Либо нажмите клавиши CTRL+ALT+X.) Or, press Ctrl+Alt+X.)
Щелкните значок Закрепить, чтобы закрепить окно Панель элементов. Choose the Pin icon to dock the Toolbox window.

Выберите элемент управления Кнопка и перетащите его на форму. Choose the Button control and then drag it onto the form.
В окне Свойства найдите элемент Текст, измените имя с Button1 на Click this , а затем нажмите клавишу ВВОД. In the Properties window, locate Text, change the name from Button1 to Click this , and then press Enter.
(Если окно Свойства не отображается, его можно открыть в строке меню.) (If you don’t see the Properties window, you can open it from the menu bar. Для этого выберите Вид > Окно свойств. To do so, choose View > Properties Window. Или нажмите клавишу F4.) Or, press F4.)
В разделе Проектирование окна Свойства измените имя с Button1 на btnClickThis , а затем нажмите клавишу ВВОД. In the Design section of the Properties window, change the name from Button1 to btnClickThis , and then press Enter.
Если список был упорядочен по алфавиту в окне Свойства, Button1 появится в разделе (DataBindings) . If you’ve alphabetized the list in the Properties window, Button1 appears in the (DataBindings) section, instead.
Добавление метки на форму Add a label to the form
Теперь, когда мы добавили элемент управления »Кнопка» для создания действия, давайте добавим элемент управления «Метка», куда можно отправлять текст. Now that we’ve added a button control to create an action, let’s add a label control to send text to.
Выберите элемент управления Метка в окне Панель элементов, а затем перетащите его на форму и расположите под кнопкой Нажмите это. Select the Label control from the Toolbox window, and then drag it onto the form and drop it beneath the Click this button.
В разделе Проект или (DataBindings) окна Свойства измените имя Label1 на lblHelloWorld и нажмите клавишу ВВОД. In either the Design section or the (DataBindings) section of the Properties window, change the name of Label1 to lblHelloWorld , and then press Enter.
Добавление кода на форму Add code to the form
В окне Form1.cs [Проект] дважды щелкните кнопку Нажмите это, чтобы открыть окно Form1.cs. In the Form1.cs [Design] window, double-click the Click this button to open the Form1.cs window.
(Кроме того, можно развернуть узел Form1.cs в обозревателе решений, а затем выбрать Form1.) (Alternatively, you can expand Form1.cs in Solution Explorer, and then choose Form1.)
В окне Form1.cs после строки private void введите lblHelloWorld.Text = «Hello World!»; , как показано на следующем снимке экрана: In the Form1.cs window, after the private void line, type or enter lblHelloWorld.Text = «Hello World!»; as shown in the following screenshot:

Запуск приложения Run the application
Нажмите кнопку Запустить, чтобы запустить приложение. Choose the Start button to run the application.

Будет выполнено несколько операций. Several things will happen. В интегрированной среде разработки Visual Studio откроются окна Средства диагностики и Вывод. In the Visual Studio IDE, the Diagnostics Tools window will open, and an Output window will open, too. Кроме того, вне этой среды откроется диалоговое окно Form1. But outside of the IDE, a Form1 dialog box appears. Оно будет содержать вашу кнопку Нажмите это и текст Label1. It will include your Click this button and text that says Label1.
Нажмите кнопку Нажмите это в диалоговом окне Form1. Choose the Click this button in the Form1 dialog box. Обратите внимание, что текст Label1 меняется на Hello World! . Notice that the Label1 text changes to Hello World!.

Закройте диалоговое окно Form1, чтобы завершить работу приложения. Close the Form1 dialog box to stop running the app.
Следующие шаги Next steps
Для получения дополнительных сведений перейдите к следующему руководству: To learn more, continue with the following tutorial:


