- Manage data sources
- Configure display options for data sources
- Customize the view of objects in the Database tool window
- Group data sources in folders
- Assign a color to a data source
- Assign a color to query consoles and grids
- Filter objects from the toolbar
- Show comments for data sources and database objects
- Share data sources
- Make a copy of a data source
- Share data sources between projects
- Share data sources between different IDE instances
- Sharing data source settings
- Export data source settings
- Import data source settings
- Database window
- Overview
- Controls on the toolbar
- Controls of the right-click menu
- View options
- Icons for data sources and their elements
- Possible icon combinations for columns
- Title bar context menu and buttons
Manage data sources
Data source is a location of data for your application. In IntelliJ IDEA, you can define the following data sources:
Database data source: operational databases that contain data (see Database connection ).
Data Definition Language (DDL) files: SQL files that contain data definition language statements.
Configure display options for data sources
You can group, assign a color, and filter objects in the Database tool window ( View | Tool Windows | Database ).
Customize the view of objects in the Database tool window
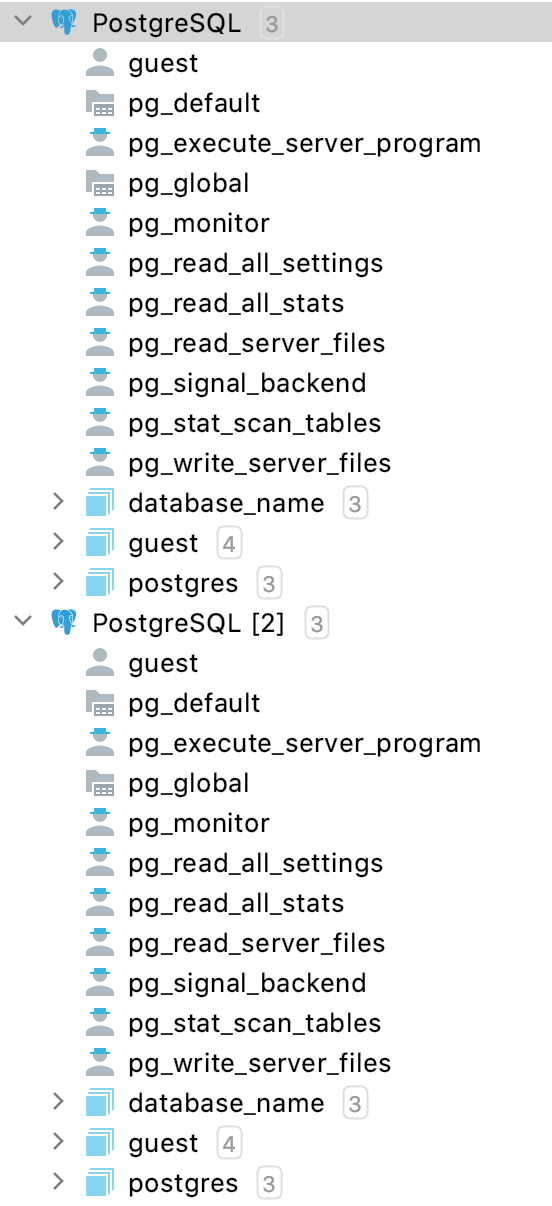
To group, enable, or sort data sources, click the Show Options menu icon on the title bar of the Database tool window and select the necessary options.
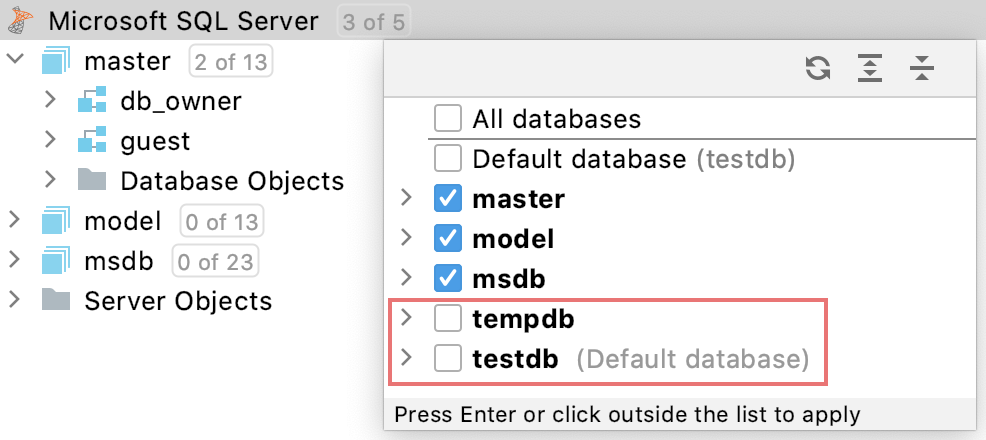
In the Database tool window ( View | Tool Windows | Database ), the view of the data source changes instantly.
For more information about the view options, see View options in the Database tool window.

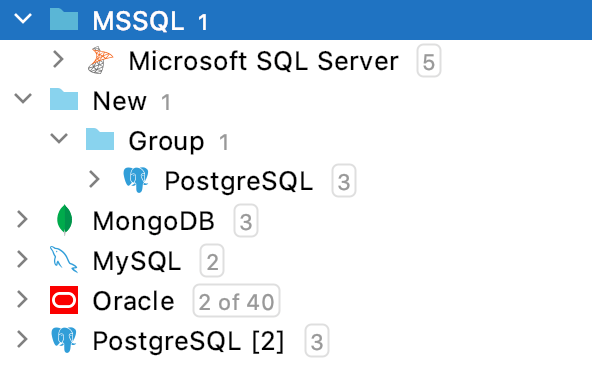
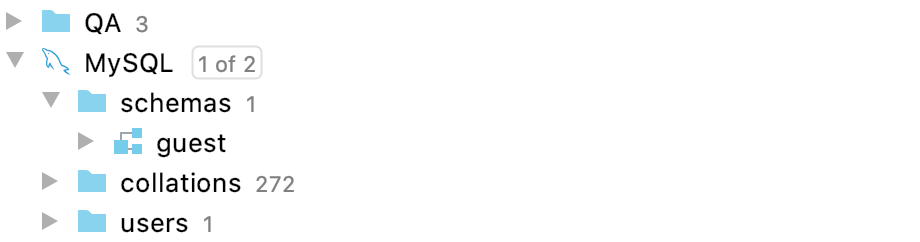
Group data sources in folders
In the Database tool window ( View | Tool Windows | Database ), select the necessary data source and press F6 . Alternatively, right-click a data source and select Move to Folder .
If you do not have any folders, you will see the New Folder dialog. In the text field, type the folder name. You can use a forward slash ( / ) to define nesting. For example, the QA/Quick name will create the Quick folder inside the QA folder.

If you have folders with grouped data sources, you will see the Move to Folder dialog. To create a new folder, select New Folder . To remove a data source from the folder, select Root folder .
Also, you can use Ctrl+C , Ctrl+V , and Ctrl+X to copy, paste, and cut your data sources between folders. If you cut and paste a data source inside one project, it will be just moved, no password is required. But the password is required in all the other cases. The cut operation can be undone by using Ctrl+Z .
Assign a color to a data source
To have better differentiation between production and test databases, you can assign a color to a data source.
In the Database tool window ( View | Tool Windows | Database ), click the Data Source Properties icon .
Select the data source for which you want to assign a color.
Click the circle in the Name field to select a color.

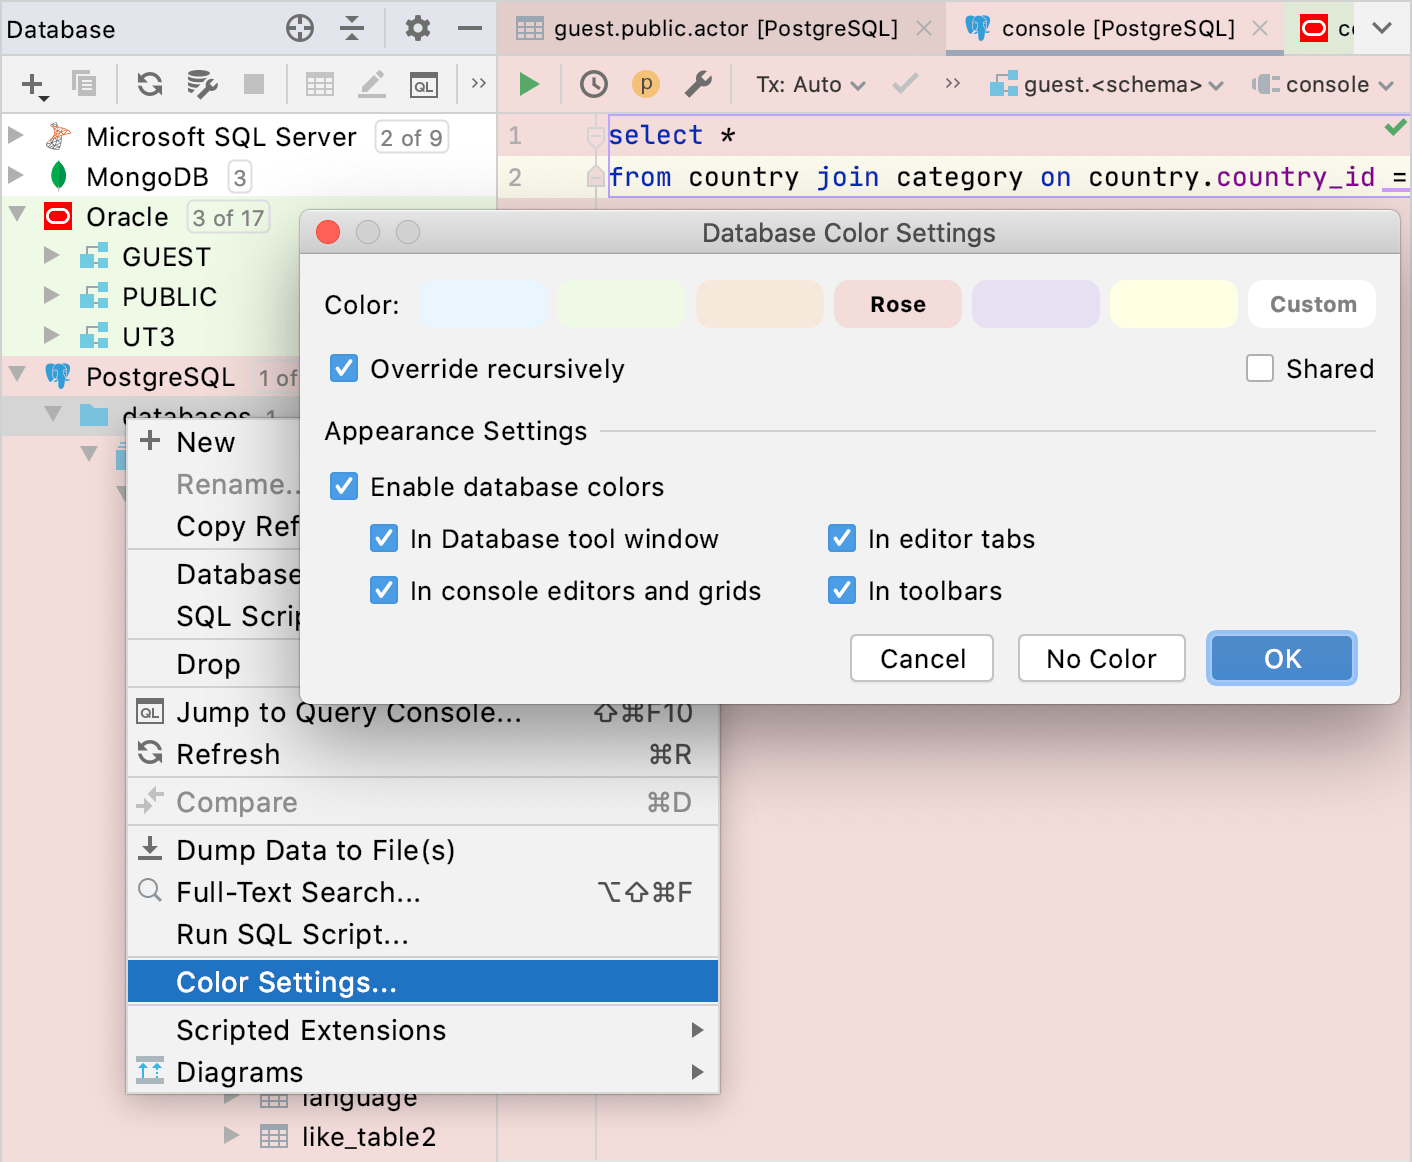
Assign a color to query consoles and grids
The text data viewer can use the color of the data source. To set a color, right-click a data source and select Color Settings . In the Database Color Settings dialog, select the dialog and coloring options. To have the data source color applied for query consoles and grids, select the In console editors and grids checkbox.
Filter objects from the toolbar
To select the necessary objects, use the Filter icon on the toolbar .

Show comments for data sources and database objects
To enable descriptions for databases and tables, navigate to View | Appearance and select Descriptions in Tree Views .
To add comments for tables, select a table and press Ctrl+F6 . In the Comment text field, add a table description.
To add comments for a database, open database settings Ctrl+Alt+S and add a database description in the Comment text field.

Share data sources
Data sources in IntelliJ IDEA are available at two levels: project and global. The project level means that you can access a data source only from the project where this data source was created initially. At the global level, a data source is available for other projects. By default, a data source is available at the project level.
To share a data source between different projects inside your IDE, you need to move the data source to the global level.
You can copy a data source if you need to use the same data source in another project, but have different requirements to it, such as its accessibility level (project or global), the user, database connection and schema settings, and so on.
Make a copy of a data source
In the Database tool window ( View | Tool Windows | Database ), click the Data Source Properties button ( ).
In the Data Sources and Drivers window, select the data source that you want to copy.
Click the Duplicate icon ( ), or press Ctrl+D .

Share data sources between projects
In the Database tool window ( View | Tool Windows | Database ), click the Data Source Properties button ( ).
In the Data Sources and Drivers window, click the Make Global icon ( ) to make the data source available at the global level.

Share data sources between different IDE instances
You can copy information about a data source to the clipboard in the XML format. The resulted XML does not include password information.
You can send the XML snippet to another IDE (in a messenger or by email) and import it.
In the Database tool window ( View | Tool Windows | Database ), select data sources that you want to copy.
On another workstation, click View | Tool Windows | Database .
In the Database tool window, click the New icon , select Import from Clipboard .

IntelliJ IDEA stores passwords in native keychains on macOS and Linux and in the KeePass storage on Windows. You can configure your IDE to store passwords in KeePass ( File | Settings | Appearance and behavior | System settings | Passwords ).
Sharing data source settings
You can export and import data source settings by using the settings.zip file. The settings.zip file includes only data sources that are available at the global level. For more information about how to change a level, see Change the project level to global.
Export data source settings
Click File | Manage IDE Settings | Export Settings .
In the Export settings window, click Select None .
In the Export settings window, select Database: drivers , Database: settings , and Database: global sources . You must have at least one global data source to have Database: global sources in the export list.
In the Export settings to field, type a path to the folder where you want to store the settings.zip file.
Import data source settings
Click File | Manage IDE Settings | Import Settings .
In the Import File Location window, locate the settings.zip file that you exported, and double-click it.
In the Select Components to Import window, select Database: drivers , Database: settings , and Database: global sources .
In the Restart Needed window, click OK to restart your IDE.
Open the Data Sources and Drivers window, enter necessary connection credentials in the data source properties. If the data source is on a local or network drive, ensure that the path to this data source is correct.
To ensure that the connection to the data source is successful, click Test Connection .
Database window
View | Tool Windows | Database
Ctrl+Alt+3
Overview
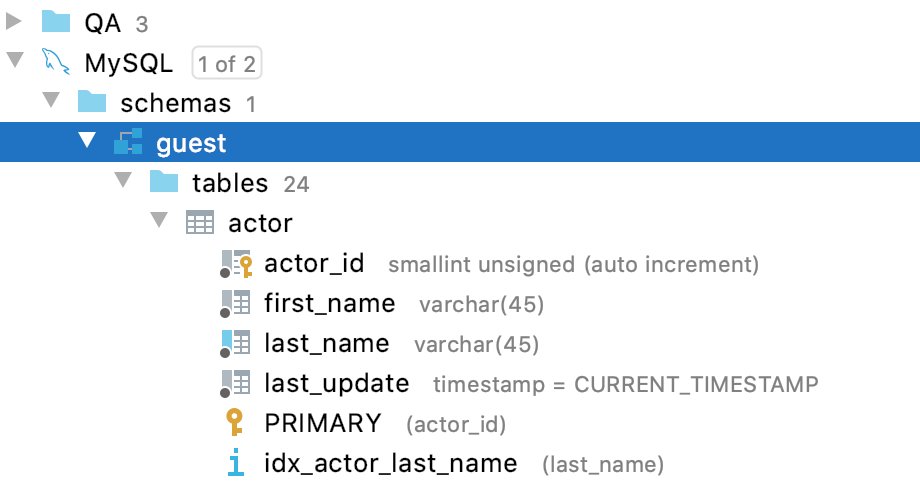
In the Database tool window ( View | Tool Windows | Database ), you can work with databases and DDL data sources. You can view and modify data structures in your databases, and perform other associated tasks. To view a table, double-click the table. For more information about different viewing modes, see View data.
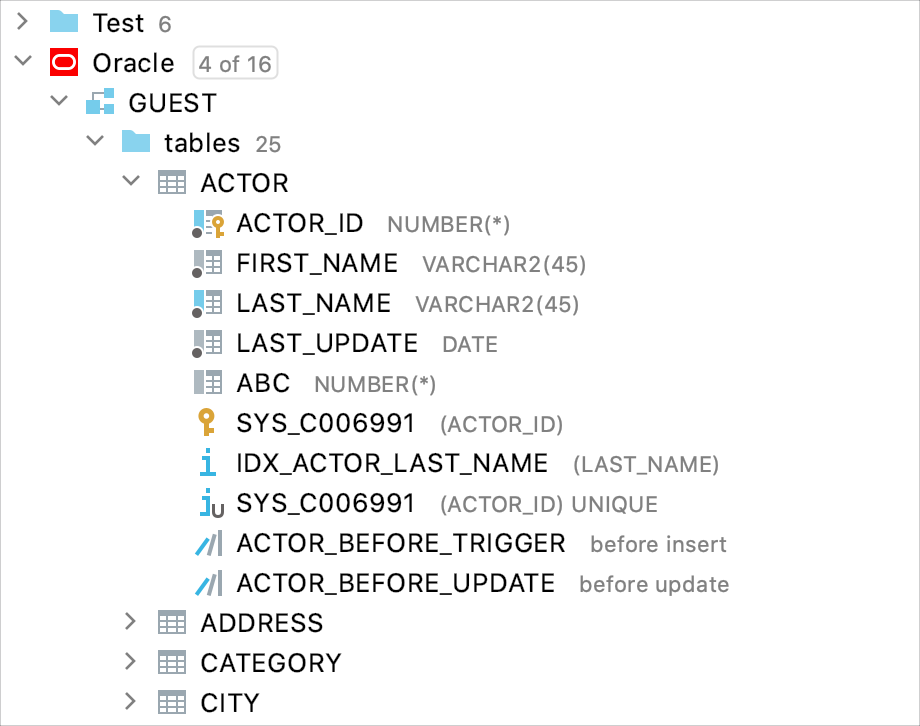
The available data sources are shown as a tree of data sources, schemas, tables and columns. If no data sources are currently defined, use the New command Alt+Insert to create a data source.
Most of the functions in this window are accessed by means of the toolbar icons or context menu commands. (If the toolbar is not currently shown, click on the title bar and select Show Toolbar .) Many of the commands have keyboard shortcuts. If the toolbar is hidden, the Refresh and Open Query Console commands can be access by means of the title bar icons ( and respectively).
Controls on the toolbar
| Icon | Command | Shortcut | Description | Available for |
|---|---|---|---|---|
| Collapse all the nodes. | All node types | |||
| New | Alt+Insert | Create a new data source, role, database, schema, query console, table, column, index, or a primary or a foreign key. The list of options depends on which element is currently selected. | Data sources and their elements. If a DDL data source is selected, you can only choose to create another data source. | |
| Duplicate | Ctrl+D | Create a copy of the selected data source. Specify the properties of the data source in the Data Sources and Drivers dialog that opens. | DB and DDL data source nodes | |
| Refresh | Ctrl+F5 | data sources and their elements | ||
| Data Source Properties | Open the Data Sources and Drivers dialog to manage your data sources and their settings. | All node types | ||
| Disconnect | Ctrl+F2 | Close the database connection for the selected data source or data sources. (The names of the data sources with active database connections are shown in bold.) | Data sources with active connections and their elements | |
| Edit Data | F4 | Open a table view of the object in the data editor. This option works for tables, views, and materialized views. | Corresponding elements in data sources. | |
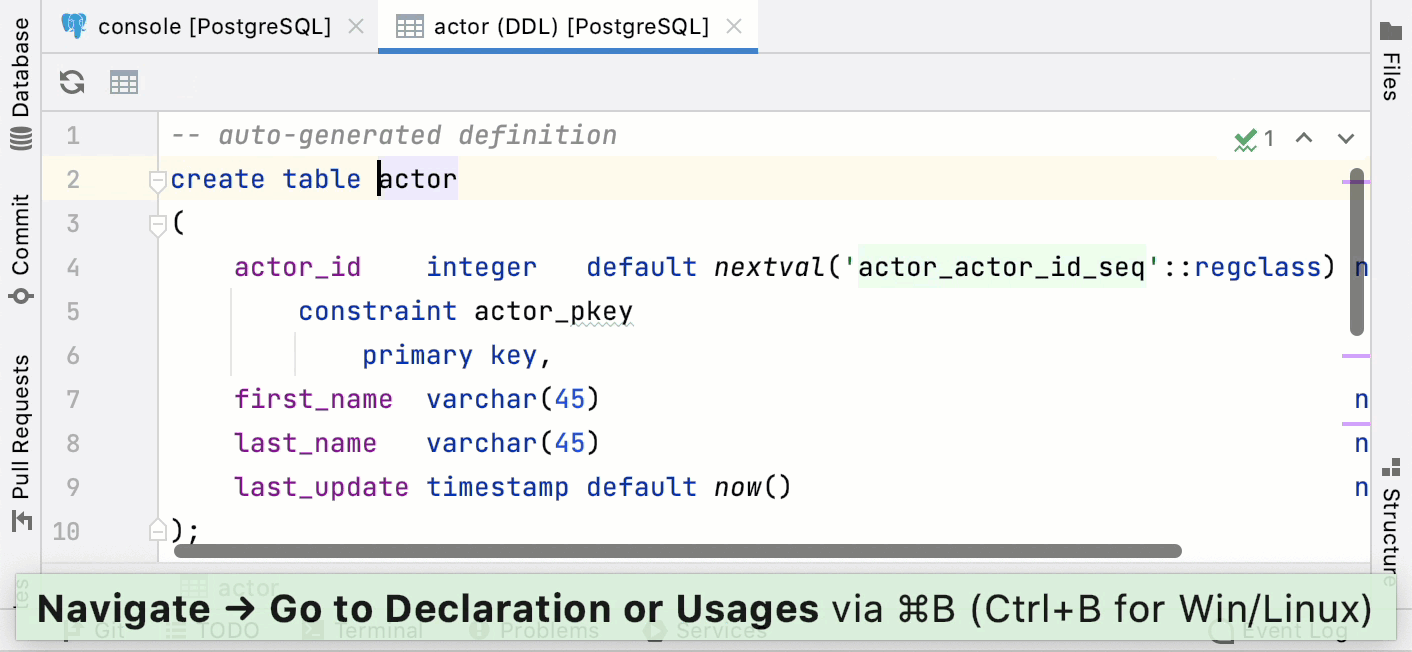
| Edit Source | Ctrl+B | Corresponding elements in data sources. | ||
| Jump to Query Console | Ctrl+Shift+F10 | Open the default query console for the corresponding data source. | Data sources and their elements (tables and table columns) | |
| Filter | Open a list of database objects that you can filter for the selected database. The list of database objects depends on the selected database. To see a full list of available database objects and their icons, go to Icons for data sources and their elements. | Data sources and their elements |
Controls of the right-click menu
Context-menu actions appear when you right-click an object in the Database tool window ( View | Tool Windows | Database ).
| Command | Shortcut | Description |
|---|---|---|
| New | Create a new data source, role, database, schema, query console, table, column, index, a primary or a foreign key. The list of options depends on which element is currently selected. | |
| Rename | Shift+F6 | Rename the selected data source, table or column. Specify the new name in the dialog that opens. |
| Copy Reference | Ctrl+Alt+Shift+C | Copy the fully qualified name of the selected data source, table or column to the clipboard. |
| Quick Documentation | Ctrl+Q | |
| Find Usages | Alt+F7 | Find all the usages or references of a data source, table, column, or any other selected item in your source files and libraries. |
| Add to Favorites | ||
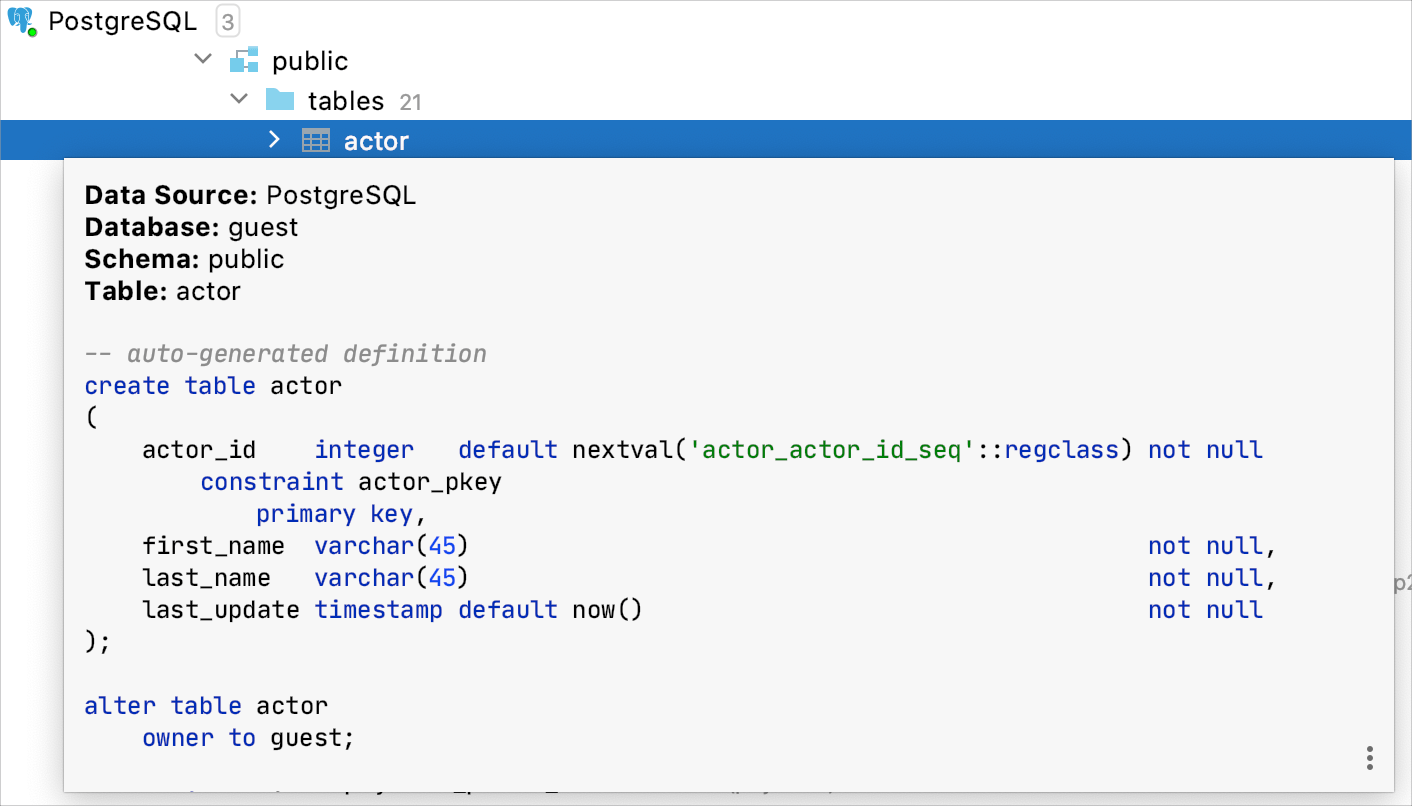
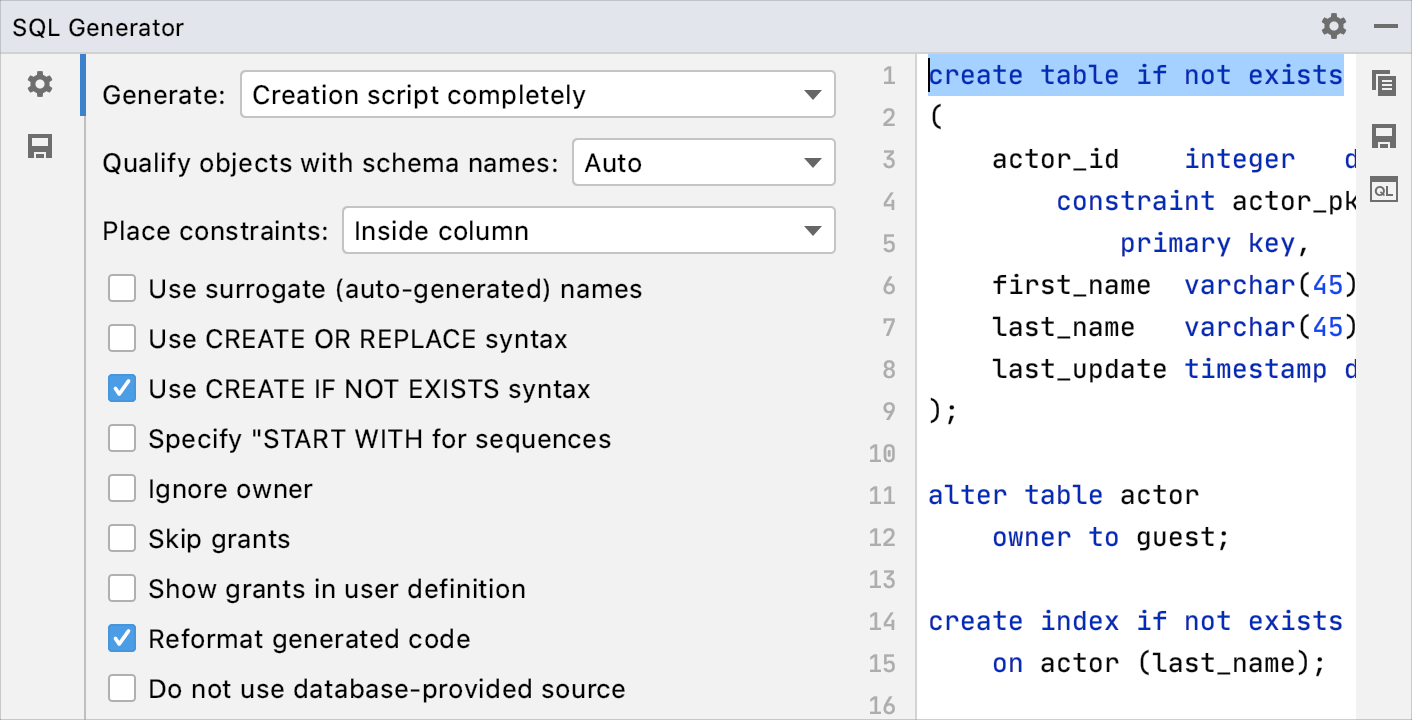
| SQL Scripts | SQL Generator | Ctrl+Alt+G | |
| SQL Scripts | Request and Copy Original DDL | Ctrl+Alt+G | |
| SQL Scripts | Generate DDL to Clipboard | Ctrl+Alt+Shift+G | |
| SQL Scripts | Generate DDL to Query Console | Ctrl+Alt+Shift+B | |
| Database Tools | Modify Comment | Modify or add a comment to a database object like if you have run the following query COMMENT ON SCHEMA information_schema IS ‘myComment’; . | |
| Database Tools | Truncate | Remove all the rows in the selected table. | |
| Database Tools | Manage Shown Schemas | ||
| Database Tools | Hide Schemas | Hide the schema that is selected. | |
| Database Tools | Force Refresh | Ctrl+Shift+F5 | |
| Database Tools | Forget Cached Schemas | ||
| Database Tools | Properties | Shift+Enter | Open the Data Sources and Drivers window where you can customize data source settings. |
| Database Tools | Drop Primary Key | Remove the primary key constraint for the current table. | |
| Database Tools | Drop Foreign Key | Remove the foreign key constraint. | |
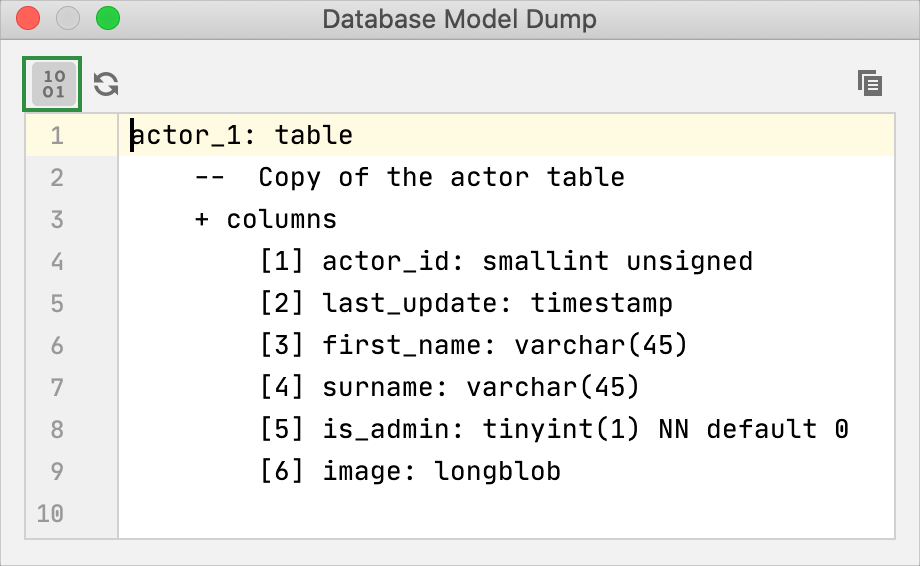
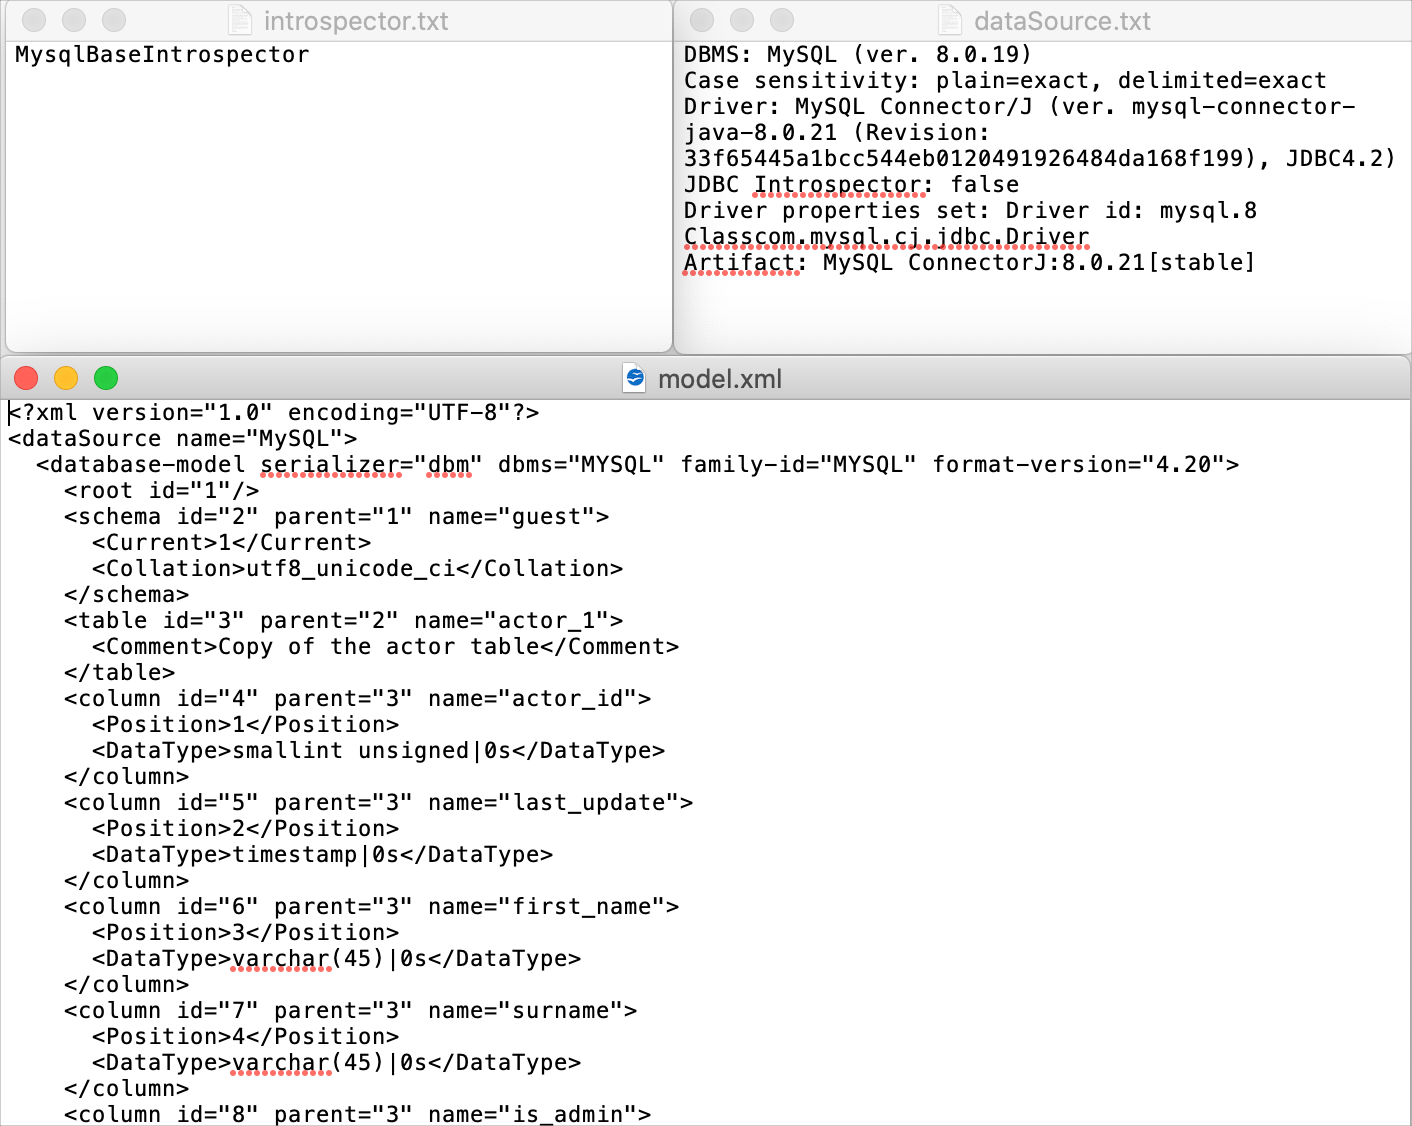
| Diagnostics | Dump Model | ||
| Diagnostics | Diagnostic Refresh | ||
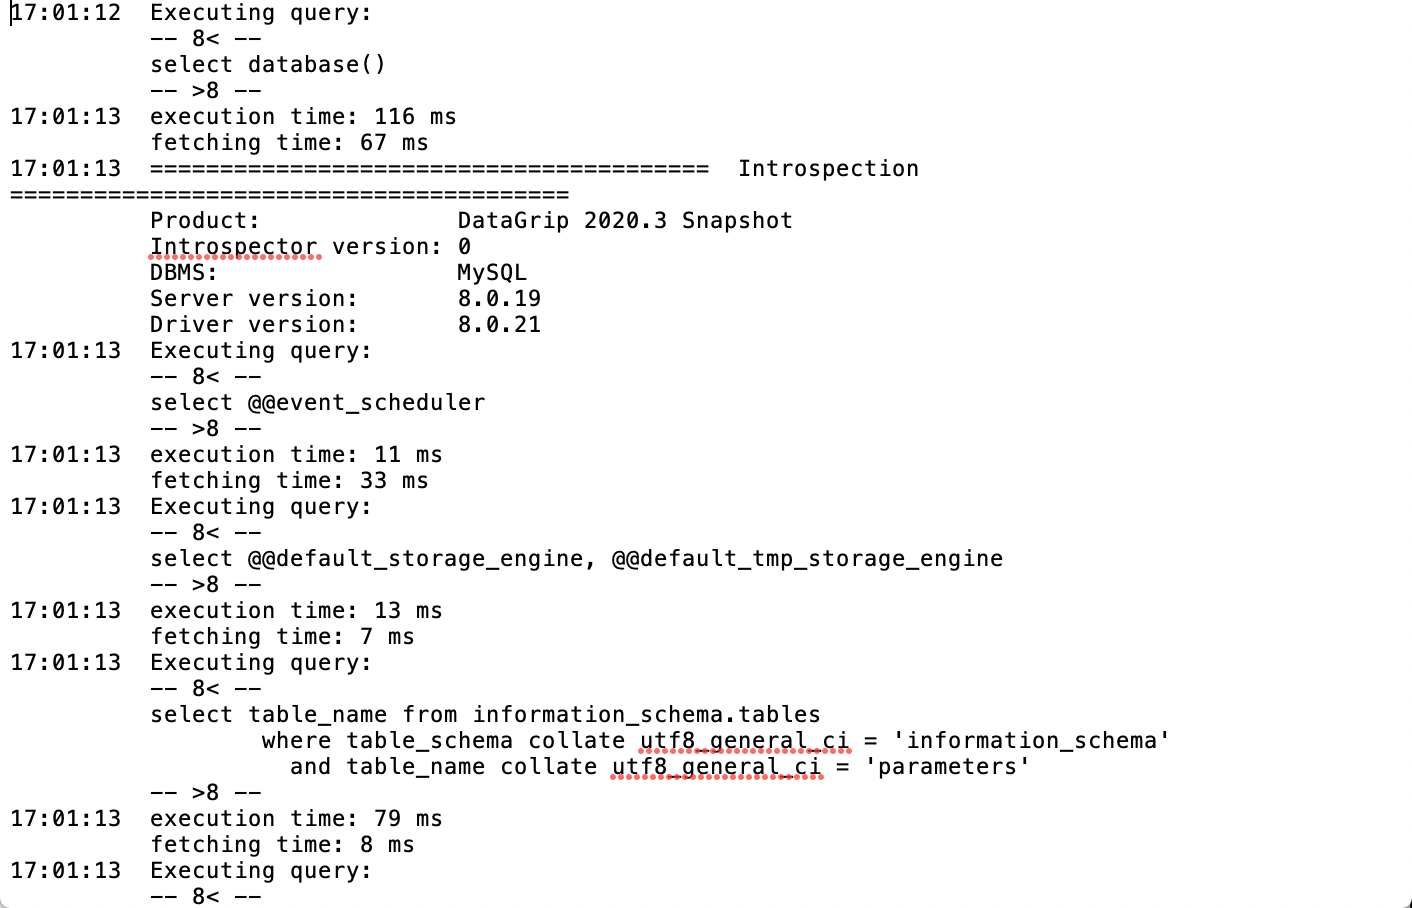
| Diagnostics | Prepare Introspector Diagnostics | ||
| Delete | Remove the selected item. | |
| Jump to Query Console | Ctrl+Shift+F10 | Create and open a new query console for the selected data source. |
| Refresh | Ctrl+F5 | Create and open a new query console for the selected data source. |
| Compare | Ctrl+D | |
| Compare Content | Compare the output results of tables, views, and materialized views. The comparison results are shown in the differences viewer. | |
| Export Data to File | Run mysql ,pg_restore, or psql to restore a data dump. These tools are native for MySQL and PostgreSQL. They are not integrated into JetBrains Rider. You can read about them at dev.mysql.com and postgresql.org. | |
| Copy Table to | F5 | Create a copy of the selected table. You can create a copy in a different scheme or data source. For example, you can copy the actor table from MySQL to PostgreSQL. |
| Color Settings | ||
| Scripted Extensions | Generate POJOs.clj | Generate a Java entity class for the selected table. In the dialog that opens, specify the directory in which the JAVA class file should be generated. | |
| Scripted Extensions | Go to Scripts Directory | Switch to the directory where the Generate POJOs.clj example script file is located. |
View options
The view options, generally, define what is shown in the tool window and how. To view or change these options, click on the title bar.
| Option | Description | ||||
|---|---|---|---|---|---|
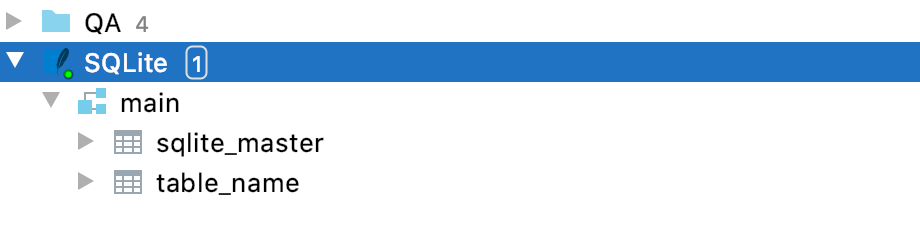
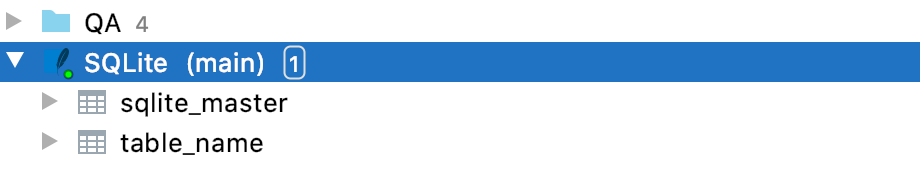
| Group Data Sources |
| Enabled | Disabled |
|---|---|
 |  |
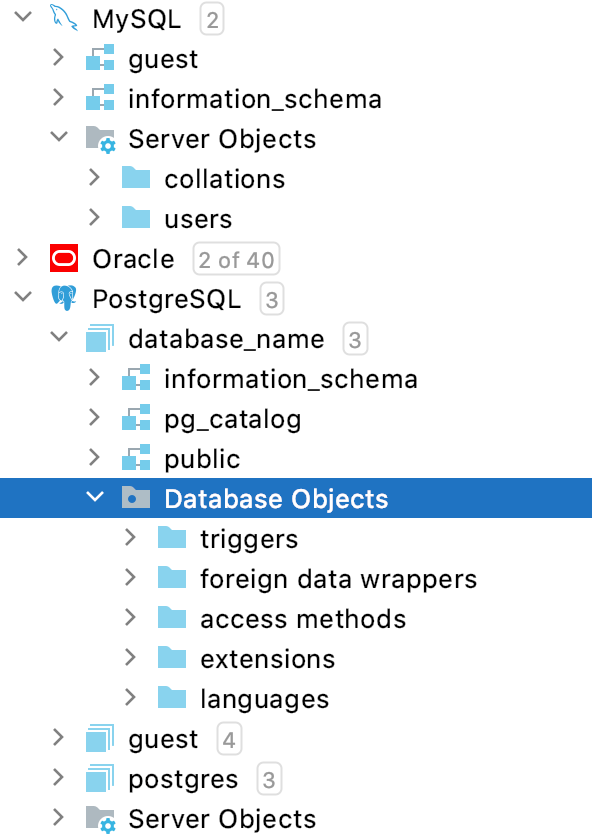
Displays folders for server and database objects. This setting concerns users, roles, tablespaces, modules, foreign data wrappers and other rarely-used objects.
| Enabled | Disabled |
|---|---|
 |  |
Defines how schema elements are shown.
When on, there are separate nodes for tables, views and stored routines (shown as folders). Tables, views and routines (procedures and functions) are shown as elements of the corresponding groups.
When off, there is no explicit grouping for tables, views, and routines. Tables and views are followed by procedures and functions.
This option defines how table elements are shown.
When on, there are separate nodes for columns, indexes, primary and foreign key constraints, and triggers (shown as folders). The elements appear in the corresponding groups.

When off, there is no such grouping and, generally, only columns are shown for tables.
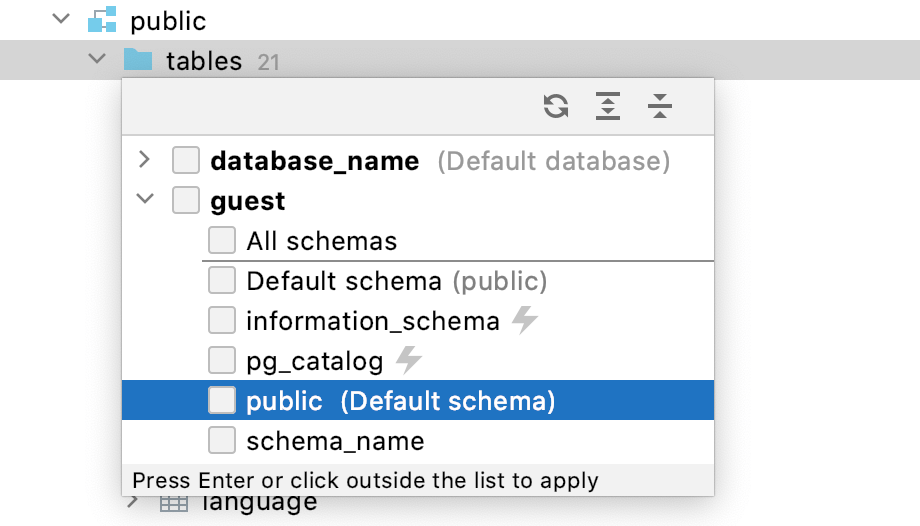
Show all databases and schemes even if they are not selected for introspection .
When the Show All Namespaces option is disabled, databases that are not selected for introspection do not appear in the Database tool window ( View | Tool Windows | Database ).
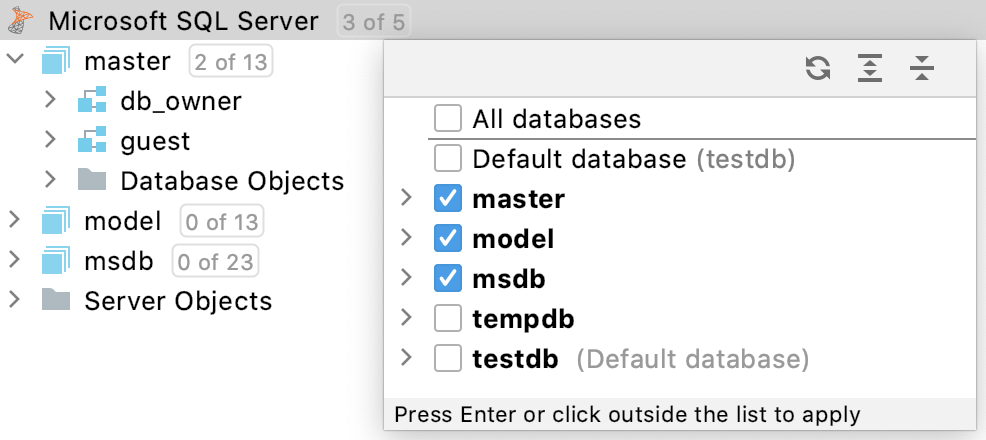
When the Show All Namespaces option is enabled, databases that are not selected for introspection are displayed in the Database tool window ( View | Tool Windows | Database ).
If the Group Schema Objects or Group Object Elements options are selected, you can select to show or hide the categories that contain no elements.
The Show Empty Groups option is on:
![]()
The Show Empty Groups option is off:
![]()
Shows or hides parent nodes only when you do not have other objects on the same level with a parent.
| Enabled | Disabled |
|---|---|
 |  |
For Oracle, shows or hides auto-generated objects in the tree. It concerns the following objects:
Materialized view logs
The underlying tables for materialized views
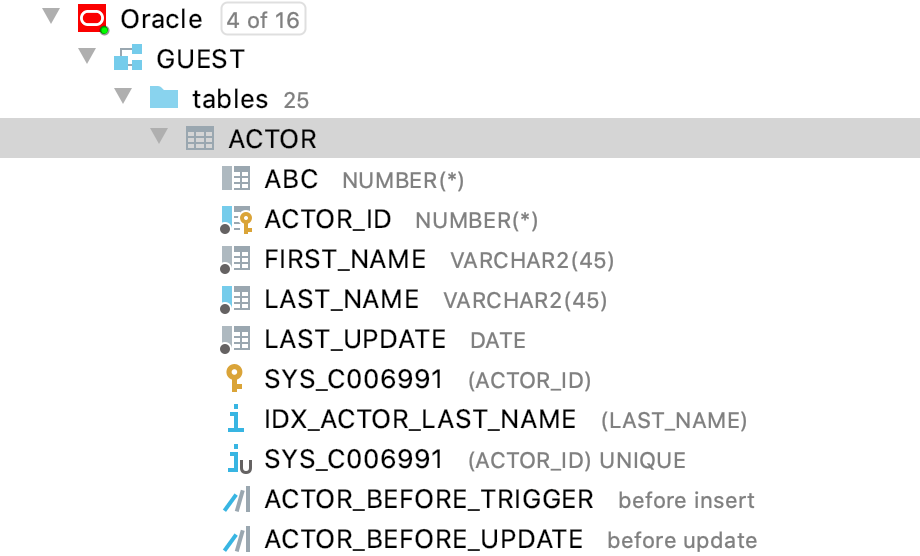
When this option is off, columns, generally, are unsorted.
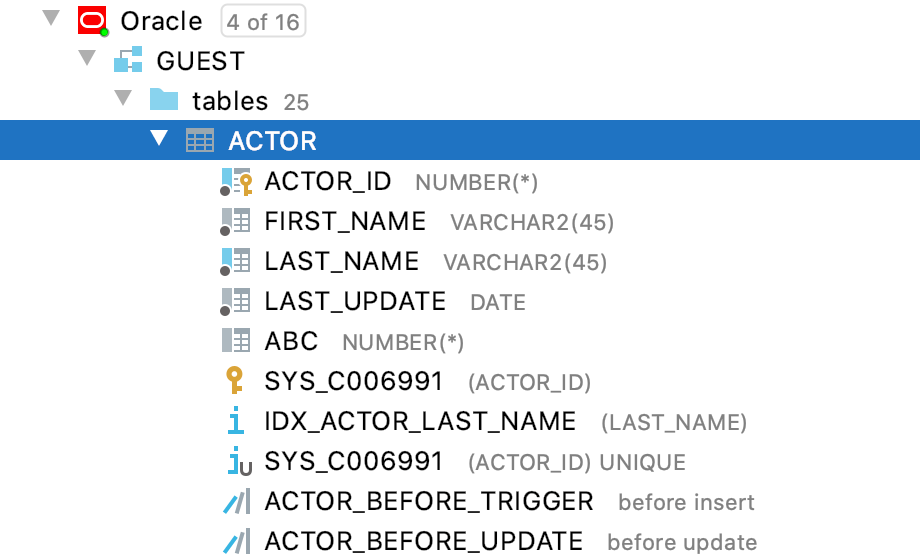
When this option is on, the columns are ordered alphabetically.
The rest of the options are common for all the tool windows, see Tool window view modes.
Icons for data sources and their elements
| Icon | Description |
|---|---|
| Access Method | |
| Aggregate | |
| Alias Type | |
| Argument | |
| Body | |
| Check | |
| Cluster | |
| Collation | |
| Collection Type | |
 | Data File |
| Database | |
| Read-only status | |
| DDL data source | |
| Default | |
| Exception | |
| Extension | |
| External Schema | |
| Foreign Data Wrapper | |
| Foreign Key | |
| Foreign Table | |
| Index | |
| Key | |
| Materialized Log | |
| Materialized View | |
| Object Attribute | |
| Object Type | |
| Operator | |
| Package | |
 | Projection |
| Role | |
| Routine | |
| Rule | |
| Scheduled Event | |
| Schema | |
| Sequence | |
| Server | |
| Stored procedure or function | |
| Synonym | |
| Table | |
| Table Type | |
 | Tablespace |
| Trigger | |
| User | |
| User Mapping | |
| Variable | |
| View | |
| Virtual Table |
Possible icon combinations for columns
| Icon | Foreign key | Primary key | Indexed | NOT NULL |
|---|---|---|---|---|
Title bar context menu and buttons
You can right-click the window title bar and use the context menu to configure its viewing mode, associate the window with a different tool window bar, or resize and hide the window.
You can also use the toolbar buttons:
| Item | Shortcut | Description |
|---|---|---|
| Ctrl+NumPad — | Collapse all expanded nodes in the current view. | |
| Shift+Escape |


