- Docker Express: Running a Local SQL Server on Your M1 Mac
- Docker for M1
- Connecting via Azure Data Studio
- Creating a database
- Inserting data
- Geek Culture
- Install SQL Server on a Mac
- Install and Configure Docker
- Now the Actual SQL Server Installation
- Pull the SQL Server Image
- Launch the SQL Server Image
- Password Strength
- Check the Docker container (optional)
- Show All Containers
- Check your Installation & Manage SQL Server
- sql-cli
- Azure Data Studio
- DBeaver
- MS SQL Server on MacOS with Docker and VS Code
- Using SQL Server on M1 based Mac with Docker
Docker Express: Running a Local SQL Server on Your M1 Mac

Now, I find myself in need for the same on my M1 Mac. The original SQL Server for Linux image has not yet been ported to the ARM64 architecture. However, I found that there’s a new database technology, targeted for AI named Azure SQL Edge. This database has been Dockerised and ported to ARM64 and thus can run on Docker for M1 on your Mac.
TL;RD; This is how to run a Docker SQL instance on M1:
Docker for M1
Docker for M1 has come a long way since late 2020, the Docker team’s effort shines in the latest RC version for ARM64, which can be found here. You will need to have this latest version (or later) installed to run the SQL container successfully. After installation, run the script mentioned above.
Connecting via Azure Data Studio
To connect via Azure Data Studio, you will need to put 127.0.0.1 as server, we’re already hosting the Docker container on port 1433, which is the default port for SQL. Use SQL Login and set the user to sa. Lastly, set the password you chose, which was MyPass@word from the example above.

Hit Connect and see if that works! If you have any issues connecting, maybe check to see if the container is actually running:

If not, try starting it manually:
Creating a database
I recommend not to use the master database and simply just create your own, run the following in a New Query window in Azure Data Studio:
This script will create a database named TestDb, if it doesn’t exist already.
After running this script, you should see that new TestDb in the list of databases:

Be sure to select the correct database in the dropdown when running any query from now on!

Inserting data
Now let us put this to the test and insert some data. The script below will create a table, insert one record and select that record from the newly created table:

That’s it! We now have a functional SQL Docker container on Apple Silicon!
Geek Culture
Proud to geek out. Follow to join our +1.5M monthly readers.
Источник
Install SQL Server on a Mac
Install SQL Server directly to your Mac — no virtual machine required!
Microsoft has made SQL Server available for macOS and Linux systems. This is made possible by running SQL Server from a Docker container. Therefore, there’s no need to install a virtual machine with Windows (which was the only way to run SQL Server on a Mac prior to SQL Server 2017).
Install and Configure Docker
This is a prerequisite for installing SQL Server on your Mac. Because the Mac runs SQL Server inside a Docker container, the first thing we need to do is download and install Docker (unless it’s already installed). Once installed, we’ll increase its memory allocation to a more suitable level for running SQL Server.
- Download Docker from the download page, extract it, and drag it into your Application folder.
- Launch Docker, and go to Preferences > Advanced and increase its memory allocation to 4GB
If I’ve confused you, don’t worry. I’ve written a tutorial with screenshots: Install Docker on a Mac and Configure for SQL Server.
OK, we’re now ready to install SQL Server on your Mac.
Now the Actual SQL Server Installation
Now that we’ve installed Docker and increased its memory allocation, we can go ahead and install SQL Server. The Mac uses the Linux image (the SQL Server for Linux Docker image).
Pull the SQL Server Image
Open a Terminal window and run the following command:*
This pulls the latest SQL Server for Linux Docker image to your computer.
* The exact command will depend on which release you download. Also, since I wrote this article, Docker has moved the repository for SQL Server. You might need to use docker pull mcr.microsoft.com/mssql/server:2017-latest-ubuntu to download SQL Server 2017.
Also, SQL Server 2019 Preview has been available since late 2018. As of late 2019 you can download it at docker pull mcr.microsoft.com/mssql/server:2019-CTP3.2-ubuntu .
For the latest image, see the official Microsoft repository on the Docker website.
Launch the SQL Server Image
Run the following command to launch an instance of the Docker image you just downloaded:
Replace the container name and password with your own. Also be sure to make a strong password, or you may get an error (see below).
Also, if you downloaded a different container image, replace microsoft/mssql-server-linux with your container image.
Here’s an explanation of the above parameters:
-d This is an optional parameter that launches the Docker container in daemon mode. This means that it runs in the background and doesn’t need its own Terminal window open. You can omit this parameter to have the container run in its own Terminal window. —name Homer This optional parameter provides a name for the container. This can be handy when stopping and starting the container from the Terminal. -e ‘ACCEPT_EULA=Y’ The Y shows that you agree with the EULA (End User Licence Agreement). This is required in order to install SQL Server. -e ‘SA_PASSWORD=myPassw0rd’ Required parameter that sets the sa database password. -p 1433:1433 This maps the local port 1433 to port 1433 on the container. This is the default TCP port that SQL Server uses to listen for connections. microsoft/mssql-server-linux This tells Docker which image to use. If you downloaded a different one, use that instead.
Password Strength
If you get the following error at this step, try again, but with a stronger password.
Check the Docker container (optional)
Type the following command to check that the Docker container is running.
If it’s up and running, it should return something like this:
Show All Containers
The above command only shows those containers that are currently running. To show all containers (whether they’re running or not), append the -a flag to the command (you can also use -all ):
Check your Installation & Manage SQL Server
Now that you’ve installed SQL Server on your Mac, you’ll probably want to check that you can access it and query it, etc. Then you’ll probably want to start creating databases and doing other DB-related tasks. You’ll need some sort of management tool for this.
Here are three options:
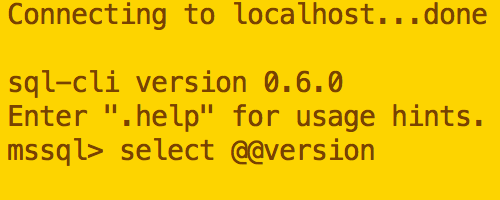
sql-cli
sql-cli is a cross platform command line tool for SQL Server. This means you can create databases and query them right from your Mac’s Terminal window.
Installation is as easy as running a single command (assuming you already have NodeJs installed).
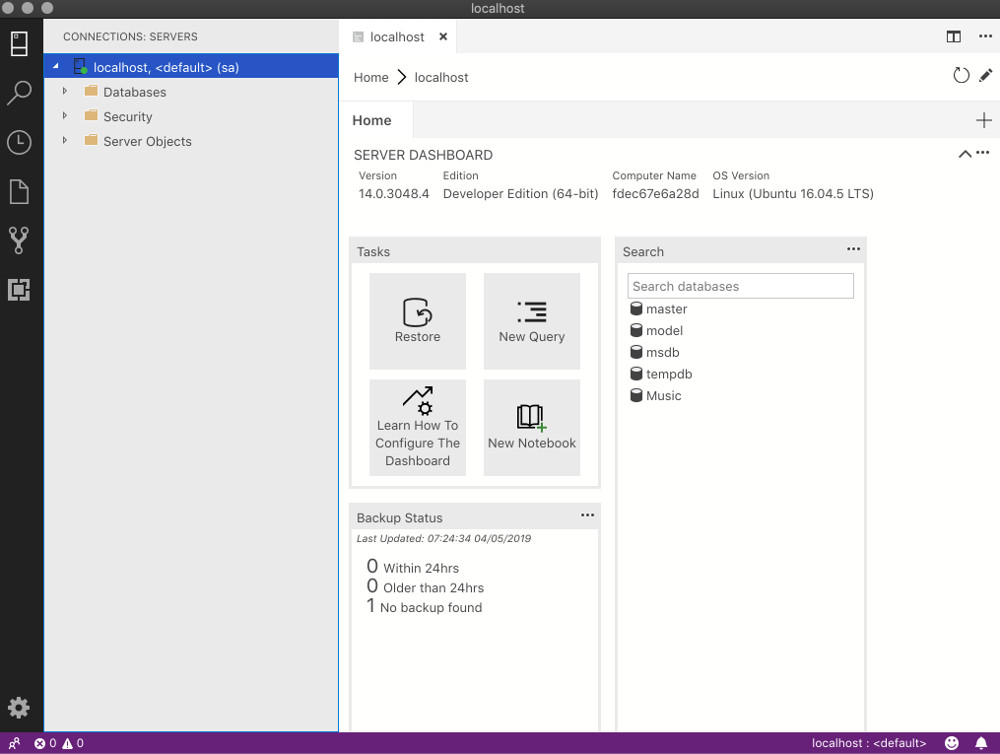
Azure Data Studio
Azure Data Studio (formerly called SQL Operations Studio) is a free GUI tool from Microsoft. It’s a bit more user friendly for those who aren’t comfortable with the command line interface.
Installation is as easy as downloading it and dragging it to your Applications folder.
DBeaver
Another GUI option is DBeaver. DBeaver is a free open source database tool that works with many different database management systems (MySQL, PostgreSQL, MariaDB, SQLite, Oracle, DB2, SQL Server, Sybase, MS Access, Teradata, Firebird, Derby, etc).
You have a few options for installing DBeaver. The easiest way is to download the «installer option», and then run the installation wizard.
Источник
MS SQL Server on MacOS with Docker and VS Code
Now that Docker has made every developers life easier, I’m going to walk you through a few quick steps to get Microsoft SQL Server up and running on MacOS. The first thing you need to do is install Docker on your Mac.
Install Docker
I chose to install Docker Desktop so that’ll be what I’ll be using for this tutorial. You can choose to install Docker Toolbox if you choose. Use the following link to determine which best fits your needs: https://docs.docker.com/docker-for-mac/docker-toolbox/
Docker Settings
Once Docker Desktop is installed, launch it and open the settings by clicking the docker icon and selecting Preferences.

This will launch your Docker Dashboard. Once opened, clicked the Settings gear at the top right and click on Resources >> Advanced. SQL Server needs at least 3.2 GBs of memory so increase the Memory to 4 GBs and click Apply & Restart.

Download the SQL Server Image
To download the SQL Server image, open Terminal and type the following:
docker pull mcr.microsoft.com/mssql/server:2019-latest
This will download the latest SQL Server 2019 image to your mac.
Launch the SQL Server Image
From Terminal, run the following command:
docker run —name ms_sql_server -e ‘ACCEPT_EULA=Y’ -e ‘SA_PASSWORD=5uper5trongPW!’ -p 1433:1433 -d mcr.microsoft.com/mssql/server:2019-latest
Don’t forget to change the password to your own secure password. This command sets the name of the docker container to ms_sql_server. The user is defaulted to sa. For more configuration settings, go the MS SQL Server container hub. Once you launch the image it’ll be available in Docker Dashboard. From here you can stop the image, restart it, delete, etc.

Visual Studio Code
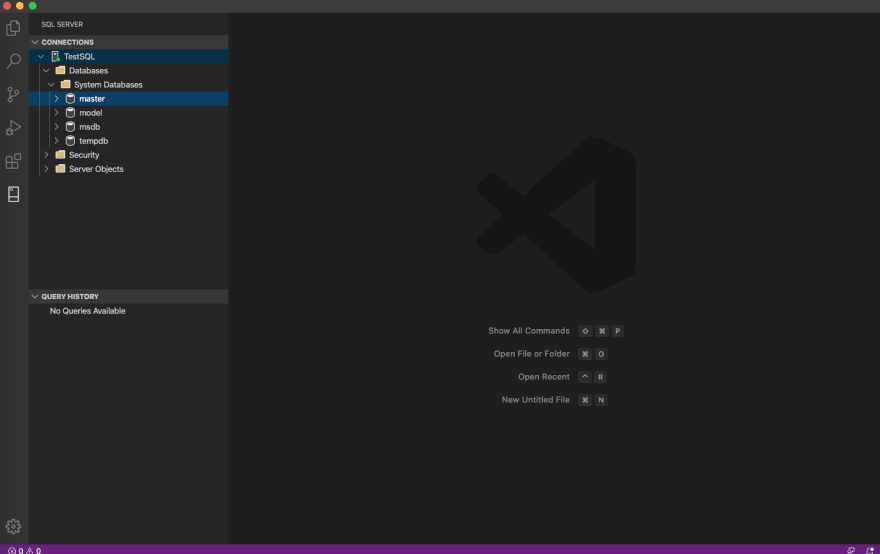
There are several MS SQL Server GUIs available for MacOS but I prefer to use VS Code since its my development tool of choice. To install the MS SQL extension on VS Code, click the extensions icon and type: mssql. From the search results, select SQL Server (mssql) and click Install. After the installation completes, select Reload to enable the extension. Once enabled, you’ll have a SQL Server icon on the left. Click on it and select Add Connection.

Follow the prompts, using localhost as hostname, sa as user and your password you set up when launching the SQL Server image. You should also give your connection a name to be able to identify it later. For this tutorial I named my connection TestSQL.
That’s it! You now are free to create your database, tables, etc.
Note:
If you stop and remove your container, you’ll lose all your SQL Server data. To avoid this you can create a backup of your database or you can persist your data in volume containers.
Источник
Using SQL Server on M1 based Mac with Docker
In this blog, we will learn about:
- Installing Docker on M1 based Mac
- Installing alternative of SQL Server management studio i.e. Azure Data Studio
- Installing SQL Server using Docker image
- Using SQL Server in Azure Data Studio
Step 1: Download Docker for Mac M1.
You must be aware that Docker is not natively supported by M1 based Macs. Docker development team is still working on the stable version, but they had released a Tech Preview for the Developers around the globe to help them test their development quickly and they can address as many bugs that they can.
For the purpose of this tutorial, I am also going to download the same Tech Preview on my M1 based Mac and will try to run SQL Server images on this.
Go to https://docs.docker.com/docker-for-mac/apple-m1/ and download the latest preview build available on the website.

Once you download it, install the docker preview in your machine. You should be able to view the docker desktop.
Step 2: Download an IDE to run the SQL commands and perform other DB operations.
The best tool for SQL Server is SQL Server Management Studio (SSMS), but bad luck is that it is only supported on Windows OS.
Thanks to the Microsoft team, they provided an alternative to SSMS. The tool name is Azure Data Studio. We will use this tool in our M1 based Mac.

Step 3: Create a new ID on https://hub.docker.com or login using your existing ID.
Once you are logged in, just hit https://hub.docker.com/_/microsoft-azure-sql-edge and you will a docker image hosted by Microsoft with name Azure SQL Edge.

We will download this image on our local system using docker commands and then run the image in the docker container on localhost port. Once we run the image in the container, we will be able to use SQL server on our M1 based Mac.
Step 4: Download the docker image using MacOS terminal.
Open the terminal in your system and hit command: docker pull mcr.microsoft.com/azure-sql-edge

Once you hit the above command, docker will start pulling the image from online repository and download this on your local system.
You can also see the image in the Docker Desktop window as shown below.

Step 5: Once you download the image in the docker, you need to run this image within a Docker container on some active localhost port.
Use the same terminal window and hit the following command.
docker run –cap-add SYS_PTRACE -e ‘ACCEPT_EULA=1’ -e ‘MSSQL_SA_PASSWORD=Password.1’ -p 1433:1433 –name azuresqledge -d mcr.microsoft.com/azure-sql-edge

- -e belongs to environment variable.
- ACCEPT_EULA=1 is the acceptance of license agreement.
- MSSQL_SA_PASSWORD=Password.1 is the password of the SQL server user with username ‘sa’.
- -p belongs to port number which we have set to 1433.
- –name belongs to the name of the docker container that we want to create in Docker.
Once the command is successful, you can go to the container option in the docker desktop window and you will find a container running the with same name that we passed in the command.

This makes sure that SQL server is now running on our system.
Step 6: Now the next step is to use the SQL server using Azure Data Studio.
Open Azure data studio and click on “Create a Connection” option. Enter the details as shown in the screenshot below.

Fill the details as shown below.

Once you click on Connect, you will be able to see that we are able to connect to local Sql server instance.

Now, you can use new query option to write queries to generate tables, stored procedures, etc.
Источник


