- Самый простейший и легковесный http-сервер?
- https://gist.github.com/alexey-sveshnikov/3a109b61ce6241770a86
- Локальный веб-сервер под Linux, с автоматическим поднятием хостов и переключением версий PHP
- How do you set up a local testing server?
- Local files vs. remote files
- The problem with testing local files
- Share Files Using Lightweight Http Servers in Linux
- SimpleHTTPServer
- HTTP-Server (Node.js)
- Twistd
- Httpd (Ruby)
- Conclusion
- About the author
- Nitesh Kumar
Самый простейший и легковесный http-сервер?
Какой простейший и самый легковесный HTTP сервер вы можете посоветовать? Чтобы никаких лишних примочек, никакой поддержки интерпретаторов. Чтобы умел только показывать файлы и содержимое директории и занимал минимум памяти. Хочется воткнуть такой на Raspberry Pi.


Даже без нагрузки требует в 4 раза больше памяти чем nginx.

Старенький apache-ик без модулей?
В чём преимущество старенького apache перед новеньким nginx?


На правах вопроса, а lighthttpd чем не light?


raspberry вполне себе и полновесный апач потянет

lighttpd всегда ставлю. Даже на 256 метрах WD MBL хорошо себя вел.

nginx и postfix (для пересылки на гуглоящик) на заNATном сервере за 3 бакса в год. Крутит мои статичные сайтцы. Потребляет 8МБ памяти.
Сами пробовали что советуете?
Only Supports: gif jpg jpeg png ico zip gz tar htm html json
Спасибо! Думаю, ничего легковеснее просто не бывает. Разве что кто-нибудь сподобится написать его на ассемблере.
На всякий случай, вот его запускалка для systemd. Вдруг кому понадобится.
1. Это не легковесный сервер.
2. Он не для продакшена даже, если ваш сайт это одна страничка посвящённая вашему котику.
3. На 80 порт повесите от рута что ли?
А что это за сервер такой?
Там на сайте чёрт ногу сломит.
Вот их подсайт с натами i-83.net. (128МБ закончились.)

https://gist.github.com/alexey-sveshnikov/3a109b61ce6241770a86
:;while [ $? -eq 0 ];do nc -vlp 8080 -c'(r=read;e=echo;$r a b c;z=$r;while [ $ <#z>-gt 2 ];do $r z;done;f=`$e $b|sed ‘s/[^a-z0-9_.-]//gi’`;h=«HTTP/1.0»;o=«$h 200 OK\r\n»;c=«Content»;if [ -z «$f» ];then ($e $o;(for n in *;do if [ -f «$n» ]; then $e «`ls -gh \»$n\«`
»;fi;done););elif [ -f «$f» ];then $e «$o$c-Type: `file -ib \»$f\«`\n$c-Length: `stat -c%s \»$f\«`»;$e;$e $f>&2;cat «$f»;else $e -e «$h 404 Not Found\n\n404\n»;fi)’;done
Уриэль в гробу переворачивается.
А почему бы и нет? У меня на Raspberry Pi арч, у него встроенный systemd, почему я не могу использовать его встроенные функции для запуска? Не bash скриптом же его запускать вручную.

Он очень даже лёгкий. На всяких мелких впс за пару баксов в год с 64-128 памяти lighttpd вполне неплохо себя чувствует.
Источник
Локальный веб-сервер под Linux, с автоматическим поднятием хостов и переключением версий PHP
Скорее всего какие-то части этой статьи уже знакомы многим хаброжителям, но в связи с покупкой нового рабочего ноутбука я решил собрать все крупинки воедино и организовать удобное средство для разработки. Мне часто приходится работать со множеством маленьких проектов, с разными версиями PHP, часто переводить старые проекты на новые версии. В далёком прошлом, когда я был пользователем Windows то использовал OpenServer. Но с переходом на Linux мне нехватало той простоты создания хостов и переключений версий которые были в нём. Поэтому пришлось сделать еще более удобное решение на Linux =)
будет запущен тот же файл но уже с версией PHP 7.2.7
Другие версии доставляются аналогичным описанным ниже способом.
Для создания еще одного сайта просто создаем в /var/www/ папку имеющую окончание .loc, внутри которой должна быть папка public_html являющаяся корнем сайта
Вот собственно и все. Как без дополнительных мучений, перезапусков, и редактирований конфигов имеем автоматическую систему для работы с сайтами.
Всё это я проверну на LinuxMint19, он на базе Ubuntu18.04, так что с ним все будет аналогично.
Для начала поставим необходимые пакеты
Postfix ставим в качестве плюшки, как простое решение(в мастере установки, всё по умолчанию выбираем) для отправки почты с локальной машины.
Так как это локальная разработка и я единственный пользователь. То мне удобней перенести папку с проектами в мою домашнюю дерикторию. Она у меня маунтится отдельным диском и мигрирует при переустановке системы. Самый простой способ это создать ссылку, тогда не нужно менять пути в настройках да и путь привычный для всех.
Скопируем папку созданную апачем в домашний каталог, создадим на ее месте ссылку, не забыв поменять пользователя на себя и обменяться группами с апачем.
Создадим папку в которой будем собирать исходники PHP для разных версий
Также нам понадобится папки для CGI скриптов
И runtime папка для этих же скриптов, с правами
И так как каталог у нас находится в оперативной памяти, добавим его создание при старте системы, для этого добавим в /etc/tmpfiles.d/fcgid.conf
У меня dnsmasq-base идет с коробки, если нет то его всегда можно доставить.
Добавим правило в его конфигурацию. Найти файл конфигурации dnsmasq.conf можно так
Либо если он как и у меня является частью NetworkManager то создать новый файл конфигурации в /etc/NetworkManager/dnsmasq.d/local.conf
Добавим в него строчку для перенаправление нашего локального домена на локальную машину.
Также нужно включить необходимые модули апача
Предварительная подготовка завершена, приступаем к сборке различных локальных версий PHP. Для каждой версии PHP проделываем следующие 4 шага. На примере 5.6.36
1. Скачиваем исходники нужной версии и распаковываем их
2. Cобираем из исходников нужную версию PHP, и помещаем ее в /opt/php-5.6.36
3. Создаем CGI для обработки этой версии в /var/www/cgi-bin/php-5.6.36.fcgi
4. Делаем файл исполняемым
5. Добавляем экшен для обработки каждой версии в /etc/apache2/mods-available/fcgid.conf
6. Добавляем правило для обработки каждой версии в /etc/apache2/sites-available/000-default.conf
Ну вот и всё. Осталось только перезапустить apache и dnsmasq и пользоваться
Источник
How do you set up a local testing server?
This article explains how to set up a simple local testing server on your machine, and the basics of how to use it.
| Prerequisites: | You need to first know how the Internet works, and what a Web server is. |
|---|---|
| Objective: | You will learn how to set up a local testing server. |
Local files vs. remote files
Throughout most of the learning area, we tell you to just open your examples directly in a browser — this can be done by double clicking the HTML file, dragging and dropping it into the browser window, or choosing File > Open. and navigating to the HTML file. There are many ways to achieve this.
If the web address path starts with file:// followed by the path to the file on your local hard drive, a local file is being used. In contrast, if you view one of our examples hosted on GitHub (or an example on some other remote server), the web address will start with http:// or https:// , to show that the file has been received via HTTP.
The problem with testing local files
Some examples won’t run if you open them as local files. This can be due to a variety of reasons, the most likely being:
- They feature asynchronous requests. Some browsers (including Chrome) will not run async requests (see Fetching data from the server) if you just run the example from a local file. This is because of security restrictions (for more on web security, read Website security).
- They feature a server-side language. Server-side languages (such as PHP or Python) require a special server to interpret the code and deliver the results.
Источник
Share Files Using Lightweight Http Servers in Linux
SimpleHTTPServer
Simple HTTP server is a built-in python module that can be used to launch a lightweight server suitable for running basic web applications and lightweight file server. As it is a built-in module, it comes pre-installed on almost all Linux distributions having Python installed by default.
Simple HTTP server serves all the files located in the folder it is run from. Run the following commands in succession to launch a simple HTTP server in the “Downloads” folder located in your home directory (commands below are for Python 3 only).
To run the server on a different port, run the following command instead (change port number according to your requirements):
You will see following terminal output on successful launch of the server:
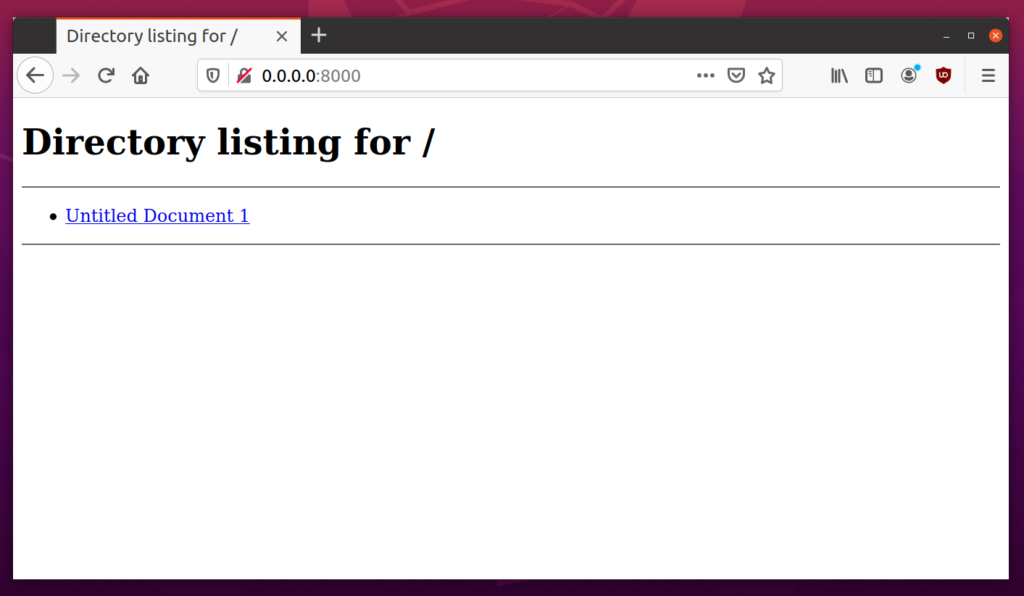
If you click on the URL mentioned in the terminal output shown above, you will be able to see a basic file browser layout in the web browser (also on http://localhost:8000/):
To share files with a different device, you have to use a URL in the “http://ip_address:8000/” format. To find IP address of of your computer where simple HTTP server is running, run the command below:
You will get some output like this:
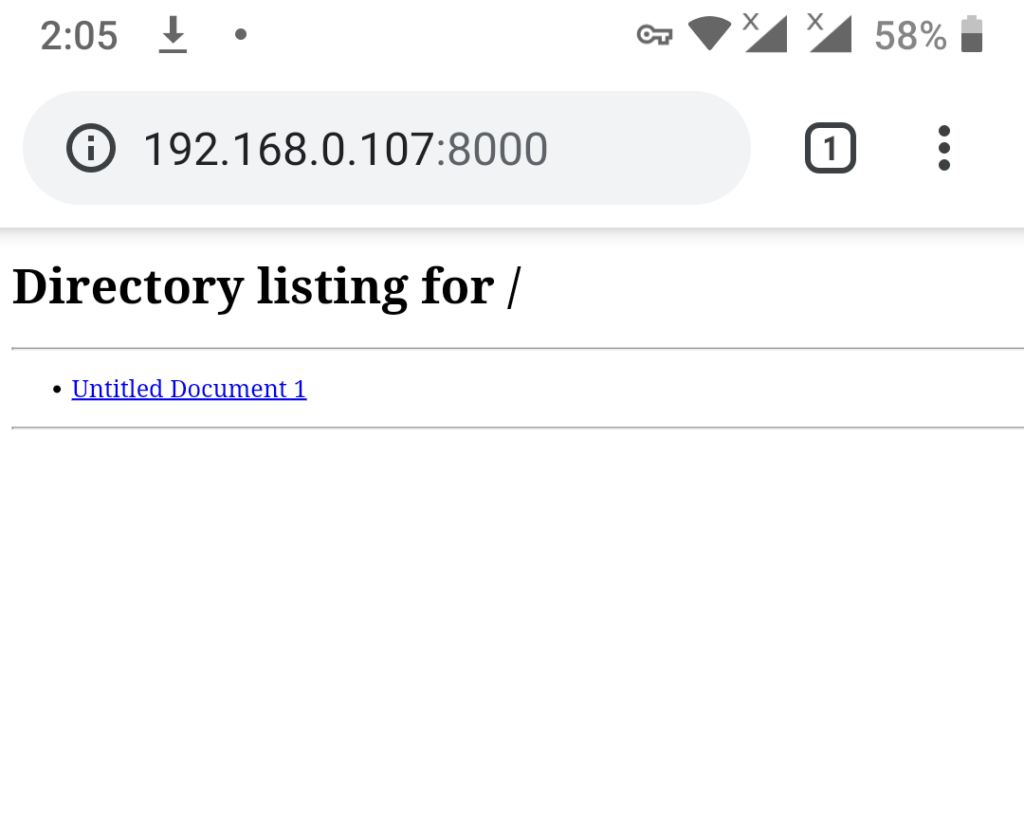
Enter the IP address obtained above in the URL. The correct URL to access the file server now would be: “http://192.168.0.107:8000/”. You can open this URL in any web browser on any device to download the listed files. Below is a screenshot of this URL opened on an Android device:
To stop the server anytime, press while the terminal window is in focus.
HTTP-Server (Node.js)
Http-server is a Node.js module that allows you to run a simple, easy to use and configurable web server. You can use the http-server module to share files from any folder on your system.
To install Node.js on Ubuntu, run the command below:
To install http-server module, run the command below:
To run the http-server from “Downloads” folder in your home directory, run the following two commands in succession:
On successful launch of http-server, you will see some output like this:
You can now use the second URL listed in the output above to open the file browser in a web browser.
To stop the server anytime, press while the terminal window is in focus.
Twistd
Twistd is a simple web server that comes with the “Twisted” python module. It can be used to launch a server that uses http or ftp protocol for sharing files. To install twisted in Ubuntu, run the command below:
To run the twistd from “Downloads” folder in your home directory, run the following two commands in succession:
On successful launch of web server, you will get some output in the terminal like this:
You can now use a URL in the “http://ip_address:8080/” format. To see IP address of your system, run the command below:
You will get some output like this:
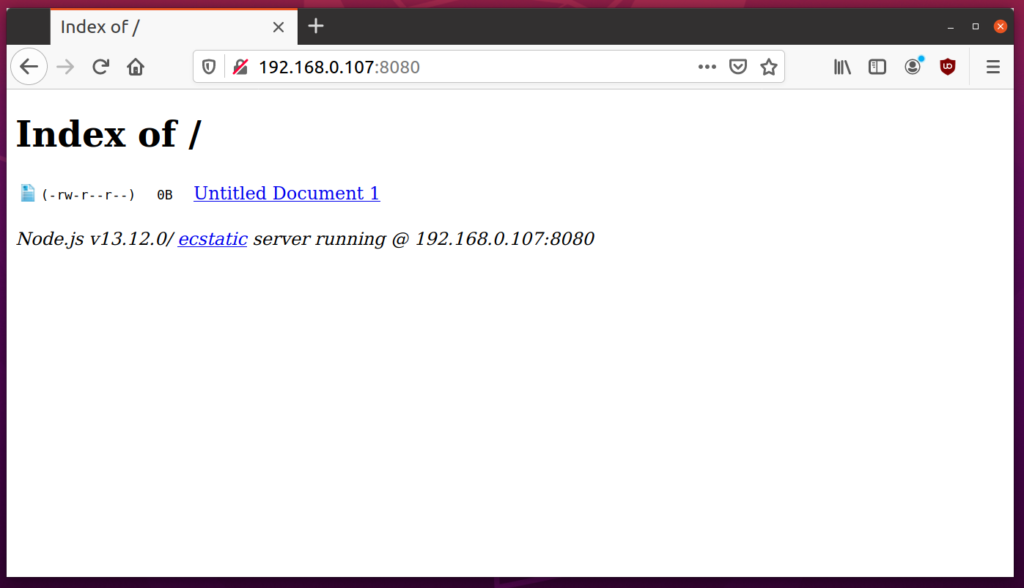
Enter the IP address obtained above in the URL. The correct URL to access the file server now would be: “http://192.168.0.107:8080/”. You can open this URL in any web browser on any device to download the listed files. Below is a screenshot of this URL opened in Firefox web browser on Ubuntu:
To stop the server anytime, press while the terminal window is in focus.
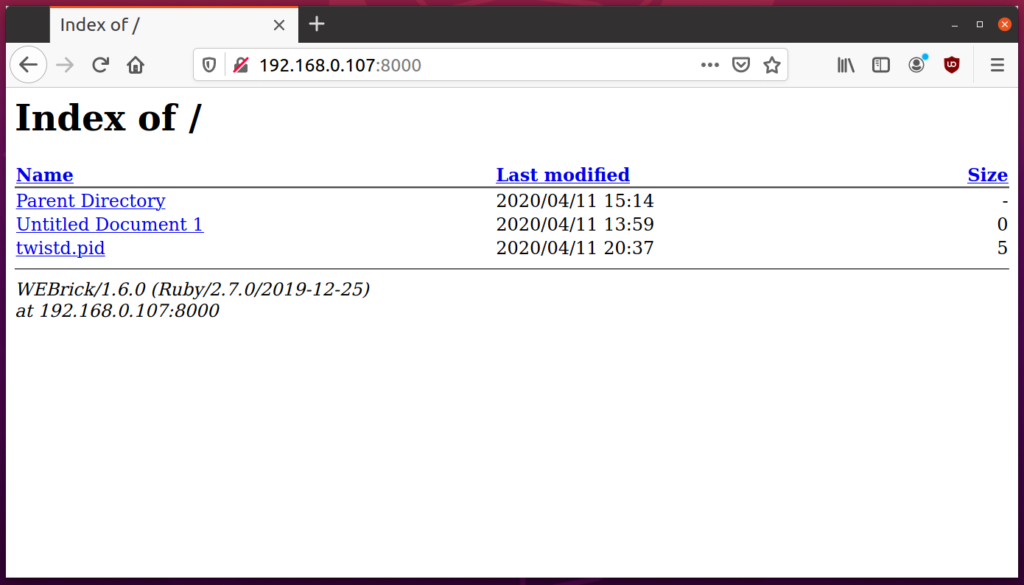
Httpd (Ruby)
Httpd is a lightweight server that comes with the default Ruby package on most Linux distributions. In terms of functionality, it is on par with Python’s simple HTTP server.
To install Ruby on Ubuntu, run the command below:
To run the Ruby httpd from “Downloads” folder in your home directory, run the following two commands in succession:
On successful launch of web server, you will get some output in the terminal like this:
You can now use a URL in the “http://ip_address:8000/” format. To see IP address of your system, run the command below:
You will get some output like this:
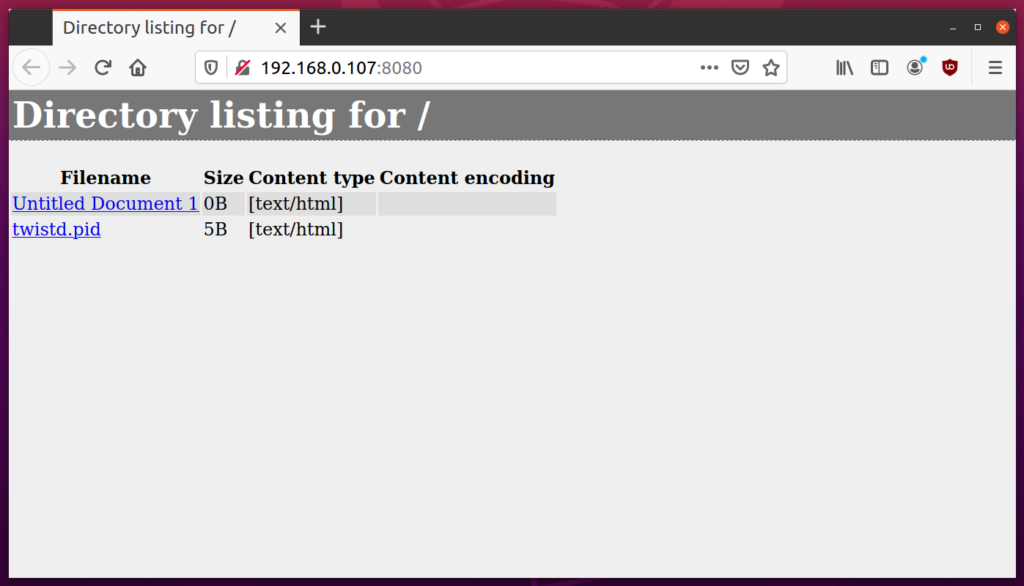
Enter the IP address obtained above in the URL. The correct URL to access the file server now would be: “http://192.168.0.107:8080/”. You can open this URL in any web browser on any device to download the listed files. Below is a screenshot of this URL opened in Firefox web browser on Ubuntu:
To stop the server anytime, press while the terminal window is in focus.
Conclusion
These are a few lightweight web server applications that are easy to use and can be used to share files publicly. If you want to share files over a network with higher security and authentication standards, these applications may not be suitable and avoid using them in production.
About the author
![]()
Nitesh Kumar
I am a freelancer software developer and content writer who loves Linux, open source software and the free software community.
Источник


