- Redmine
- Latest releases
- Resources
- Download
- Stable releases
- Latest source code
- 4.2 Stable
- Development (unstable)
- Redmine
- Latest releases
- Resources
- How to install Redmine in Linux, Windows and OS X using BitNami Redmine Stack
- What is BitNami Redmine Stack?
- Installing BitNami Redmine Stack
- Redmine
- Latest releases
- Resources
- HowTo Install Redmine on Ubuntu step by step
- Prerequisite: check your ubuntu version against intended Redmine version
- Introduction
- Prerequisites: Apache, mod-passenger, and MySQL
- Installing and configuring the Ubuntu Redmine package
- Configuring Apache
- Backing up Redmine
- Additional semi-optional packages
- Email setup
- Revision control repository setup
- Установка последних RedMine + Apache + nginx
Redmine
Latest releases
Resources
Download
Stable releases
Redmine releases are available in either .tar.gz format for Unix systems or .zip format for Windows:
- 4.2.3 (2021-10-09):
- redmine-4.2.3.tar.gz (sha256: 72f633dc954217948558889ca85325fe6410cd18a2d8b39358e5d75932a47a0c)
- redmine-4.2.3.zip (sha256: ff08797d8127c1a3a84d000d481d5295669c0563a963782336d5470257a2d5e7)
- 4.1.5 (2021-10-09):
- redmine-4.1.5.tar.gz (sha256: 624dfeab7db5cda35a03d791b5fa83a836717ca280856c51cd089ed638f8678e)
- redmine-4.1.5.zip (sha256: 4cc5c6eaf7163b58645c7485cf1330740409101d86a4c9adf992caacc025422c)
See the Changelog for details and RedmineInstall for installation instructions or RedmineUpgrade for upgrading instructions.
You can also browse the older releases.
Latest source code
You can checkout the latest source code of Redmine from the Subversion repository. This is the preferred way to get Redmine if you want to benefit from the latest improvements and be able to upgrade easily.
The URL of the official Subversion repository is: https://svn.redmine.org/redmine
Alternatively, you can clone it from the following mirrors that are maintained by the community:
4.2 Stable
You can checkout the latest stable source with one of the following commands:
Subversion
It will create a directory named redmine-4.2 and you’ll be able to update your Redmine copy using svn update in this directory.
Development (unstable)
You can checkout the latest development source from the trunk with one of the following commands:
Источник
Redmine
Latest releases
Resources
How to install Redmine in Linux, Windows and OS X using BitNami Redmine Stack
What is BitNami Redmine Stack?
BitNami Redmine Stack is an all-in-one installer that makes it easy to install Redmine on your computer. It is free, easy to use and self-contained. That means it bundles and automatically configures every piece of software (dependency) necessary to run Redmine for development or production purposes, including Apache, MySQL, Subversion and Ruby on Rails.
You can download the latest version of BitNami Redmine stack for Windows, Linux and OS X at http://bitnami.org/stack/redmine.
Installing BitNami Redmine Stack
Regardless of which operating system you are running (Windows / Linux / Mac), the install process is the same.
Download the latest version of Redmine Stack from the BitNami website.
Find the installer you just downloaded (the filename will be similar to bitnami-Redmine-VERSION-linux-installer.run). Double click on the icon to launch the installer.
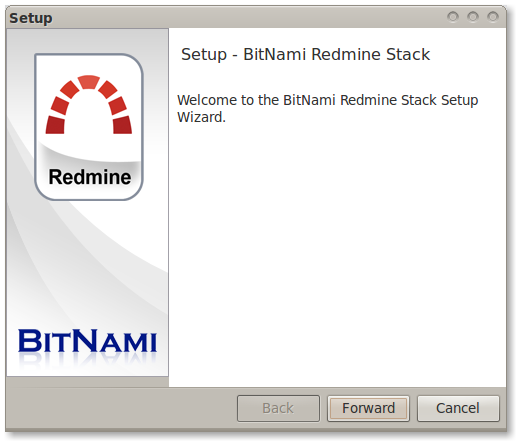
Click «Forward».

Now it will ask where do you want to install the program. Provide the location where you want to install the BitNami Redmine stack and click «Forward» when you are done.
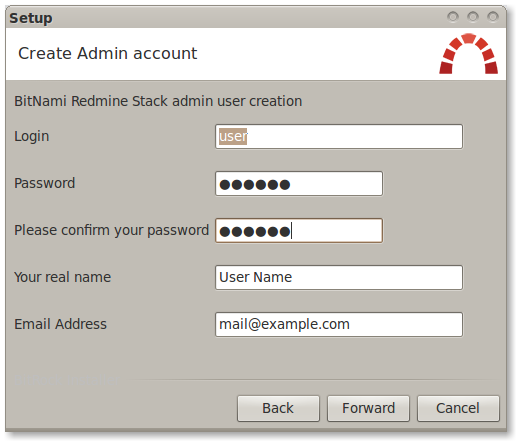
The user and password you provide here will be used to create the admin account in Redmine Click «Forward» when you are done.
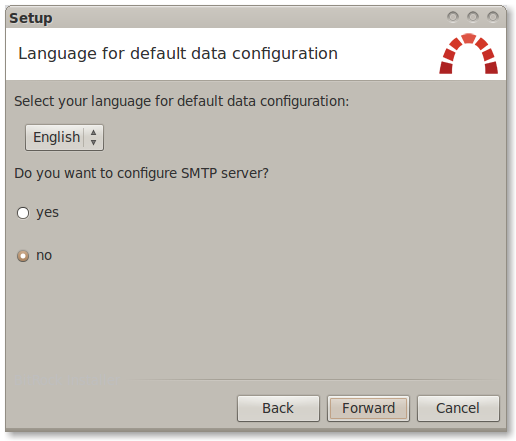
Type in the name you want to use for your Redmine site, and click «Forward».
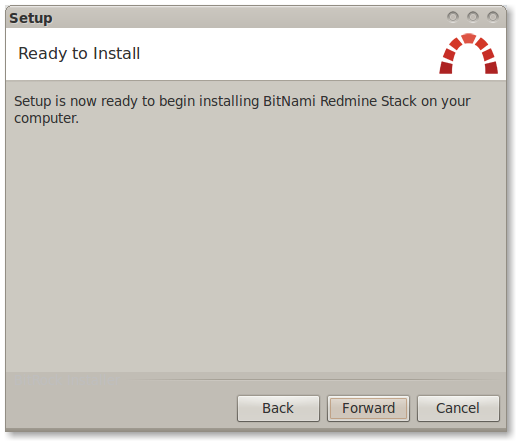
The installer is now ready to begin the installation process. Click «Forward».
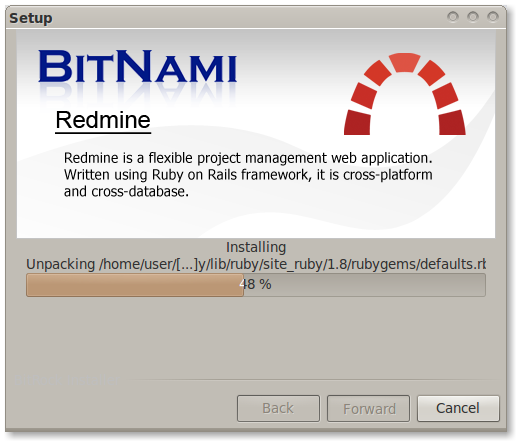
Wait a minute while the installer copies the files and configures your Redmine installation.
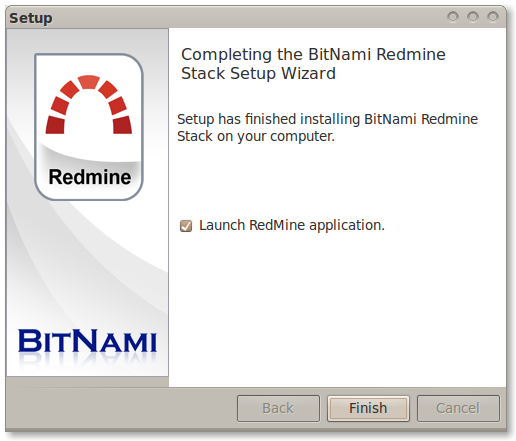
Redmine is now set up and ready to be used. Click «Finish» to launch the application.
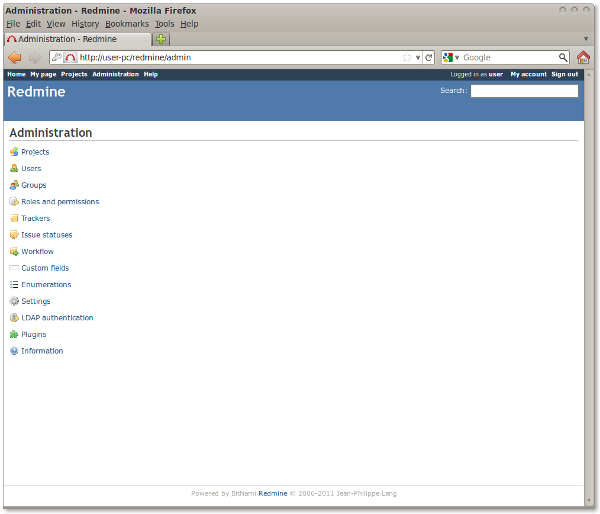
You can now log in using the username and password you provided during the installation.
redmine_installing.png (52,054 КБ) Josue Alvarez, 2011-08-04 18:09
redmine_launch.png (48,906 КБ) Josue Alvarez, 2011-08-04 18:09
Main_application.png (47,736 КБ) Josue Alvarez, 2011-08-04 18:09
Redmine_welcome_screen.png (42,882 КБ) Josue Alvarez, 2011-08-04 18:09
Choose_directory.png (24,991 КБ) Josue Alvarez, 2011-08-04 18:09
User_data.png (33,071 КБ) Josue Alvarez, 2011-08-04 18:09
redmine_settings.png (27,547 КБ) Josue Alvarez, 2011-08-04 18:09
tf00000010.xlsx (16,854 КБ) Mukesh Narayan, 2017-04-18 12:10
Источник
Redmine
Latest releases
Resources
HowTo Install Redmine on Ubuntu step by step
Prerequisite: check your ubuntu version against intended Redmine version
Before using or studying this guide you should check which Redmine version you are going for. Be aware that only latest stable releases will be fully compatible with current releases of plugins.
To check redmine versions versus your ubuntu version have a look at http://www.ubuntuupdates.org/pm/redmine
Generally you could also consider only installing ruby from ubuntu-repos and then heading for a release of redmine from redmine’s download page: http://www.redmine.org/projects/redmine/wiki/Download (this is the more common way of installing redmine on ubuntu). In this case this guide is not suited for you and you should check for an alternate guide. Google provides lots of resources for this alternate installation procedure.
If you are sure that you want to install from ubuntu-repositories, keep on reading:
Introduction
This tutorial walks you step-by-step through installing Redmine on a clean/fresh Ubuntu 12.04 installation. This is intended to be a complete cookbook method for getting Redmine installed and running. It makes no assumptions about other things being installed or configured. Since I have had some issues when using the graphical package managers, we will be doing this from the command line prompt to keep things as clear and clean as possible.
I recommend that you install any Ubuntu updates prior to beginning this process. There are almost always some waiting to be applied after Ubuntu is first set up.
Prerequisites: Apache, mod-passenger, and MySQL
There are several support packages that we will install first. The apache installation is pretty simple if you just follow the prompts and accept the defaults.
Installing mysql takes just a little more, so the details are spelled out.
The installation process for mysql is going to prompt you for a password for the «root» access for the database server, then ask you to confirm the password in a follow-up screen. This sets the database adminstration password.
Installing and configuring the Ubuntu Redmine package
Now it is time to install redmine itself.
You want to allow dbconfig-common to configure the database when prompted so select Yes from the prompt in the panel below.
Then you want to provide the «root» password for the database, so that the installer can create the redmine database. This is the password set when you installed mysql.
Tell the redmine installer we are using mysql for this installation by highlighting «mysql» from the list of database choices:
Now you are asked to provide a password that will be used to protect the redmine database. Redmine itself will use this when it wants to access mysql.
Now confirm the redmine password.
Ensure the bundler gem is installed
Configuring Apache
You need to modify two files for apache. The first is /etc/apache2/mods-available/passenger.conf which needs the text PassengerDefaultUser www-data added as seen below. Do not try to replace whole file content!
Now create a symlink to connect Redmine into the web document space:
And modify /etc/apache2/sites-available/000-default.conf (before apache 2.4 /etc/apache2/sites-available/default) to insert the following with the other sections so that apache knows to follow the symlink into Rails:
Create and set the ownership of a Gemfile.lock file so that apache’s www-data user can access it:
Now restart apache:
You should now be able to access redmine from the local host
In the upper right corner of the browser window you should see the «Sign in» link. Click that and enter «admin» at both the Login: and Password: prompts. Note: this is not the password you set during the installation process. Click the Login button.
I recommend that the next thing you do is to click on My account in the upper right corner and change that password. In the page that is displayed there should be a Change password link in the upper right of the white area of the page. Click to change the password.
Backing up Redmine
You should arrange a regular backup of the Redmine database and the files that users upload/attach. The database can be dumped to a text file with:
where
is the one you set when installing mysql.
The attachments are stashed in /var/lib/redmine/default/files and can be backed up with something like:
You can have these commands run automatically by creating a script called /etc/cron.daily/redmine that contains:
Again, be sure to substitute the mysql root password for
in the mysqldump command line. The file should be protected so that only root has read permission because you are storing the root password for your mysql installation in this file. That the first line creates a new file every time the script is run. This can eventually create a large number of backups of your database files. You should have a script that purges old ones periodically.
Additional semi-optional packages
There are some services that Redmine can use that are not absolutely necessary, but are useful. These are email and software repository/revision control systems.
Email setup
At some point you will probably want Redmine to be able to send email. For this you will need to install and configure email. This can be achieved by installing the postfix package. I do not recommend the exim4 package, as there have been some incompatibilities in the way the «sendmail» command line is handled between Redmine and exim4. Unless everyone has an email account on the redmine server you will want to set up external email as a full internet host. Once email service is installed, you will have to restart apache for Redmine to know that it has access to email services.
Now that you can send email, you have to tell Redmine about it. You need to create/edit the file /etc/redmine/default/configuration.yml and add the following lines:
Then restart apache so that Redmine reloads the configuration file:
Revision control repository setup
In order to have your software repository on the system Redmine will need the corresponding software installed.
That covers it as far as I have gotten in my use of Redmine to date.
Источник
Установка последних RedMine + Apache + nginx

Приведу кратко основное по RedMine:
- ведение нескольких проектов;
- система отслеживания ошибок;
- диаграммы Ганта;
- настраиваемые произвольные поля для инцидентов, временных затрат, проектов и пользователей;
- лёгкая интеграция с системами управления версиями (SVN, Git, Mercurial);
Мне очень Важно было установить свежие версии всех модулей, почерпнул много источников, но практически все с недоделками, и очень таки неудобная конфигурация у них получалась.
Вот и пришлось самому сделать универсальную конфигурацию, которая может работать под любой из основных Веб-серверов.
Ставим на CentOS 6.5 x86_64:
Убедимся что все пакеты свежие:
Добавляем репозитарий epel
Сразу устанавливаем все пакеты, что нам понадобятся, а не по ходу…
Скачиваем нужные исходники, предварительно посмотрев и проверив совместимость пакетов:
Распаковываем и конфигурируем сам Rubby
Строчек с ненайдеyными файлами/библиотеками отсутствуют — можно компилировать и установим!
Проверим версию Rubby
Распакуем и установим RubyGems
Проверим версию RubyGems
Посмотрим какая версия Rails доступна
Установим Rails. Если хотите без лишней документации — то тогда добавьте параметры —no-rdoc —no-ri
Спасибо Марку за данную подсказку, в одном из его постов — rubydev.ru/2012/09/tipstricks-no-ri-no-rdoc-gem-install
Проверим версию Rails:
Затем обновим gem
Проверяем уже ранее установленный MySQL, версию
Убедимся, что с UTF-8 все в порядке и по умолчанию установлено в файле /etc/my.cnf
Хотя некоторые предлагают ставить default-character-set=utf8
Делаем первый старт MySQL
Создаем пароль mysqlroot к MySQL
Создадим пользователя и пароль для базы redmine
Добавляем с проверкой MySQL в автозагрузку
На всякий случай проверяем зависимые библиотеки для MySQL.
Не забываем в /etc/sysconfig/iptables добавить правила для 3306 порта и зоны доступа
Лично я предпочитаю дать полные права для любого хоста, а потом отдельно настраивать в HeidiSQL или phpMyAdmin.
Хотя можно установить не последнюю версию ImageMagick через репозитарий — 6.5.4.7-7.
Я устанавливаю последнюю ImageMagick с исходников:
Просматриваем на отсутствие ошибок, нехватающих фалов и далее make
Проверим работу ImageMagick,
После чего у нас появится картинка ImageMagic.gif можно скачать и просмотреть.
Установка поддержки шрифтов TrueType.
Установим шрифты MS TrueType. На странице corefonts.sourceforge.net смотрим и устанавливаем последнюю версию
Через MC находим в этом файле строчку function set_mirror < и проверяем или меняем зеркало на строку вида:
После этого запускаем команду, будет загружено немало пакетов и вконце увидим где расположен инстаряционный пакет
Установим его и сделаем необходимые линки:
Установка RMagick и его путей.
Установим passenger и модуль под apache
Жмем Ентер и снова Ентер — выбирая Ruby, пойдет компиляция и в итоге мы увидим:
Согласно написаных настроек — добавим конфигурацию passenger в apache создав файл /etc/httpd/conf.d/passenger.conf
После этого сделаем первичную настройку RedMine, и так как будет единая конфигурация (production) на хосте
то согласно примера /var/www/redmine/www/config/database.yml.example там же создадим файл database.yml
Там же создаем файл configuration.yml в котором укажем данные для почты, чтобы иметь возможность получать уведомления от RedMine Все зависит от вашего почтового сервера, протоколы, методы авторизации и т.д. Т.е. здесь возможно придется потрудиться и поискать доп. информацию
В моем случае с первого раза прошло не гладко, но такие действия решили небольшую заминку.
В моем случае нужен rake 10.1.1 и лишний 10.3.1. Проверим:
Установим модуль MySQL для Ruby.
Далее надо собрать и установить пакет, но как правило при компиляции будет ошибка, и тогда надо немного подправить Makefile — явно прописать пути
т.е. сделать так:
И снова откомпилировать, в итоге получим:
Создаем базу, после второй команды выбрать ru
Развернем код RedMine. С учетом того, что на сервере может быть еще ряд других WWW сервисов и работать они будут как под Apache и/или nginx
то по правильному ставить в каталог /var/www/redmine
Сам сервер Apache уже установлен, пропишем его в автозагрузку и запустим
После этого идем по 127.0.0.1 или какой у Вас там IP и проверяем работу стартовой страницы.
Целесообразно сделать ссылку в этом каталоге на каталог конфигурации Apache, позволит в дальнейшем не бегать по кучи каталогам)
настроим Apache на работу с виртуальными хостами — /etc/httpd/conf.d/vhosts.conf
добавим на локальном хосте привязку имени к ip — это позволит ходит по имени к этому хосту.
Сменим владельца на каталог:
Все после этого проверяем работу РедМайна,
если все делали по моему сценарию — любуемя результатом:
После этого настраиваем остальное:
Как видим в идеале было работать с исходниками ImageMagick версии 6.8.7.5.1 но все равно необходимо вносить ряд настроек чтобы в Редмайне стояла галочка а не восклицательный знак
В итоге лучший вариант установить ImageMagick из обычного репозитария — yum install ImageMagick он установит еще ряд зависимых библиотек
И только потом поверх можно обновлять версии, хотя можно и оставить как есть.
Если строка «Каталог ресурсов модулей доступен для записи» стоит с восклицательным знаком, тогда делаем так:
После того как все работает под apache — настроим работу под nginx.
Конечно можно длать различные связки у которой на статиту один а на динамику другой, много вариантов — я остановился на чистом nginx
Все делаем под нашу существующую универсальную структуру каталогов с сайтами.
В репозитарии epel версия nginx 1.0.15 хотя уже есть 1.7.0, но passenger точно работает с 1.6.0
Для этого останавливаем и отключаем Apache:
Устанавливаем passenger под nginx, и выбираем 1й способ установки,
указав путь установки nginx как по умолчанию — /usr/local/nginx
Создадим ссылку на nginx в каталоге /var/www
И подправим следующим образом nginx.conf
После этого ставим в автозагрузку nginx
Все, теперь имеем полностью рабочую связку nginx + redmine
Хотя можно и вручную установить последнюю версию nginx:
Также не забудьте установить 777 права на все подпапки tmp — это позволит к примеру делать предпросмотр присоединенных файлов.
Все данные конфигурационные файлы можно скачать тут.
Источник


