- 💊 How To Install #RubyonRails 💊 on Windows 7/8/10 → Complete Tutorial 2019 (May 2020)
- Step-By-Step Tutorial on How To Install Ruby, Rails, RubyGems, Git, RMagick, MYSQL2 & SQLite3 on Windows…
- Overview
- 💾 Download RubyInstaller (IMPORTANT)
- 1️⃣ Identify Windows Architecture
- All guides / Install Ruby on Rails on macOS 10
- Overview
- Installing the Windows Subsystem for Linux
- Installing Ruby
- Configuring Git
- Installing Rails
- Setting Up MySQL
- Setting Up PostgreSQL
- Final Steps
- Rails installer in windows
- How to install ruby on rails in windows
- 2 Answers 2
💊 How To Install #RubyonRails 💊 on Windows 7/8/10 → Complete Tutorial 2019 (May 2020)
Step-By-Step Tutorial on How To Install Ruby, Rails, RubyGems, Git, RMagick, MYSQL2 & SQLite3 on Windows…

Article revised on 📆 May 2020 📆 to reflect the new update
of RubyInstaller2 (Devkit no longer required), Rails 6.0.3 & SQLite3 1.4.0.

Overview
To develop Rails on Windows, you require the following components:
These are all freely available, and are required for any OS Ruby install ↴
📝 Note from the author (May 2020)
As far as I am aware, this is the ONLY Ruby/Rails on Windows tutorial which doesn’t require the installation of Bash. The bash dependency is around 215mb+ of unnecessary data, not worth it.
This tutorial explains the most space-efficient way of installing a pre-compiled version of Ruby, which only requires around 5mb of data + your bundles.

If you have any questions, please either leave a response here, or contact me directly at rpeck@frontlineutilities.co.uk.
On Windows, you need a pre-compiled version of Ruby.
On Linux, you can compile from source. Not Windows.
Well, actually you can. But it requires MASSIVE amounts of patience in order to get the correct dependencies / libraries installed.
The best thing to do is download a pre-built version of Ruby.
⚠️ RailsInstaller does *NOT* keep libraries up to date . ⚠️

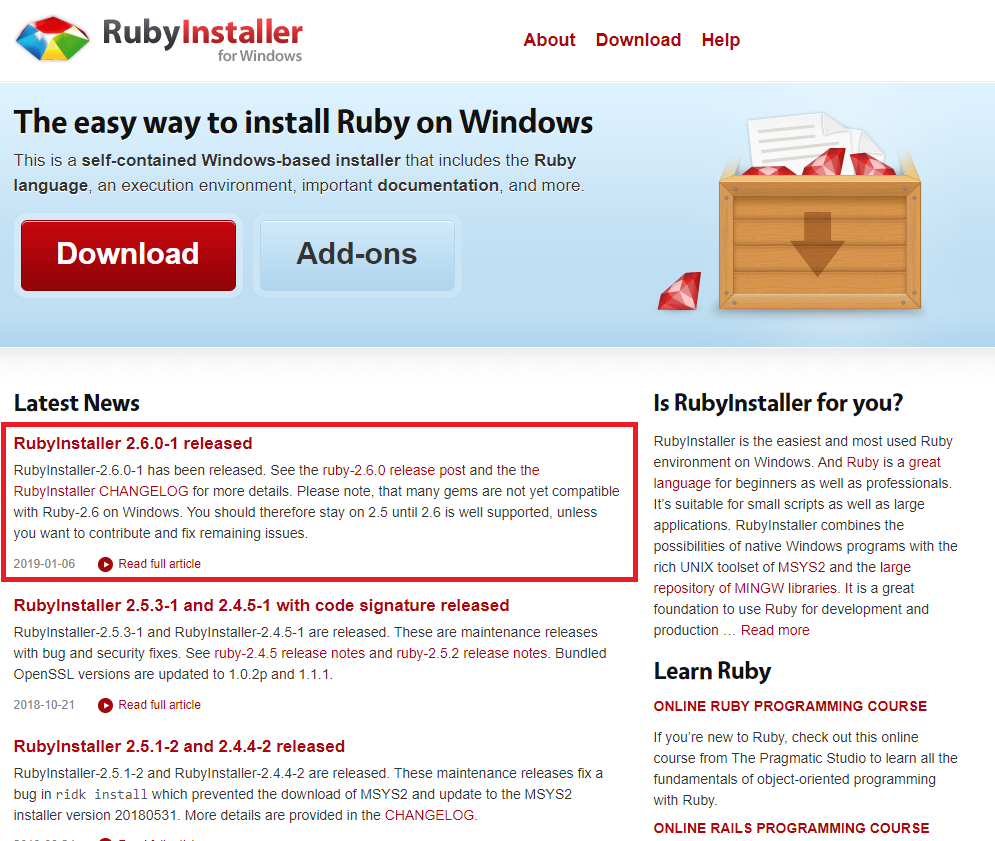
💾 Download RubyInstaller (IMPORTANT)
The best thing to do is to download the ZIP version of RubyInstaller. Whilst there is an installer, it’s better to just download the binaries in the ZIP.
If you do want to do this, there are several options:
- Ruby 2.3.x (not worth bothering with)
- Ruby 2.4.x
- Ruby 2.5.x
- Ruby 2.6.x
Due to different build requirements, Ruby 2.4.x started using RubyInstaller2
(which uses MSYS2 over DevKit):

I would personally recommend downloading Ruby 2.5.x (the latest), but if you have an application designed for Ruby 2.4.x you’re also able to use that:
1️⃣ Identify Windows Architecture
The first step is to know your Windows version ( x64 or x86 ):
- Press Windows + R keys on the keyboard
- Type dxdiag and press OK
- Identify the System Type from the list:
All guides / Install Ruby on Rails on macOS 10
A guide to setting up a Ruby on Rails development environment
Operating System
Version
Overview
This will take about 45 minutes.
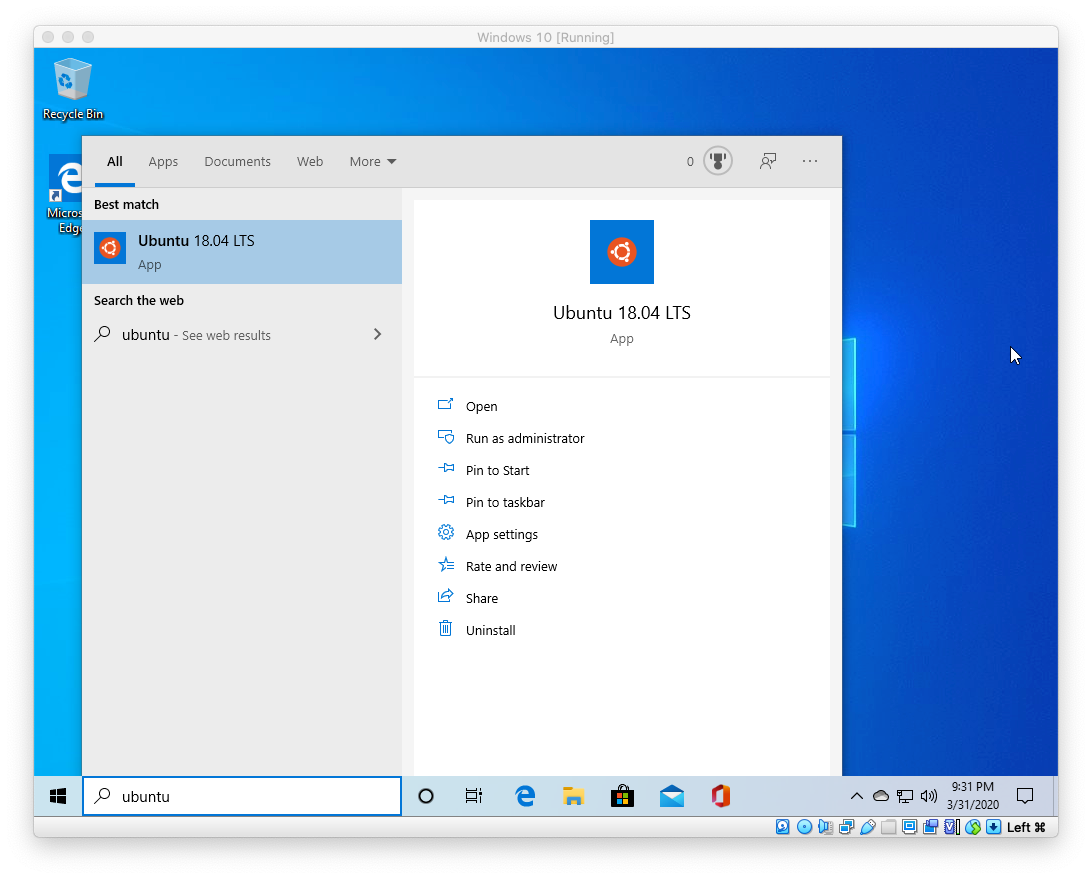
We will be setting up a Ruby on Rails development environment on Windows 10.
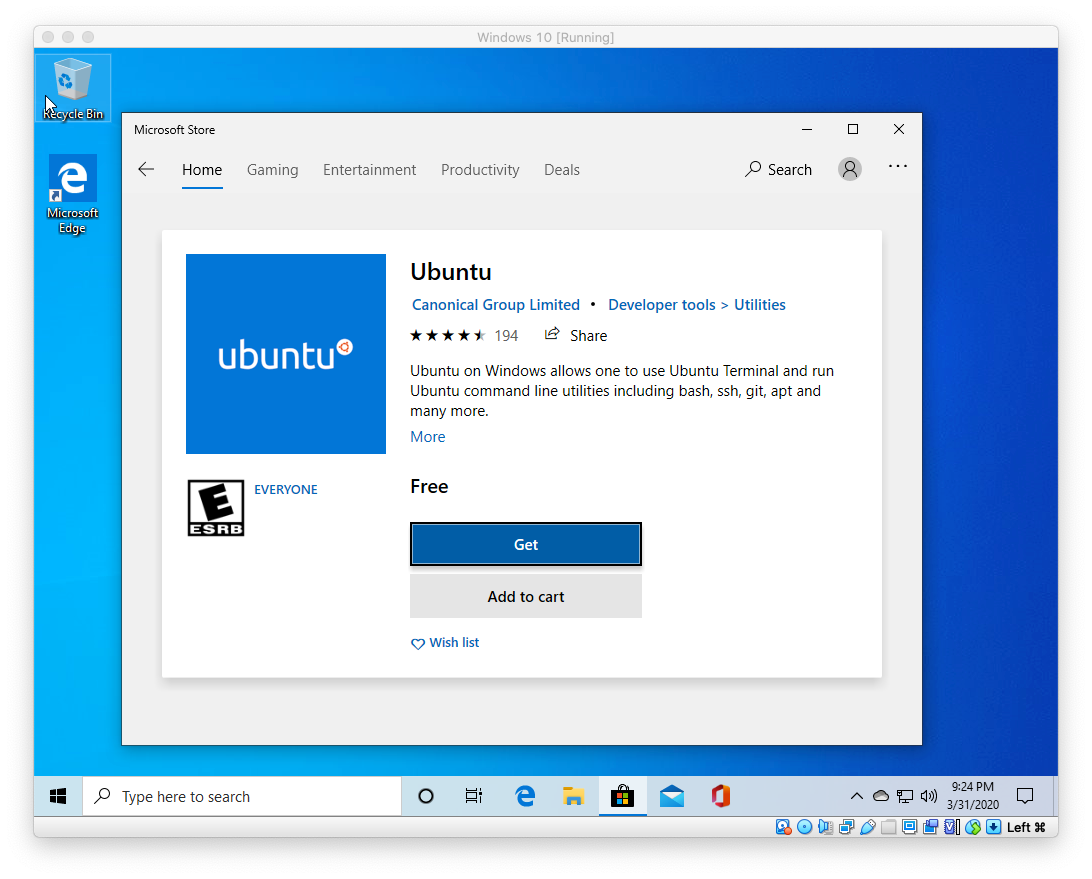
The reason we’re going to be using Bash on Ubuntu on Windows because it allows you to run Linux on your Windows machine. Most Ruby on Rails tutorials and dependencies work best on Linux, so this allows you to get the best of both worlds. A Windows machine for your day to day work, and a Linux subsystem for Ruby on Rails development.
This only works on 64-bit installations of Windows. This is also in beta, so this won’t be nearly as robust as running a Linux virtual machine, but it can definitely do the basics well enough.
Installing the Windows Subsystem for Linux
Windows 10 allows you to run various Linux operating systems inside of Windows similar to a virtual machine, but natively implemented. We’ll use this to install Ruby and run our Rails apps.
Open Powershell as Administrator and run:
Now open Ubuntu in the Start menu or by running wsl in PowerShell or the command prompt. You’ll be asked to setup a new user for Ubuntu. Remember this password as it’s what you’ll use later on when installing packages with sudo .
Congrats! You’ve now got a Ubuntu terminal on Windows. You’ll use this to run your Rails server and other processes for development.
Installing Ruby
Choose the version of Ruby you want to install:
The first step is to install some dependencies for Ruby.
Next we’re going to be installing Ruby using one of three methods. Each have their own benefits, most people prefer using rbenv these days, but if you’re familiar with rvm you can follow those steps as well. I’ve included instructions for installing from source as well, but in general, you’ll want to choose either rbenv or rvm.
Choose one method. Some of these conflict with each other, so choose the one that sounds the most interesting to you, or go with my suggestion, rbenv.
Installing with rbenv is a simple two step process. First you install rbenv , and then ruby-build :
The installation for rvm is pretty simple:
Arguably the least useful Ruby setup for development is installing from source, but I thought I’d give you the steps anyways:
The last step is to install Bundler
rbenv users need to run rbenv rehash after installing bundler.
Configuring Git
We’ll be using Git for our version control system so we’re going to set it up to match our Github account. If you don’t already have a Github account, make sure to register. It will come in handy for the future.
Replace my name and email address in the following steps with the ones you used for your Github account.
The next step is to take the newly generated SSH key and add it to your Github account. You want to copy and paste the output of the following command and paste it here.
Once you’ve done this, you can check and see if it worked:
You should get a message like this:
Installing Rails
Choose the version of Rails you want to install:
Since Rails ships with so many dependencies these days, we’re going to need to install a Javascript runtime like NodeJS and a package manager called Yarn.
To install NodeJS and Yarn, we’re going to add it using the official repository:
And now, without further adieu:
If you’re using rbenv, you’ll need to run the following command to make the rails executable available:
Now that you’ve installed Rails, you can run the rails -v command to make sure you have everything installed correctly:
If you get a different result for some reason, it means your environment may not be setup properly.
Setting Up MySQL
Rails ships with sqlite3 as the default database. Chances are you won’t want to use it because it’s stored as a simple file on disk. You’ll probably want something more robust like MySQL or PostgreSQL.
There is a lot of documentation on both, so you can just pick one that seems like you’ll be more comfortable with.
If you’re new to Ruby on Rails or databases in general, I strongly recommend setting up PostgreSQL.
If you’re coming from PHP, you may already be familiar with MySQL.
You can install MySQL server and client from the packages in the Ubuntu repository. As part of the installation process, you’ll set the password for the root user. This information will go into your Rails app’s database.yml file in the future.
Installing the libmysqlclient-dev gives you the necessary files to compile the mysql2 gem which is what Rails will use to connect to MySQL when you setup your Rails app.
When you’re finished, you can skip to the Final Steps.
Setting Up PostgreSQL
The easiest way to setup PostgreSQL is to install it on Windows using one of the Windows installers. You’ll be able to run it in Windows and connect to it through Linux.
Pay attention to the username and password you setup during installation of Postgres as you will use this to configure your Rails applications later to login to Postgres when your Rails app runs.
You’ll also need to install the development headers on Ubuntu so you can install the pg gem.
Final Steps
The best place to develop Rails apps on the Windows Subsystem for Linux is to navigate to `/mnt/c`. This is actually the C: drive on Windows and it lets you use Sublime, Atom, VS Code, etc on Windows to edit your Rails application.
And now for the moment of truth. Let’s create your first Rails application:
You can now visit http://localhost:3000 to view your new website!
Now that you’ve got your machine setup, it’s time to start building some Rails applications!
If you received an error that said Access denied for user ‘root’@’localhost’ (using password: NO) then you need to update your config/database.yml file to match the database username and password.
To edit your code in Windows: open up Sublime, Atom, VS Code, or whatever editor your prefer and point them to your folders in C:\code and you’ll be able to safely edit your Rails apps in Windows and run them in Linux!
When you create a new Rails app, you might run into the following error: parent directory is world writable but not sticky.
If you run into this issue, you can run chmod +t -R
/.bundle and that should fix the permissions errors and let you finish the bundle install for your Rails app.
That’s it! Let us know in the comments below if you run into any issues or have any other protips to share!.
Rails installer in windows
Rails development environment installer for Windows.
The goal of this project is to generate an installer that when run installs all of the most common components for a Rails development environment with no required prerequisites on a Windows system.
How to Contribute
RailsInstaller project code repository is located on GitHub and is bootstrapped, built and packaged via rake tasks.
Download and install the latest RailsInstaller.
Download and install latest Inno Setup Quick Start Pack, add iscc.exe in your PATH
Open the the command prompt from the start menu and change directory to where you like to keep your projects.
Clone your fork of the project.
Update from origin master branch and checkout a new topic branch for your feature/bugfix.
Bootstrap the project. From the project root run:
Implement your new feature and/or fix your bug in your newly forked Railsinstaller project code.
The configuration file for specifying required packages can be found at config/railsinstaller.yml.
Building of the installer into the stage path for packaging is implemented by Ruby code in the lib/ directory, starting with the file lib/railsinstaller/actions.rb.
Methods called by the actions.rb file are implemented by lib/railsinstaller/methods.rb.
Next build all components onto the stage (into the stage/ directory)
Use Inno Setup to package the installer into an executable (.exe) for testing/distribution.
This creates the executable (.exe) package file in the pkg/ directory from the files staged during the build process in the stage/ directory.
NOTE — You can run the package task with —trace for debugging output if the package fails to build or if you simply want to see what is being done as it is done).
Once you have verified your new feature/bug-fix, push your branch up to GitHub.
Now issue a pull request on GitHub.
The next few sections detail the core components that make up RailsInstaller.
Ruby 2.2.3 on Windows
RubyInstaller is a self contained package installer which installs Ruby and RubyGems on a windows system, head over to http://rubyinstaller.org/ for more information.
Development Kit (DevKit)
A MSYS/MinGW based toolkit that enables RailsInstaller to build native C/C++ packages, both for Ruby and gems. DevKit is built and maintained by the wonderful folks over at the RubyInstaller project.
The git version that is bundled into RailsInstaller is msysgit.
We are using Inno Setup, a free installer for Windows programs.
How to install ruby on rails in windows
Getting error while trying to install Ruby on Rails like below command
ERROR: Failed to build gem native extension.
current directory: C:/Ruby25-x64/lib/ruby/gems/2.5.0/gems/nio4r-2.2.0/ext/ni o4r
C:/Ruby25-x64/bin/ruby.exe -r ./siteconf20180224-8176-ibolzo.rb extconf.rb
current directory: C:/Ruby25-x64/lib/ruby/gems/2.5.0/gems/nio4r-2.2.0/ext/nio4r make «DESTDIR=» clean ‘make’ is not recognized as an internal or external command, operable program or batch file.
current directory: C:/Ruby25-x64/lib/ruby/gems/2.5.0/gems/nio4r-2.2.0/ext/nio4r make «DESTDIR=» ‘make’ is not recognized as an internal or external command, operable program or batch file.
make failed, exit code 1
Gem files will remain installed in C:/Ruby25-x64/lib/ruby/gems/2.5.0/gems/nio4r- 2.2.0 for inspection. Results logged to C:/Ruby25-x64/lib/ruby/gems/2.5.0/extensions/x64-mingw32/2.5.0 /nio4r-2.2.0/gem_make.out Temporarily enhancing PATH for MSYS/MINGW. Building native extensions. This could take a while.
Can anyone figure out what is the problem of getting this error


2 Answers 2
Follow those steps, actually, I have installed Ruby on Rails to many windows machine using these steps.
Step 1: Download Git BASH as the BASH emulation behaves just like the «git» command in LINUX and UNIX environments.
Step 1.1: Download and install latest NodeJS from here and check the NodeJS version
Step 2: Download the ruby latest version here and install it in your directory. Check the Ruby version
Step 3: Download Devkit here take the suitable one for matching your windows bit like 32 or 64 bit
Step 4: Create a devkit folder inside Ruby directory that means where created a default directory after installing ruby software, something like this disk (:C) or (:D)/Ruby25/devkit/
Step 5: Extract the DevKit file inside the devkit folder
Step 6: Open your GIT BASH inside the devkit folder and run this two commands
if above command running properly then done.
Step 7: Now you can run rails command for installing inside ruby folder
Step 8: Check the Rails version
if till now all are steps is ok? that’s it, now run rails command and create a rails project, like


