- Running Mac OS 9 and Mac OS X 10.0 — 10.4 on Apple Silicon (M1) & Intel via QEMU
- Requirements
- Step 1: Install QEMU
- Apple Silicon
- x86 Intel Macs
- Step 2: Create a disk image
- Step 3: Launching the emulated computer and the tricky part: Formatting the HDD
- Step 3.5: Special considerations between operating systems
- Step 4: after the installer fininshes
- Step 5: mounting disk images
- Bonus round: Trying for x86 64 Windows 10
- Step 6: Multi CD-Rom Installs or swapping Disk Images
- openfirmware / instructions.md
- Hosts/Mac
- Contents
- Notes
- Installing QEMU using a package manager
- Building QEMU for macOS
- Errors on old compilers
- Build with LLVM/Clang 7
- Contacts
- Qemu ppc mac os x
- Re: macOS GUI frontend for QEMU?
- Re: macOS GUI frontend for QEMU?
- Re: macOS GUI frontend for QEMU?
- Qemu ppc mac os x
Running Mac OS 9 and Mac OS X 10.0 — 10.4 on Apple Silicon (M1) & Intel via QEMU
QEMU is an open-source emulator for virtualizing computers. Unlike VMWare, it’s able to both virtualize CPUs and emulate various CPU instruction sets. It’s pretty powerful, free, and has a macOS port. There are alternate versions and different ways to install it. Still, in this example, I’m using Homebrew, a package manager for macOS/OSX that allows you to install software via the CLI and manage easily.
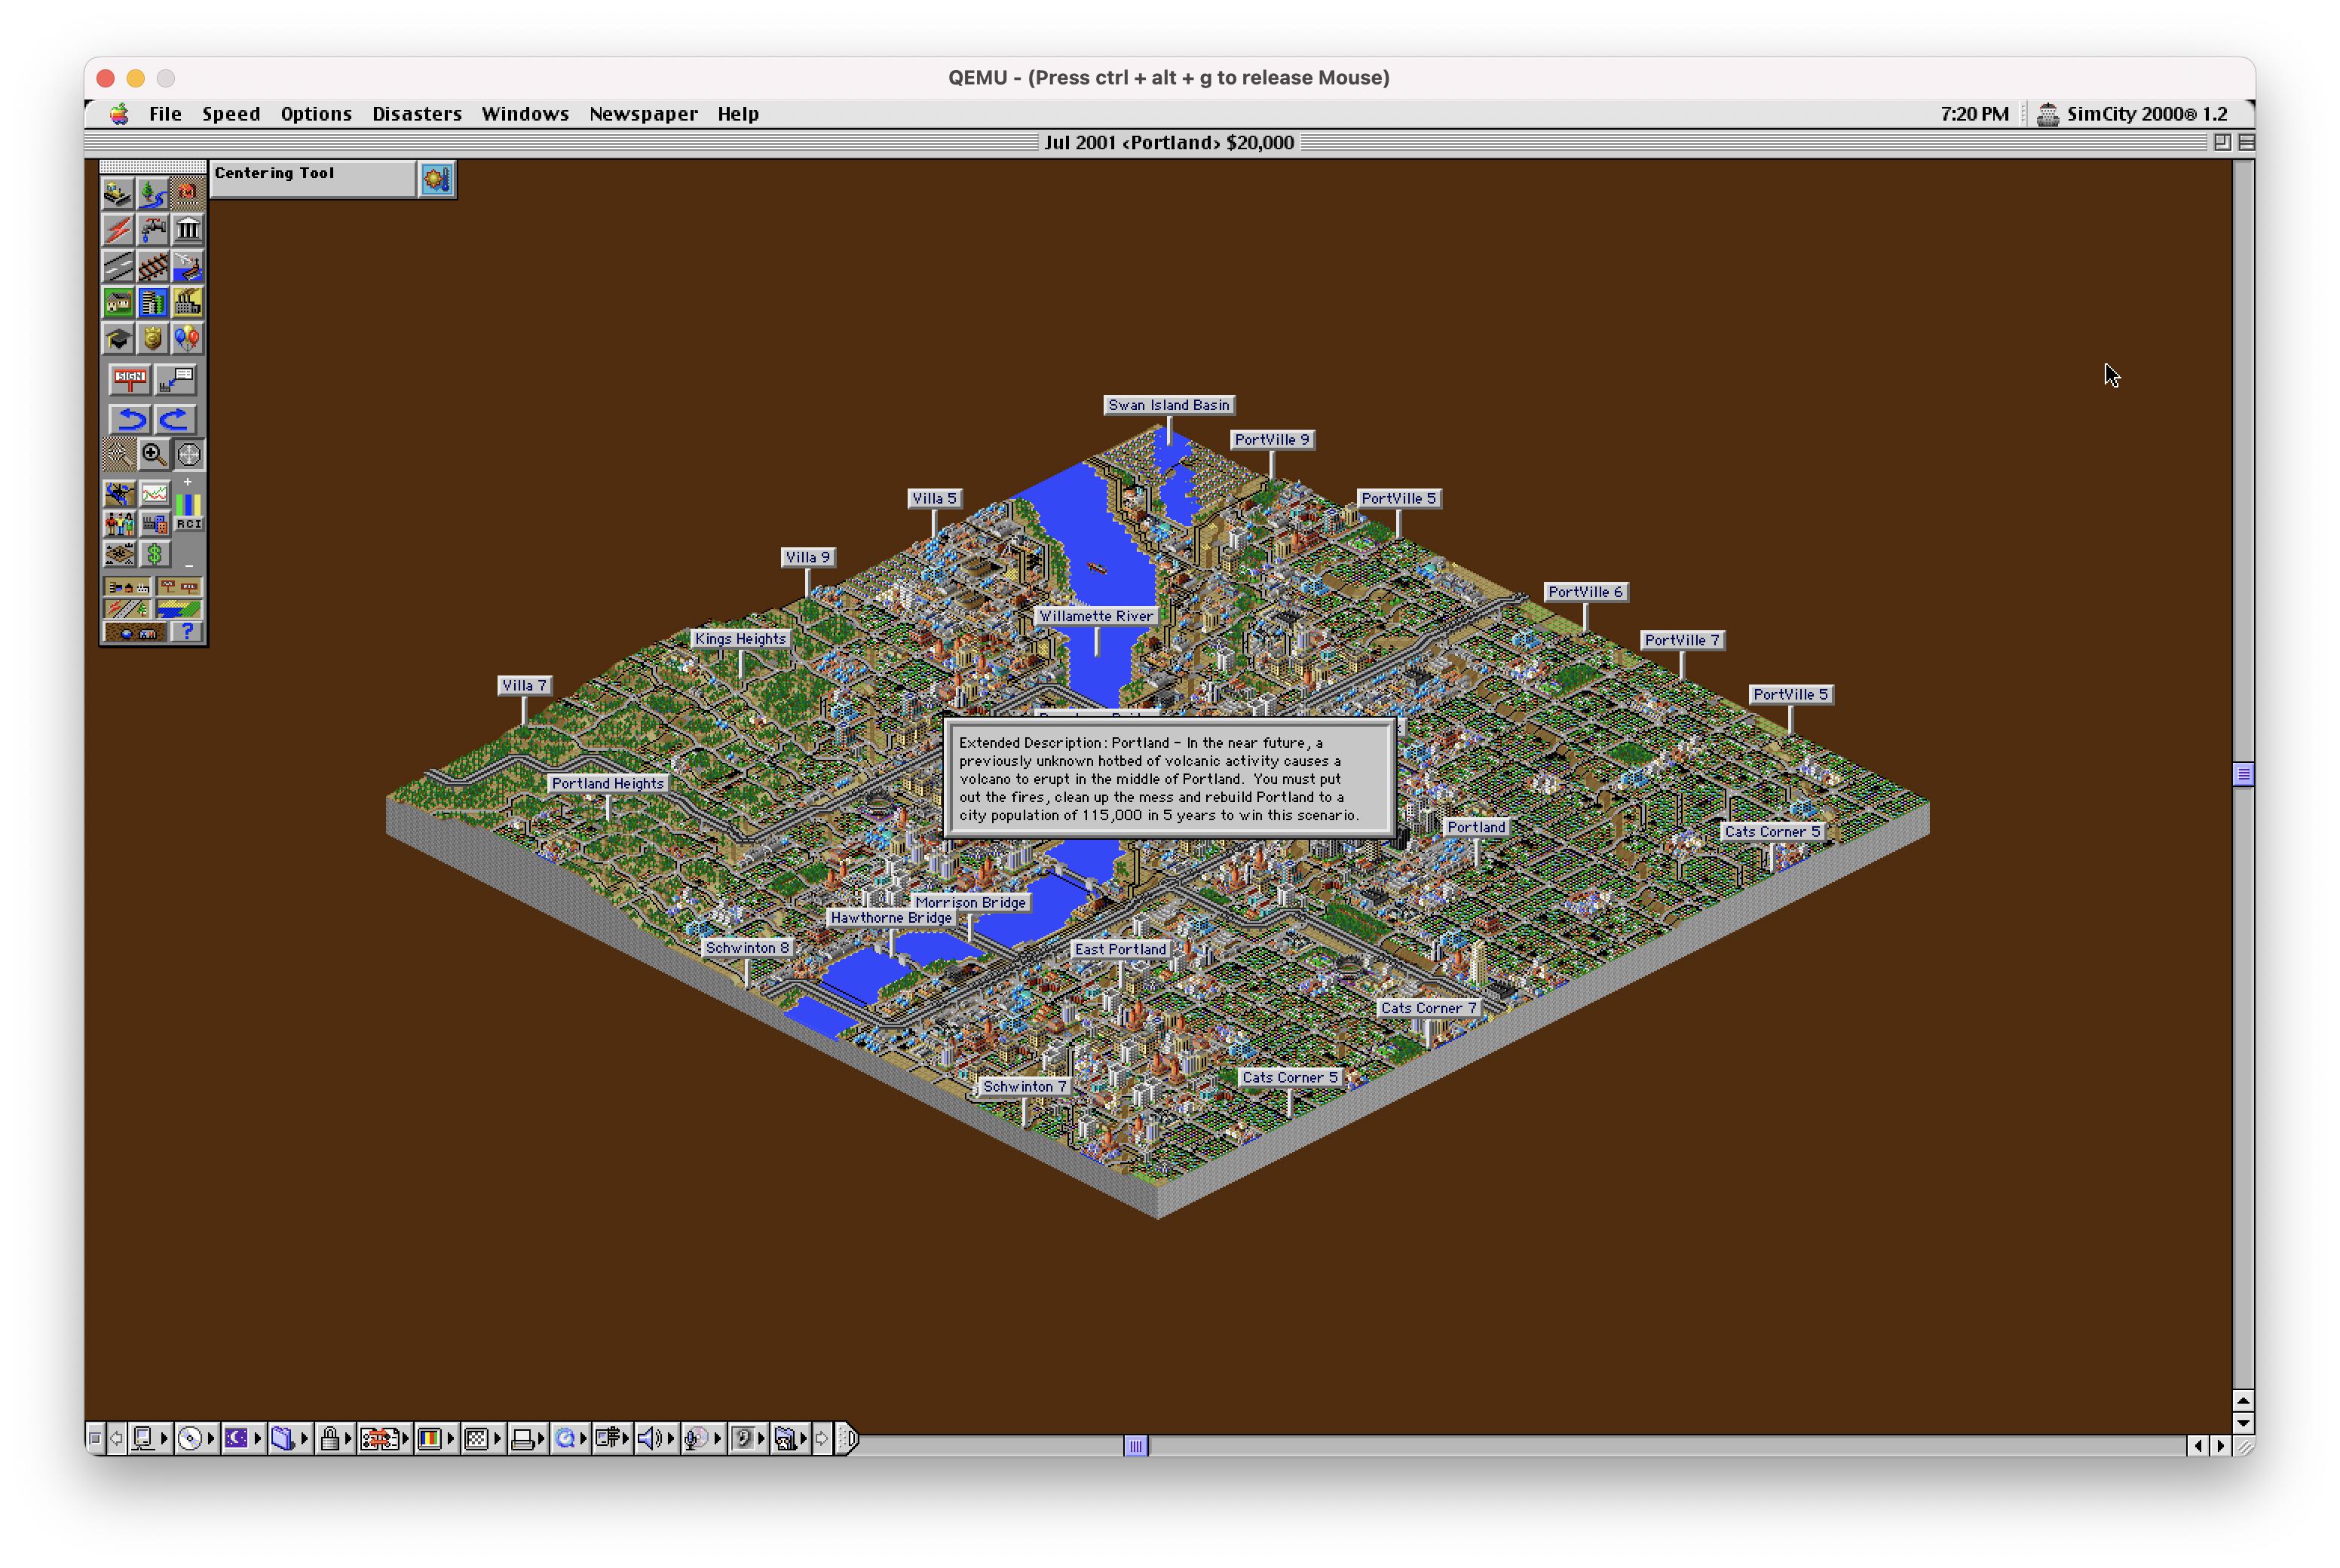
Now, this post wouldn’t be very exciting if I tried this on my Mac Pro, but I decided to try it on my MacBook M1. Thus far, the community has succeeded in getting QEMU to install the ARM version Windows, so I decided to do the more silly path and get PPC and X86 working on Apple Silicon. I encountered very little resistance, which surprised me as I haven’t seen/read anyone trying this route. It’s surprsingly very usable but the usefulness is going to be limited. I was able to play Sim City 2000 on Mac OS 9.2 at a fairly high resolution. For the sake of brevity, I’m going to skip over installing Homebrew on an Apple M1, but you’ll want to use the arch -x86_64 method, which requires prepending. I’ve gotten OS 10.0 and nearly gotten Windows 10 working on my M1.
Included below is the instruction for both Apple Silicon and Intel Macs.
Requirements
- Basic understanding of the terminal in OS X/macOS
- Apple Silicon (M1) computer (or Intel) Mac
- Xcode
- xcode-select (CLI Tools) xcode-select —install
- Homebrew
Step 1: Install QEMU
This is the only step where Apple Silicon and Intel Macs differ. You’ll need to install the x86 version of QEMU for the Apple silicon macs first.
Apple Silicon
x86 Intel Macs
Step 2: Create a disk image
The rest of the steps do not need any specification for M1 vs. Intel.
You can specify a route, but I just used the default pathing, the 2G = 2 GB below. You can get away with much less for OS X OS 9. If you’d like more space, change the size of the simulated HDD. .
Step 3: Launching the emulated computer and the tricky part: Formatting the HDD
Now that we have a blank hard disk image, we’re ready to go.
Let’s break this down so it’s not just magic. The first command is the qemu core emulator, you can use things like 64-bit x86 CPU qemu-system-x86_64 or a 32-bit CPU qemu-system-i386 , but we’re using a PPC, so we are using qemu-system-ppc .
Next, we’re declaring PC bios with -L pc-bios , I’m unsure if this is necessary. This seems to be the default even in Mac QEMU. After that, the -boot flag declares the boot drive. For those who remember the days of yore, C is the default drive for PCs, D is the default for the CD-Rom like a PC. It’s weird, I know. -M is the model flag. It’s pretty esoteric, but QEMU uses OpenBIOS, and mac99 is the model for Beige G3s. The lowercase -m is memory, expressed in megabytes, but you can use 1G or 2G for 1 or 2 gigabytes like the format utility. -hda is the image we’re using. Finally, -cdrom is the installer image
Step 3.5: Special considerations between operating systems
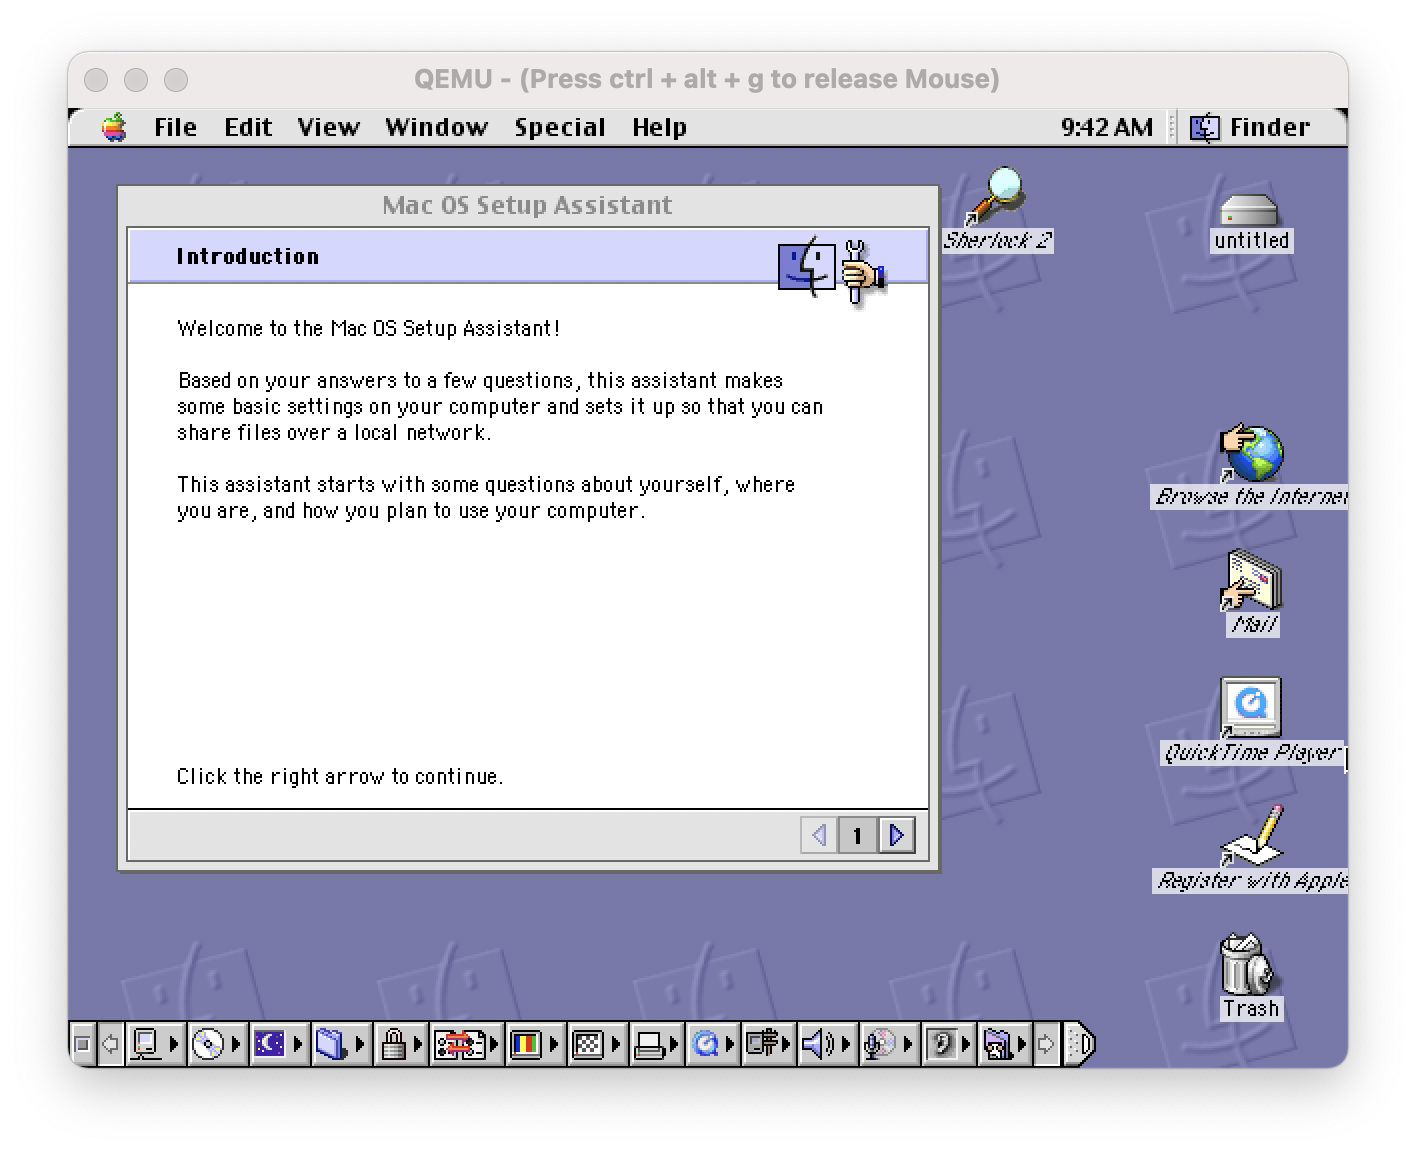
I discovered that OS X 10.0’s installer has a significant flaw: It doesn’t have a disk utility. The disk images are black disks thus have no file system. If you want to run OS X 10.0, you’ll need to first launch an installer that can format HFS like OS 9 or later versions of OS X, run the disk utility, format the image and then exit out of the emulator. The process would look like this:
Then format the drive from the utility, quit the emulator (control-c on the terminal window).
Tiger and Leopard requires USB emulation so you’ll need to add -device flags for a usb keyboard and a usb mouse, also both like a few extra -prom-env flags.
Power PC Leopard I can get to boot but it crashed twice during installs, this could be
Step 4: after the installer fininshes
You will end up seeing a failed boot screen after the installer finishes. This is normal. Either quit the QEMU instance or use control-c in the terminal to close it. Now that it’s installed, we want to boot off the internal drive.
MacOS 9 seems to do slightly better when adding the via=pmu and specifying the graphics.
Step 5: mounting disk images
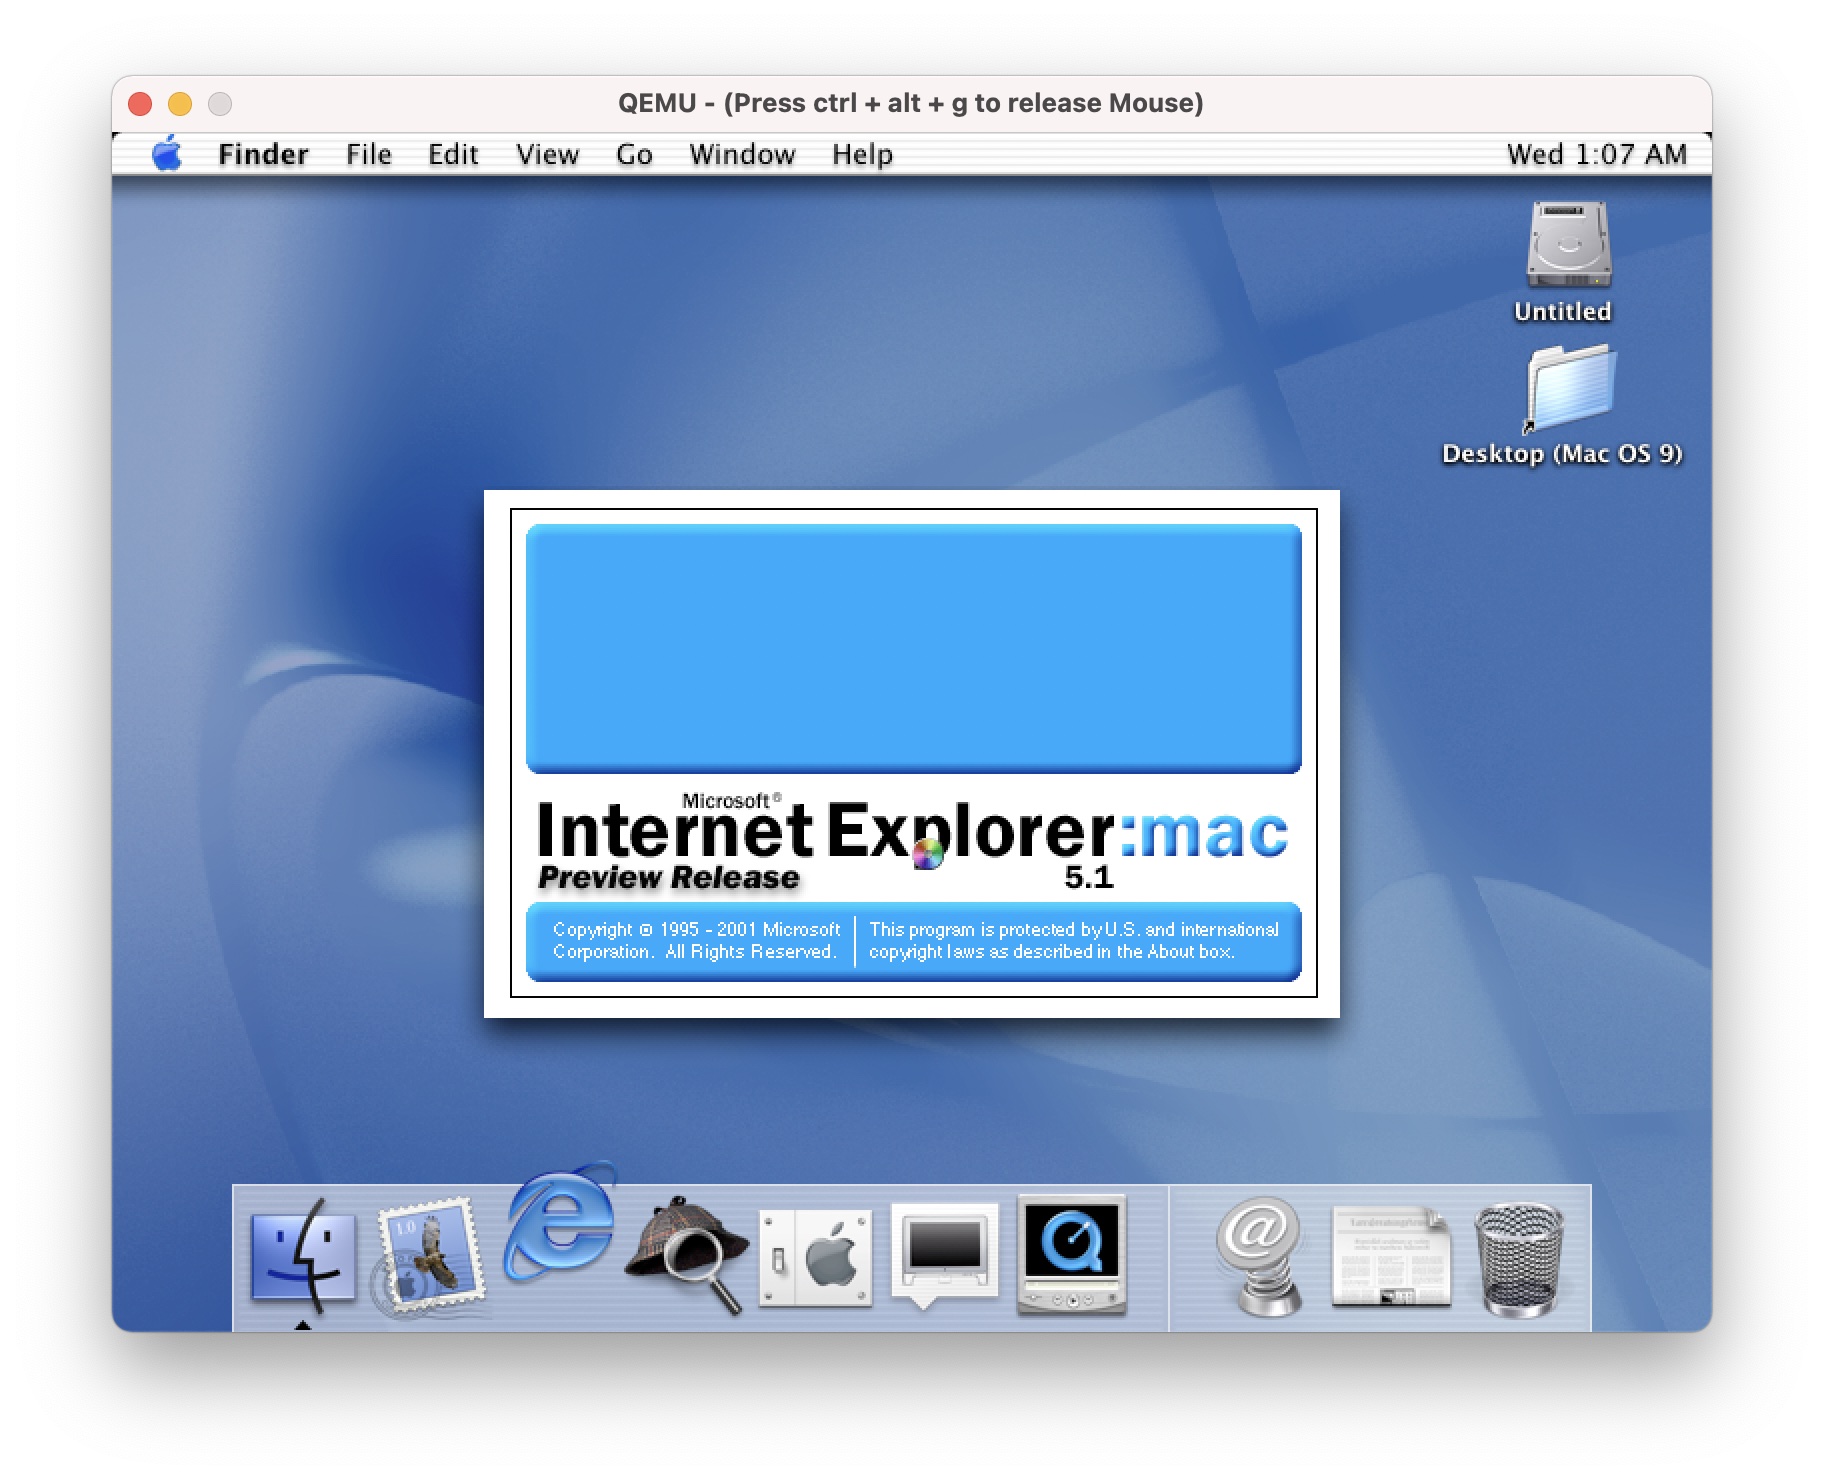
There’s not a lot to do with an OS without software. You can mount plenty of disk image formats
Bonus round: Trying for x86 64 Windows 10
Step 6: Multi CD-Rom Installs or swapping Disk Images
Older applications and OS installers require mutliple disk images. This can be done from via the CLI inside QEMU.
On the QEMU window press:
- Control-Alt-2 to bring up the console
- change ide1-cd0 /path/to/image
- Control-Alt-1 to bring back the GUI
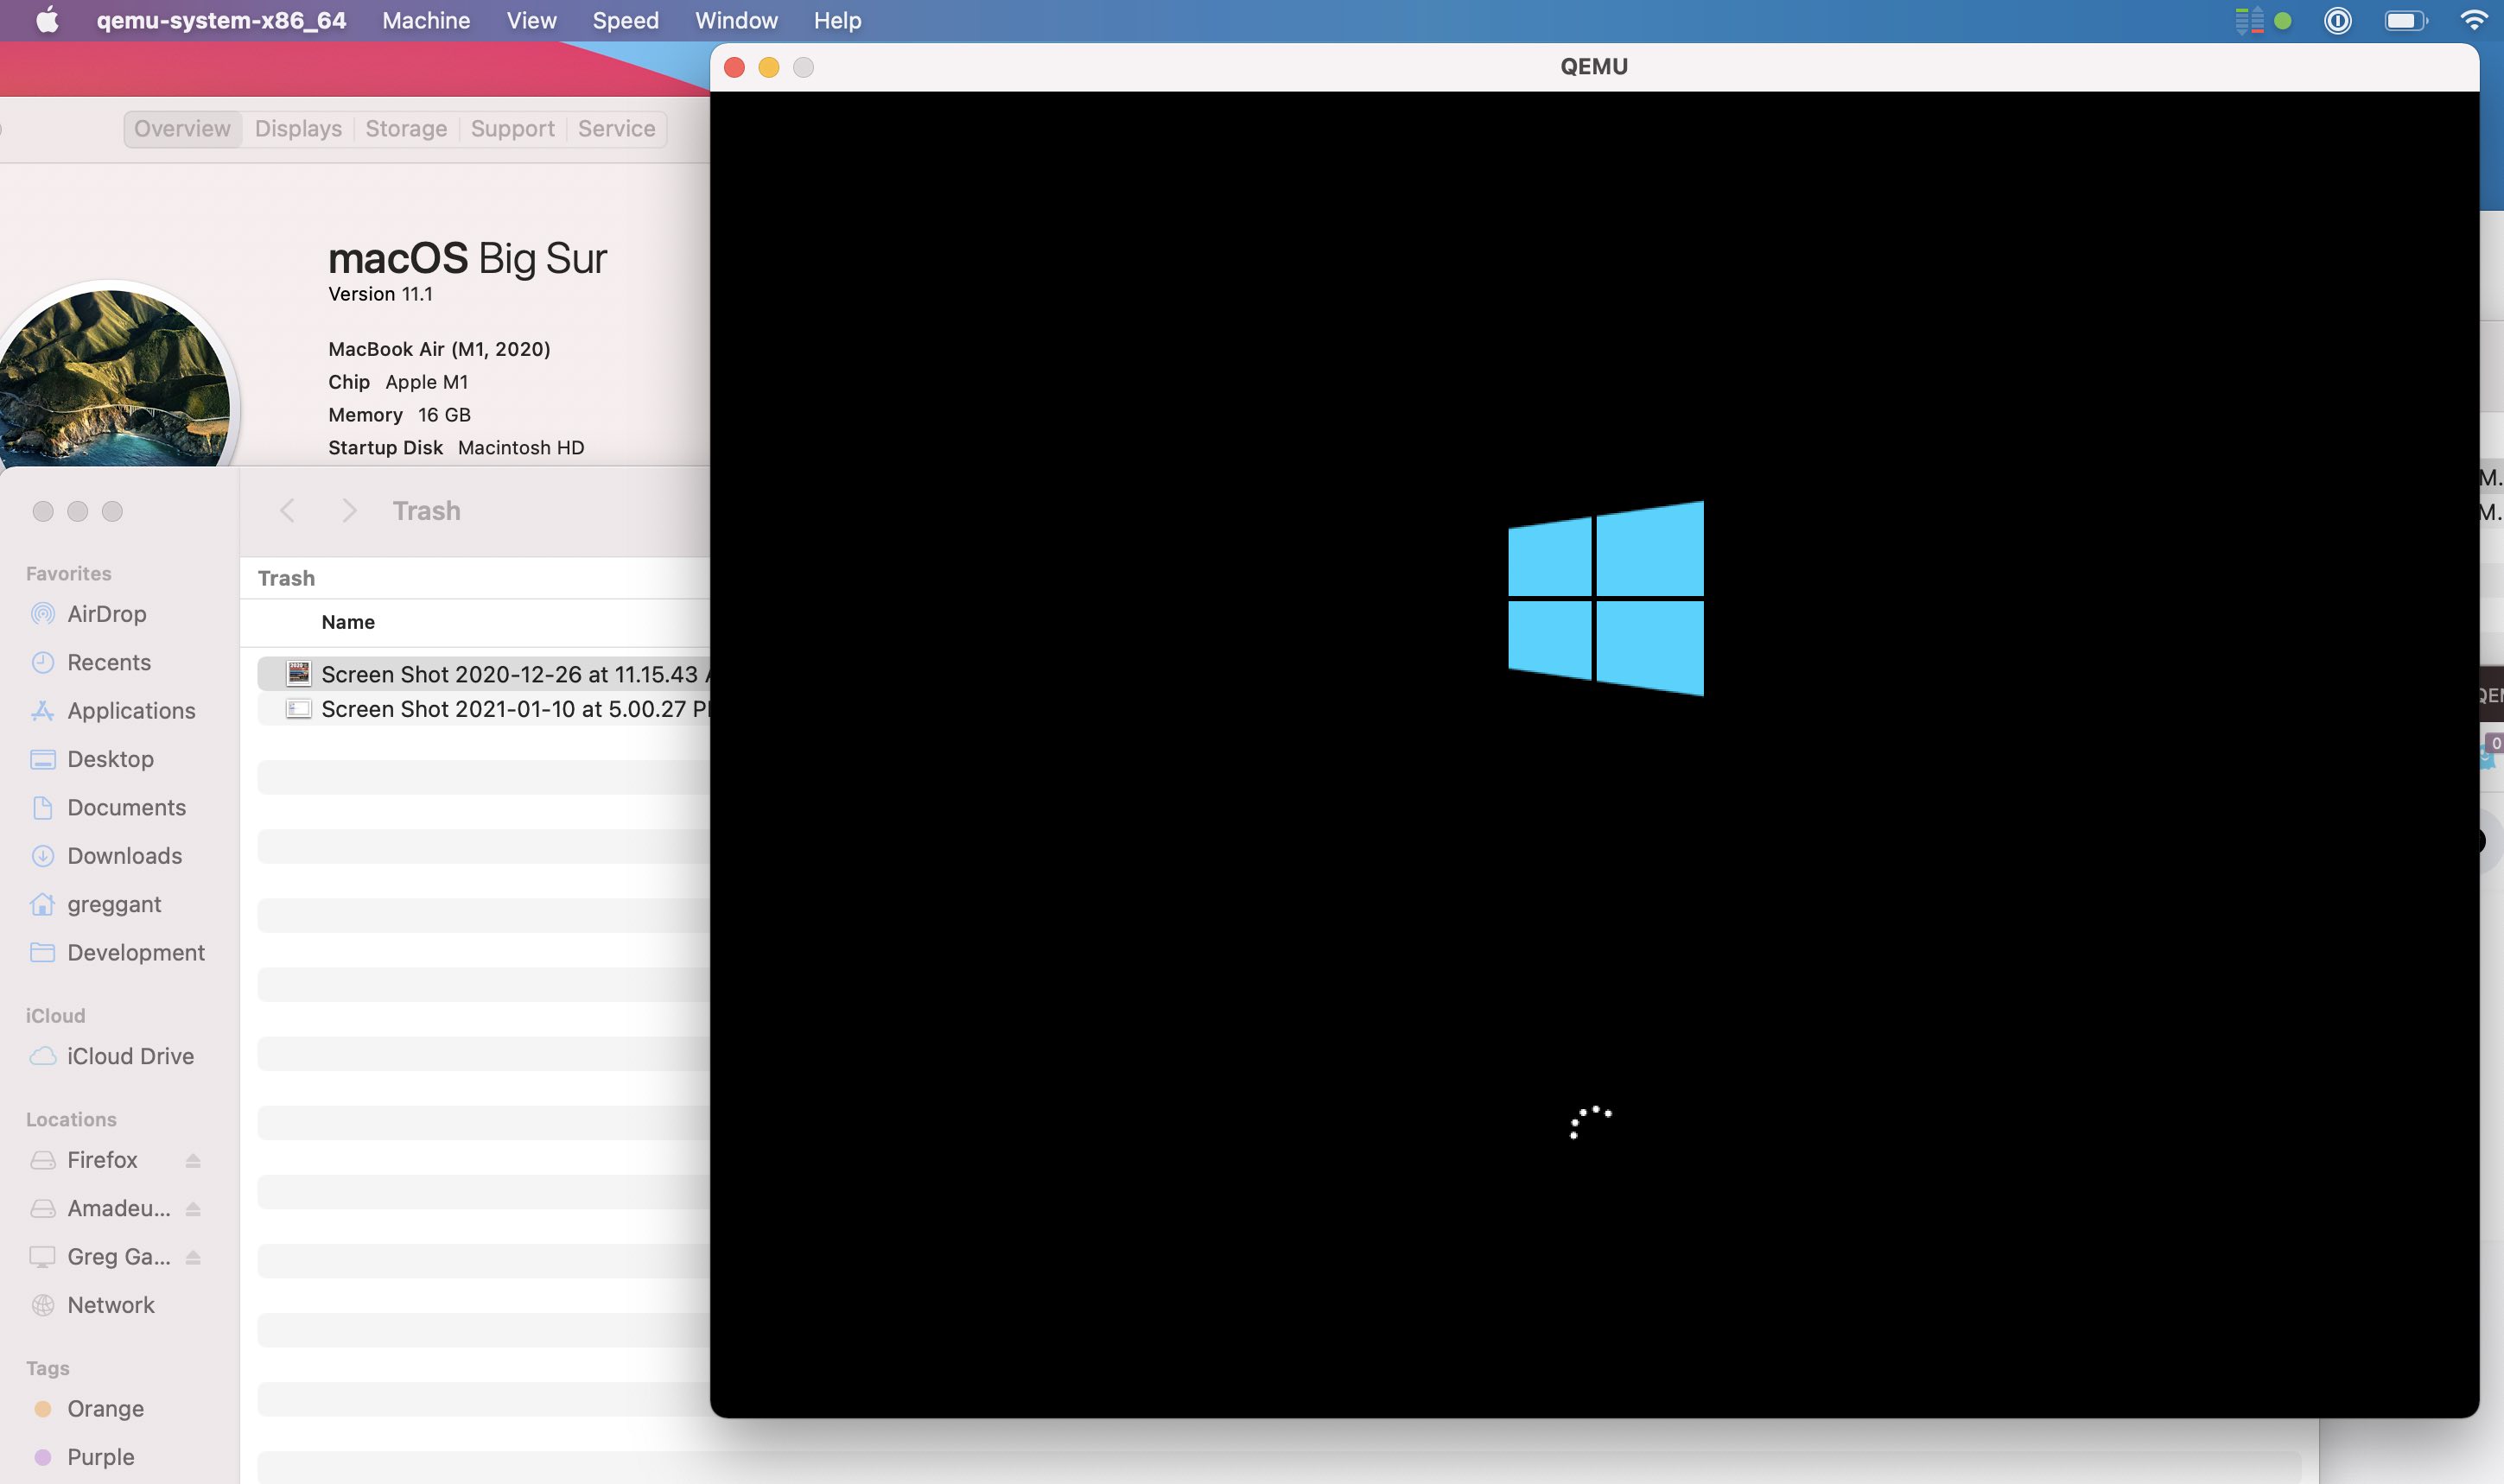
Thus far my Windows 10 experiment has been a lot less successful, I’ve gotten through the installer (it’s unbearably slow) but it seems to hand on booting. It looks very feasible. I might have better luck using the 32 bit verison of windows.
Источник
openfirmware / instructions.md
QEMU Mac OS 9 Instructions
Here is a short guide on how to build QEMU to run Mac OS 9 with working audio. These instructions work for MacOS High Sierra as the host OS, although with some tweaking they may run under Linux/Windows. You should be comfortable compiling software from source before attempting.
Clone QEMU fork
You may need to install XCode and/or the XCode command line tools. If you do not have them, then this process may prompt you to install them (MacOS will do that).
Start by cloning the fork of QEMU with experimental audio support:
Then configure the source to use MacOS CoreAudio. I have also enabled LibUSB, KVM, HyperVirtualization Framework, and the Cocoa UI. In this case I am only compiling the emulator for PPC (32-bit).
This will create a binary in qemu-screamer/ppc-softmmu/qemu-system-ppc that we can use.
Create HD for Mac OS 9
We will need to have a hard drive image for our emulated system. I made mine 5 GB in size, which is plenty for Mac OS 9.
In our qemu-screamer directory, we will use qemu-img to create the disk image.
Get a Mac OS 9 Installer
If you have an ISO of a Mac OS 9 install disc (a Mac OS X classic install disc won’t work), then you can use that in the next step. If you don’t have one, you can download one from Mac OS 9 Lives: Mac OS 9.2.2 Universal Install.
Install Mac OS 9
This won’t install quite like Mac OS 9 did, but instead use Apple System Restore to restore an image onto the hard drive.
Start up QEMU with the following options:
A breakdown of that command:
- -L qemu-screamer/pc-bios sets the BIOS. May not actually need this.
- -cpu «g4» emulate a G4 CPU
- -M mac99,via=pmu will define the Mac model and enable USB support
- -m 512 use 512 MB of RAM, could go lower probably
- -hda macos92.img use our generated disk image for the hard drive
- -cdrom «
/Downloads/Mac OS 9.2.2 Universal Install.iso» use the ISO for the cdrom
Once it starts up, you will be able to run Disk Initializer to format your hard drive image. Go ahead and do that, using Mac OS HFS Extended as the file system. One partition is good.
After initializing the disk, run Apple System Restore with the Mac OS 9 lives disk image as the source and your disk as the destination. This will take a minute to restore. Once done, shut down the emulated system.
Similar to the last command, except we start up from the disk we created.
It should boot up and you will have a running Mac OS 9 with audio!
When the emulator is shut down, just make a copy of the hard disk image to create a backup. If something breaks your Mac OS 9 installation then you can restore the file.
You can dynamically attach CDs/DVDs to the emulated system by going to the menu bar on your host system for the QEMU application and selecting the option to attach to the CD IDE drive. It will open a dialog letting you select your ISO.
Источник
Hosts/Mac
Contents
Notes
Some system emulations on Linux use KVM, a special emulation mode which claims to reach nearly native speed. KVM is mainly used for x86 (32 and 64 bit) emulation on x86 hosts running Linux. Should you want to run Qemu with KVM support on a G5, depending on your distribution, you might have to compile your own kernel with KVM support.
If your host’s (your computer) architecture matches the guest’s (QEMU) architecture and is running Mac OS 10.10 or higher, then you could speed up execution to near native speed using this option: -accel hvf
Installing QEMU using a package manager
Building QEMU for macOS
The system requirements are:
- One of the two most recent versions of macOS (currently Catalina or Big Sur)
- The clang compiler shipped with the version of Xcode for that OS X. GCC might also work, but we recommend clang
Additional build requirements are:
make (when installed through brew, make is installed as gmake, so use gmake)
After downloading the QEMU source code, double-click it to expand it.
Then configure and make QEMU. The target-list option is used to build only the machine or machines you want. If you don’t specify it, all machines would be built. Probably not what you want.
This way doesn’t require you to wait for the configure command to complete:
If your system has the ‘say’ command, you can use it to tell you when QEMU is done
You can use ‘./configure —help’ to see a full list of options.
Here are all the currently available machines:
- aarch64-softmmu
- alpha-softmmu
- arm-softmmu
- cris-softmmu
- i386-softmmu
- lm32-softmmu
- m68k-softmmu
- microblaze-softmmu
- microblazeel-softmmu
- mips-softmmu
- mips64-softmmu
- mips64el-softmmu
- mipsel-softmmu
- moxie-softmmu
- or32-softmmu
- ppc-softmmu
- ppc64-softmmu
- ppcemb-softmmu
- s390x-softmmu
- sh4-softmmu
- sh4eb-softmmu
- sparc-softmmu
- sparc64-softmmu
- tricore-softmmu
- unicore32-softmmu
- x86_64-softmmu
- xtensa-softmmu
- xtensaeb-softmmu
We recommend building QEMU with the -default compiler provided by Apple, for your version of Mac OS X (which will be ‘clang’). The configure script will automatically pick this.
Errors on old compilers
Note: If after the configure step you see a message like this:
you may have to install your own version of gcc. You can build it from source (expect that to take several hours) or obtain third party binaries of gcc available from Homebrew or MacPorts.
You can have several versions of GCC on your system. To specify a certain version, use the —cc and —cxx options.
Build with LLVM/Clang 7
If you need to compile with newer versions of clang (to get f.i. AVX/AVX2 support), you can install llvm through e.g., brew.
Note that building for machines with CPUs supporting such extensions will exclude running your binary on earlier machines.
Contacts
If there are any issues with this web page, please let me know.
Источник
Qemu ppc mac os x
Post by PeterHolbrook » Mon Mar 29, 2021 10:18 am

Re: macOS GUI frontend for QEMU?
Post by Cat_7 » Mon Mar 29, 2021 1:28 pm
There is a GUI by programmingkid, but it hasn’t been updated for a while. I have no idea whether it still works for newer qemu builds or on newer macOS versions.

Re: macOS GUI frontend for QEMU?
Post by adespoton » Mon Mar 29, 2021 3:15 pm
And it’s probably worth noting that the existing one, Q, hasn’t been updated since before QEMU supported booting Mac virtual hardware.
It seems like QEMU-PPC has stabilized enough to actually put something together now that won’t break in a few months; I had been waiting for Screamer to get integrated into the mainline first, but it doesn’t look like that will happen any time soon due to the snapshotting conflicts.
My «front ends» work, but they’re applications with pre-baked configurations where you need to drop the qemu package into the Resources folder yourself, and adjust the config / do the install yourself too, so they’re actually more steps to set up than just using the existing script. Once set up though, it’s easier to use/move.
It’d be nice for someone to have another stab at replicating the VirtualBox interface for QEMU. That’s a lot of work though.
Re: macOS GUI frontend for QEMU?
Post by Cat_7 » Mon Mar 29, 2021 4:09 pm
Источник
Qemu ppc mac os x
(There’s no video for QEMU for Windows — PPC emulator, runs Mac OS 9.1, 9.2 + OSX 10.0 to 10.5 yet. Please contribute to MR and add a video now!)
What is QEMU for Windows — PPC emulator, runs Mac OS 9.1, 9.2 + OSX 10.0 to 10.5?
QEMU is a very versatile and extremely broadly supported open source virtual machine emulator. In 2016, QEMU could finally achieve what has never been possible before: emulating Mac OS 9.0.4, 9.1 and 9.2.2 (albeit still it’s quite slow and the sound support is kind of buggy at the moment). Note that QEMU can also emulate Mac OS X 10.0 up to 10.5. At some point in the near future hopefully, QEMU will fully replace SheepShaver, but at the moment, SheepShaver still runs faster in most situations.
Advantages of using QEMU vs SheepShaver:
- Mac OS 9.1.x and 9.2.x emulation (SheepShaver cannot)
- Much more stable networking (SheepShaver randomly crashes while using the networking features)
- Cursor animation (or anything else for the matter) does not reset the pointer in the host OS (SheepShaver does and it’s annoying!)
- QEMU can run on almost all imaginable CPU architectures, even ARM (e.g.: Raspberry Pi)
These bundles were put together by «that-ben» and are intended to be the easiest possible for beginners. Just launch the «QEMU — Mac OS 9.2.2.bat» (or «QEMU — Mac OS X Tiger 10.4.11.bat») file and wait 30 seconds for Mac OS to boot up. Nevermind the yellow screen with a VRAM partition not found error, it will go past this without any problem. The Mac OS 9 package contains a 1GB disk image on which Mac OS 9.2.2 is already fully installed. The Mac OS X package contains Mac OS X 10.4.11. BTW, if you need a larger disk image, you can grab one instantly from here: Blank hard drive disk images (3GB HFS up to 30GB HFS+)
Networking is fully functional thanks to the sungem driver that’s already pre-configured in these downloads. Right out of the box, it will network through your host machine but on its own subnet branch. The virtual machine’s IP will be like 10.0.x.x. Your Windows host IP would likely be something like 192.168.x.x but what’s nice is that the virtual machine can still tunnel back to your host machine’s subnet branch. So, for instance, you could perfectly well make a server/client environment between Mac OS 9 in QEMU and your Windows host machine.
Pre-installed software in the Mac OS 9.2.2 package includes:
- Classilla 9.3.3 for surfing the web
- QuickTime 6.0.3 for multimedia playback
- Stuffit Deluxe 7.0.3 for extracting/compressing Stuffit archives
- Toast Titanium 5.2.3 for mounting/creating CD images (such as .iso, .cdr or .toast)
- DiskCopy 6.5b13 for mounting floppy disk images (such as .img or .dsk)
Pre-installed software in the Mac OS X 10.4.11 package includes:
- Safari 4.1.3 (2010) for surfing the web
- QuickTime 7.6.4 (2009) for multimedia playback
- All security patches for Mac OS X 10.4.11
- Coming soon: The Unarchiver 2.3 (2015) for extracting/compressing Stuffit archives
Download QEMU for Windows — PPC emulator, runs Mac OS 9.1, 9.2 + OSX 10.0 to 10.5
 This software’s download files include parts.
Learn how to combine file parts into a complete, usable, archive.
Intel x86-64
Compatibility notes
This program is for Windows.
USEFUL TIPS WHEN USING QEMU:
- To install another Mac OS version, exit QEMU if it’s running and then simply edit the «QEMU — Boot with a CD ISO.bat» command file with the Notepad to reflect your actual install CD ISO file location and launch that batch file.
- To capture/uncapture the mouse pointer, hit CTRL-ALT together. Since 2018, it’s now CTRL-ALT-G.
- To go toggle the full screen mode on or off, hit CTRL-ALT-F.
- Hit CTRL-ALT-2 together to open/close the QEMU console. DO NOT HIT THE X TO CLOSE THAT WINDOW OR IT WILL INSTANTLY EXIT THE WHOLE QEMU AND THE VIRTUAL MACINTOSH WITH IT.
- To hot-attach a disk image ISO, in the QEMU console, adapt this command: change ide1-cd0 C:/path/to/file.iso
- To hot-detach a disk image ISO, first in OS9, put it the trash, then in the QEMU console, type this: eject ide1-cd0


Disclaimer: All contents found on the Macintosh Repository website is uploaded by fans and is known to be abandonware but if you find copyrighted material on this archive, please let us know and a moderator will remove it.
- Macintosh Repository
- The community driven dawn of the Mac era preservationist effort
Источник


