How to Install MySQL Client on Ubuntu
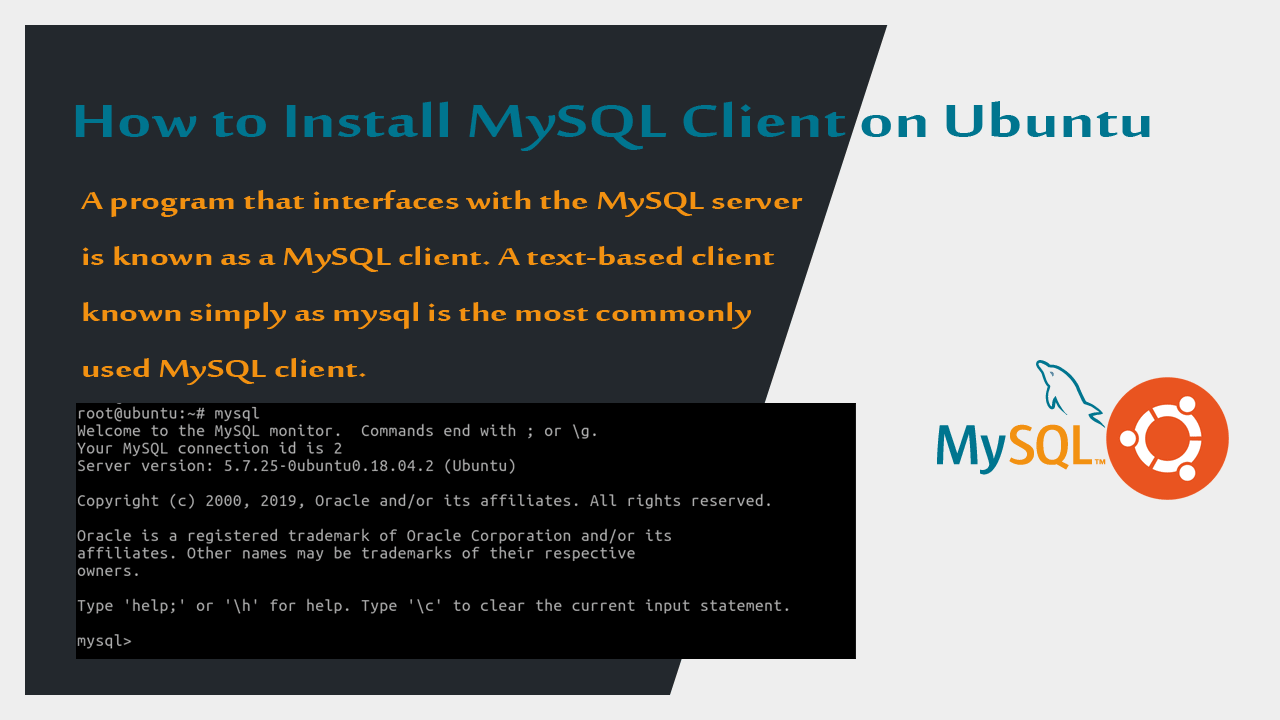
MySQL is popular is popular open-source relational database management system. The program that interfaces with the server is known as a MySQL client. The most basic client that you can use is the command line tool, most commonly known as MySQL client.
To install the mysql client on Ubuntu 18.04, open the terminal window and execute:
The command-line tools allow you to interact with the server and It also allows you to run MySQL commands in shell scripts and other programs (For example, cron to perform maintenance and backup jobs).
The Ubuntu mysql-client package includes following command line tools (and more):
- mysql — the mysql command-line client to run SQL statements.
- mysqladmin — client for administering a MySQL server.
- mysqldump — a database backup program. The mysqldump command writes the contents of database tables into text files which you can use to restore databases.
- mysqlreport — Makes a friendly report of important MySQL status values.
- mysqlcheck — a command line client to check, repair, and optimize tables.
The Ubuntu MySQL client can install as a stand-alone command-line tool, for example, you can install mysql server on one computer and the client package on another computer running Ubuntu operating system. In that case you need to use -h flag with mysql client to indicate the server IP address or domain name.
Note that mysql server should allow remote access to the server, in order for the MySQL client to connect from a remote location.
Источник
linux ubuntu. Установить соединение с mysql с помощью консоли mysql-client

mysql-client необходим для установления соединения с базой данных mysql с помощью консоли.
Для тех у кого нет установленного mysql-client — установим его:
Теперь после установки запустим терминал (консоль) и выполним данную команду:
-h — хост, до которого необходимо установить соединение. (В приведенном случае это localhost — локальная машина, вы должны указать свой)
-u — имя пользователя для соединения с базой данных.
-p — пароль пользователя. (Не обязательно указывать сам пароль, достаточно указать ключ -p, так как явное указание пароля не безопасно, так как доступно для посторонних глаз)
Исходя из за этого соединение можно установить следующим образом:
После соединения вы должны увидеть примерно следующий текст:
Welcome to the MySQL monitor. Commands end with ; or \g.
Your MySQL connection id is 7
Server version: 5.7.22-0ubuntu0.16.04.1 (Ubuntu)
Copyright (c) 2000, 2018, Oracle and/or its affiliates. All rights reserved.
Oracle is a registered trademark of Oracle Corporation and/or its
affiliates. Other names may be trademarks of their respective
owners.
Type ‘help;’ or ‘\h’ for help. Type ‘\c’ to clear the current input statement.
На этом все, вы установили соединение с базой данных и можете посмотреть список доступных баз данных:
Выполните в консоли команду:
Это должны выглядеть примерно следующим образом:
Источник
Best MySQL Clients for Ubuntu
There are many MySQL GUI clients for Windows users but if you’re working on Ubuntu then in this article I’m going to introduce you to the 5 best MySQL clients that you can use on Ubuntu and other Linux distributions.
DataGrip
Talking about features, it sports very friendly user interface which you will find very easy to use, context-sensitive code compilation, automatic bug detection, and version control integration. Apart from that it has powerful text editor which is very smart and advance, light and dark themes, highly customizable interface and import/export support.
DataGrip has everything a database administrator needs, but there is one thing that might lure you to use other clients and i.e. it is not free and slightly on expensive side.
phpMyAdmin
phpMyAdmin is popular and one of the most widely used database administration tool for MySQL and MariaDB. It is free and open-source MySQL client popular for web hosting services. It has intuitive web interface which you will find very easy to use.
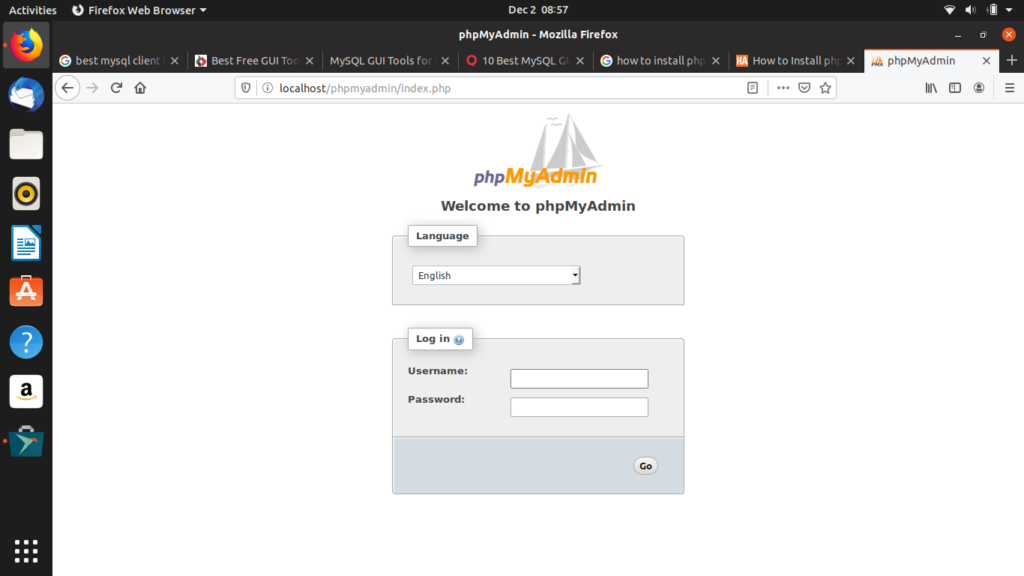
It is one of the best tools for MySQL you will find on internet, reason why I’m saying that is it supports all the features of MySQL such as create, copy, alter, rename, browse and drop databases, tables, etc. databases and tables maintenance, import/export from CSV and SQL, administer multiple servers, multiple formats for database layout graphics, and support for global search.
Considering all the aspects, phpMyAdmin is a reliable MySQL client for Ubuntu.
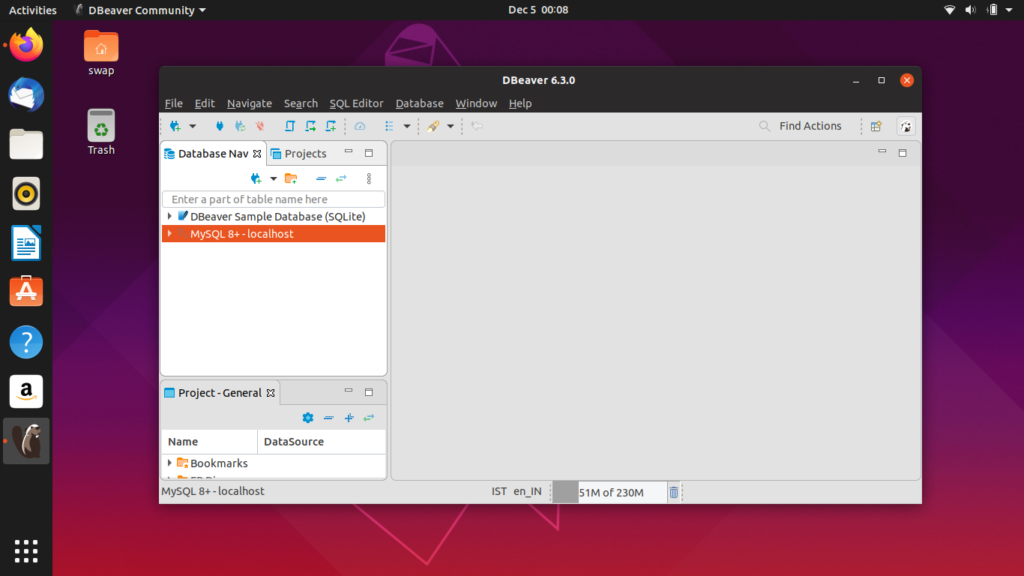
DBeaver
DBeaver is a free and cross-platform SQL client and database administration tool. It is developed by open-source community especially for developers, SQL programmers, database administrators, and analysts.
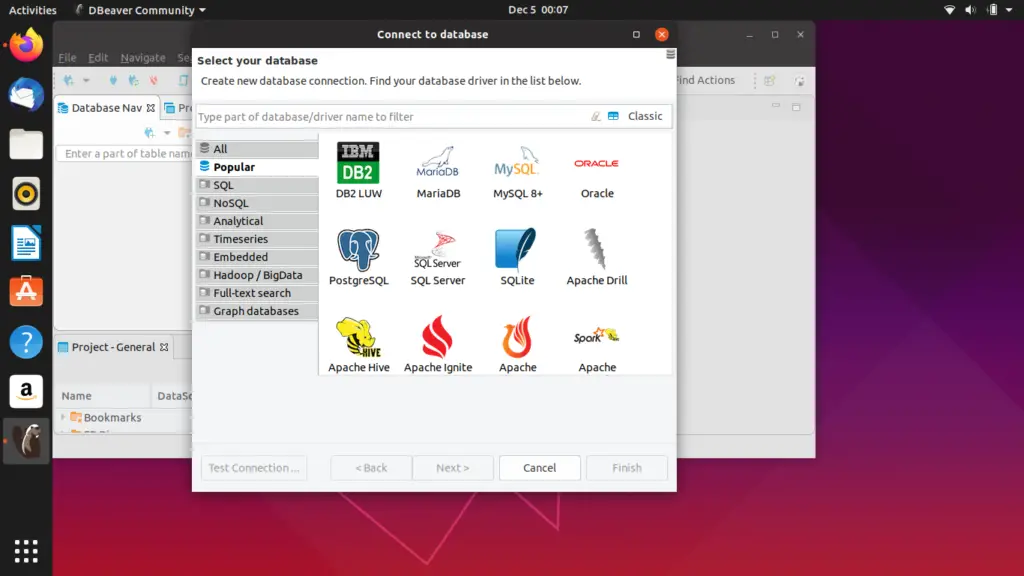
Apart from MySQL, it supports other widely used database management tools such as PostgreSQL, SQLite, Firebird, Oracle and many other. It comes with simple yet attractive user interface which is very easy to use.
Talking about the features, it offers connection to various data sources, visual query builder, metadata browser, ER diagrams, data and metadata search, and SQL editor.
It’s not like it has everything perfect because you may find errors in some functions on some occasions.
SQuirreL SQL
SQuirreL SQL is a cross-platform database administration tool which offers code editor that comes with code compilation and syntax highlighting for SQL.
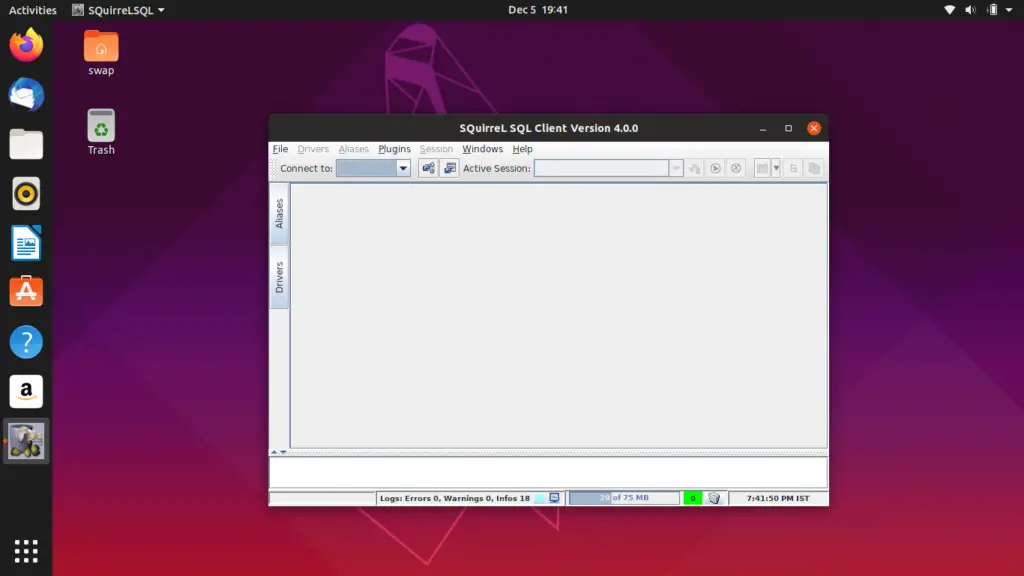
It is feature-rich SQL client which offers features such as full-fledge plug-in support, simultaneous sessions with multiple databases, user defined code templates, etc. It is simple and lightweight tool which you will find very reliable and useful.
SQuirrel SQL can be downloaded and installed directly from Ubuntu Software Center.
Emma is a simple and lightweight database management tool especially developed for Linux and its distro’s such as Ubuntu. It is an ideal tool for beginners in the field of database programming and database administration.
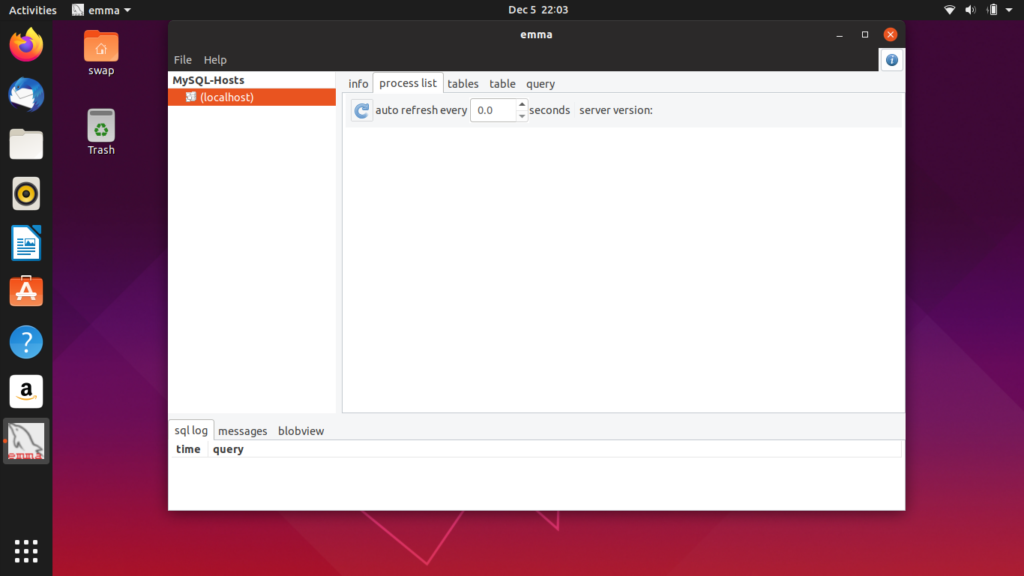
Some of the notable features in emma are SQL editor, create and modify MySQL databases on the go, syntax highlighting support, export to CSV, and many other features.
To install emma on Ubuntu, run the following command in the Terminal or you can directly install it from Ubuntu Software Center.
So these are the 5 best MySQL clients that you can download and install on Ubuntu and other Linux distributions. Feel free to share your views and suggestions with us, just ping us at @LinuxHint and @SwapTirthakar.
About the author

Swapnil Tirthakar
A Software Engineer who loves football and passionate about traveling. I often spend my free time playing with gadgets and exploring new possibilities in tech world. I am Linux enthusiast and have about 6 years of experience in web development. I have good command on Python, Java, SQL and system security.
Источник
Какой есть графический MySQL клиент для Linux?
Подскажите альтернативы dbForge под linux.
Из требований:
— удобная работа с данными (фильтр по значением столбцов, по выбираемым столбцам),
— IDEF1X диаграммы базы (или ее части) в реальном времени.
— адекватный дружественный интерфейс.
— сравнение схем в разных базах.
MySQL Workbench по этим критериям не подходит. Есть ли еще варианты, или придется держать виртуалку с виндой ради клиента?
- Вопрос задан более трёх лет назад
- 15614 просмотров

я себе вот это приспособил https://github.com/DBDiff/DBDiff (форж только для сравнения использовал), всё ок, но не учитывает порядок столбцов при сравнении схем (https://github.com/DBDiff/DBDiff/issues/29) и еще при переименовнии поля в источнике, в получателе может не переименовать а грохнуть и создать новое с новым именем, не понял как с этим бороться кроме как вручную запрос подправить
хотелось бы аналог форжа. не нашли?))
под вайном ни в какую не запускается, неск раз там кругами эти нет фреймворки ставил, максимум что получилось проработал секунду после запуска

не получается выбрать разные подключения для источника получателя, только если их оба выбрать и в их контекстном меню выбрать компейр. но местами поменять невозможно
сравнил 2 базы. для двух идентичных таблиц сгенерило
при том что никакого r(25 там нет.
для отстутсвующей в получателе таблицы сгенерило запрос создания и зачем-то добавило CONSTRAINT
как-то дороговато за то чтобы себе базы поубивать
Источник
Mysql client ��� linux
The recommended way to install MySQL on RPM-based Linux distributions is by using the RPM packages provided by Oracle. There are two sources for obtaining them, for the Community Edition of MySQL:
From the MySQL software repositories:
RPM distributions of MySQL are also provided by other vendors. Be aware that they may differ from those built by Oracle in features, capabilities, and conventions (including communication setup), and that the installation instructions in this manual do not necessarily apply to them. The vendor’s instructions should be consulted instead.
If you have such a third-party distribution of MySQL running on your system and now want to migrate to Oracle’s distribution using the RPM packages downloaded from the MySQL Developer Zone, see Compatibility with RPM Packages from Other Vendors below. The preferred method of migration, however, is to use the MySQL Yum repository or MySQL SLES repository.
RPM packages for MySQL are listed in the following tables:
Table 7.2 RPM Packages for MySQL Community Edition
| Package Name | Summary |
|---|---|
| mysql-community-server | Database server and related tools |
| mysql-community-client | MySQL client applications and tools |
| mysql-community-common | Common files for server and client libraries |
| mysql-community-devel | Development header files and libraries for MySQL database client applications |
| mysql-community-libs | Shared libraries for MySQL database client applications |
| mysql-community-libs-compat | Shared compatibility libraries for previous MySQL installations |
| mysql-community-embedded | MySQL embedded library |
| mysql-community-embedded-devel | Development header files and libraries for MySQL as an embeddable library |
| mysql-community-test | Test suite for the MySQL server |
Table 7.3 RPM Packages for the MySQL Enterprise Edition
| Package Name | Summary |
|---|---|
| mysql-commercial-server | Database server and related tools |
| mysql-commercial-client | MySQL client applications and tools |
| mysql-commercial-common | Common files for server and client libraries |
| mysql-commercial-devel | Development header files and libraries for MySQL database client applications |
| mysql-commercial-libs | Shared libraries for MySQL database client applications |
| mysql-commercial-libs-compat | Shared compatibility libraries for previous MySQL installations |
| mysql-commercial-embedded | MySQL embedded library |
| mysql-commercial-embedded-devel | Development header files and libraries for MySQL as an embeddable library |
| mysql-commercial-test | Test suite for the MySQL server |
The full names for the RPMs have the following syntax:
The distribution and arch values indicate the Linux distribution and the processor type for which the package was built. See the table below for lists of the distribution identifiers:
Table 7.4 MySQL Linux RPM Package Distribution Identifiers
| distribution Value | Intended Use |
|---|---|
| el where is the major Enterprise Linux version, such as el8 | EL6, EL7, and EL8-based platforms (for example, the corresponding versions of Oracle Linux, Red Hat Enterprise Linux, and CentOS) |
| sles12 | SUSE Linux Enterprise Server 12 |
To see all files in an RPM package (for example, mysql-community-server ), use the following command:
The discussion in the rest of this section applies only to an installation process using the RPM packages directly downloaded from Oracle, instead of through a MySQL repository.
Dependency relationships exist among some of the packages. If you plan to install many of the packages, you may wish to download the RPM bundle tar file instead, which contains all the RPM packages listed above, so that you need not download them separately.
In most cases, you need to install the mysql-community-server , mysql-community-client , mysql-community-libs , mysql-community-common , and mysql-community-libs-compat packages to get a functional, standard MySQL installation. To perform such a standard, basic installation, go to the folder that contains all those packages (and, preferably, no other RPM packages with similar names), and issue the following command for platforms other than Red Hat Enterprise Linux/Oracle Linux/CentOS:
Replace yum with zypper for SLES.
For Red Hat Enterprise Linux/Oracle Linux/CentOS systems:
While it is much preferable to use a high-level package management tool like yum to install the packages, users who prefer direct rpm commands can replace the yum install command with the rpm -Uvh command; however, using rpm -Uvh instead makes the installation process more prone to failure, due to potential dependency issues the installation process might run into.
To install only the client programs, you can skip mysql-community-server in your list of packages to install; issue the following command for platforms other than Red Hat Enterprise Linux/Oracle Linux/CentOS:
Replace yum with zypper for SLES.
For Red Hat Enterprise Linux/Oracle Linux/CentOS systems:
A standard installation of MySQL using the RPM packages result in files and resources created under the system directories, shown in the following table.
Table 7.5 MySQL Installation Layout for Linux RPM Packages from the MySQL Developer Zone
| Files or Resources | Location |
|---|---|
| Client programs and scripts | /usr/bin |
| mysqld server | /usr/sbin |
| Configuration file | /etc/my.cnf |
| Data directory | /var/lib/mysql |
| Error log file | |
| Value of secure_file_priv | /var/lib/mysql-files |
| System V init script | |
| Pid file | /var/run/mysql/mysqld.pid |
| Socket | /var/lib/mysql/mysql.sock |
| Keyring directory | /var/lib/mysql-keyring |
| Unix manual pages | /usr/share/man |
| Include (header) files | /usr/include/mysql |
| Libraries | /usr/lib/mysql |
| Miscellaneous support files (for example, error messages, and character set files) | /usr/share/mysql |
The installation also creates a user named mysql and a group named mysql on the system.
Installation of previous versions of MySQL using older packages might have created a configuration file named /usr/my.cnf . It is highly recommended that you examine the contents of the file and migrate the desired settings inside to the file /etc/my.cnf file, then remove /usr/my.cnf .
MySQL is not automatically started at the end of the installation process. For Red Hat Enterprise Linux, Oracle Linux, CentOS, and Fedora systems, use the following command to start MySQL:
For SLES systems, the command is the same, but the service name is different:
If the operating system is systemd enabled, standard service commands such as stop , start , status and restart should be used to manage the MySQL server service. The mysqld service is enabled by default, and it starts at system reboot. Notice that certain things might work differently on systemd platforms: for example, changing the location of the data directory might cause issues. See Section 7.10, “Managing MySQL Server with systemd” for additional information.
During an upgrade installation using RPM and DEB packages, if the MySQL server is running when the upgrade occurs then the MySQL server is stopped, the upgrade occurs, and the MySQL server is restarted. One exception: if the edition also changes during an upgrade (such as community to commercial, or vice-versa), then MySQL server is not restarted.
At the initial start up of the server, the following happens, given that the data directory of the server is empty:
The server is initialized.
An SSL certificate and key files are generated in the data directory.
validate_password is installed and enabled.
A superuser account ‘root’@’localhost’ is created. A password for the superuser is set and stored in the error log file. To reveal it, use the following command for RHEL, Oracle Linux, CentOS, and Fedora systems:
Use the following command for SLES systems:
The next step is to log in with the generated, temporary password and set a custom password for the superuser account:
validate_password is installed by default. The default password policy implemented by validate_password requires that passwords contain at least one uppercase letter, one lowercase letter, one digit, and one special character, and that the total password length is at least 8 characters.
If something goes wrong during installation, you might find debug information in the error log file /var/log/mysqld.log .
For some Linux distributions, it might be necessary to increase the limit on number of file descriptors available to mysqld . See File Not Found and Similar Errors
Compatibility with RPM Packages from Other Vendors. If you have installed packages for MySQL from your Linux distribution’s local software repository, it is much preferable to install the new, directly-downloaded packages from Oracle using the package management system of your platform ( yum , dnf , or zypper ), as described above. The command replaces old packages with new ones to ensure compatibility of old applications with the new installation; for example, the old mysql-libs package is replaced with the mysql-community-libs-compat package, which provides a replacement-compatible client library for applications that were using your older MySQL installation. If there was an older version of mysql-community-libs-compat on the system, it also gets replaced.
If you have installed third-party packages for MySQL that are NOT from your Linux distribution’s local software repository (for example, packages directly downloaded from a vendor other than Oracle), you should uninstall all those packages before installing the new, directly-downloaded packages from Oracle. This is because conflicts may arise between those vendor’s RPM packages and Oracle’s: for example, a vendor’s convention about which files belong with the server and which belong with the client library may differ from that used for Oracle packages. Attempts to install an Oracle RPM may then result in messages saying that files in the RPM to be installed conflict with files from an installed package.
Installing Client Libraries from Multiple MySQL Versions. It is possible to install multiple client library versions, such as for the case that you want to maintain compatibility with older applications linked against previous libraries. To install an older client library, use the —oldpackage option with rpm . For example, to install mysql-community-libs-5.5 on an EL6 system that has libmysqlclient.20 from MySQL 5.7, use a command like this:
Debug Package. A special variant of MySQL Server compiled with the debug package has been included in the server RPM packages. It performs debugging and memory allocation checks and produces a trace file when the server is running. To use that debug version, start MySQL with /usr/sbin/mysqld-debug , instead of starting it as a service or with /usr/sbin/mysqld . See The DBUG Package for the debug options you can use.
The default plugin directory for debug builds changed from /usr/lib64/mysql/plugin to /usr/lib64/mysql/plugin/debug in 5.7.21. Previously, it was necessary to change plugin_dir to /usr/lib64/mysql/plugin/debug for debug builds.
Rebuilding RPMs from source SRPMs. Source code SRPM packages for MySQL are available for download. They can be used as-is to rebuild the MySQL RPMs with the standard rpmbuild tool chain.
root passwords for pre-GA releases. For MySQL 5.7.4 and 5.7.5, the initial random root password is written to the .mysql_secret file in the directory named by the HOME environment variable. When trying to access the file, bear in mind that depending on operating system, using a command such as sudo may cause the value of HOME to refer to the home directory of the root system user . .mysql_secret is created with mode 600 to be accessible only to the system user for whom it is created. Before MySQL 5.7.4, the accounts (including root ) created in the MySQL grant tables for an RPM installation initially have no passwords; after starting the server, you should assign passwords to them using the instructions in Chapter 9, Postinstallation Setup and Testing.»
Источник


