- Установка Visual Studio Code в Linux
- Устанавливаем Visual Studio Code в Linux
- Способ 1: Использование репозиториев через консоль
- Способ 2: Скачивание официального DEB-пакета
- How to Install Visual Studio Code on Linux
- How to Install Visual Studio Code on Debian, Ubuntu and Linux Mint
- How to Install Visual Studio Code on CentOS, RHEL, and Fedora
- If You Appreciate What We Do Here On TecMint, You Should Consider:
- Install code on Linux Mint
- Code editing. Redefined.
- Details for code
- Enable snaps on Linux Mint and install code
- Enable snapd
- Install code
- How to Install and Use Visual Studio Code on Linux Mint 20
- Installing Visual Studio Code on Linux Mint 20 from the Debian package
- Installing Visual Studio Code on Linux Mint 20 from the snap application manager
- Installing Visual Studio Code flatpak package on Linux Mint 20
- Getting started with Visual Studio Code
- Conclusion
- About the author
- Kamran Sattar Awaisi
Установка Visual Studio Code в Linux
Каждому программисту нужно иметь удобное приложение, в котором он будет набирать и редактировать исходный код. Visual Studio Code — одно из лучших решений, распространяемое как на Windows, так и на операционные системы на ядре Linux. Инсталляция упомянутого редактора может производиться разными методами, каждый из которых будет наиболее оптимальным для определенного класса пользователей. Давайте сегодня остановимся на этой процедуре и разберемся со всеми действиями максимально подробно.
К сожалению, интегрированная среда разработки под названием Visual Studio доступна только для ПК под управлением ОС Windows. Следует сразу обратить внимание, что в этой статье мы показываем, как загрузить редактор исходного кода Visual Studio Code — одно из решений в линейке VS.
Устанавливаем Visual Studio Code в Linux
Конечно, дистрибутивов, написанных на ядре Linux, достаточно много. Однако сейчас особой популярностью пользуются ОС, за основу которых взят Debian либо Ubuntu. Именно на такие платформы мы и хотим обратить внимание, взяв для наглядности Ubuntu 18.04. Обладателям других дистрибутивов мы тоже подскажем, каким образом лучше всего будет произвести установку, однако давайте начнем по порядку.
Способ 1: Использование репозиториев через консоль
Компания Microsoft активно следит за своими официальными хранилищами. Последние версии программ туда оперативно выкладываются и пользователи сразу же могут скачать их и без каких-либо проблем инсталлировать на свой компьютер. Что же касается Visual Studio Code, здесь следует рассмотреть варианты с использованием двух разных репозиториев. Взаимодействие с первым выглядит следующим образом:
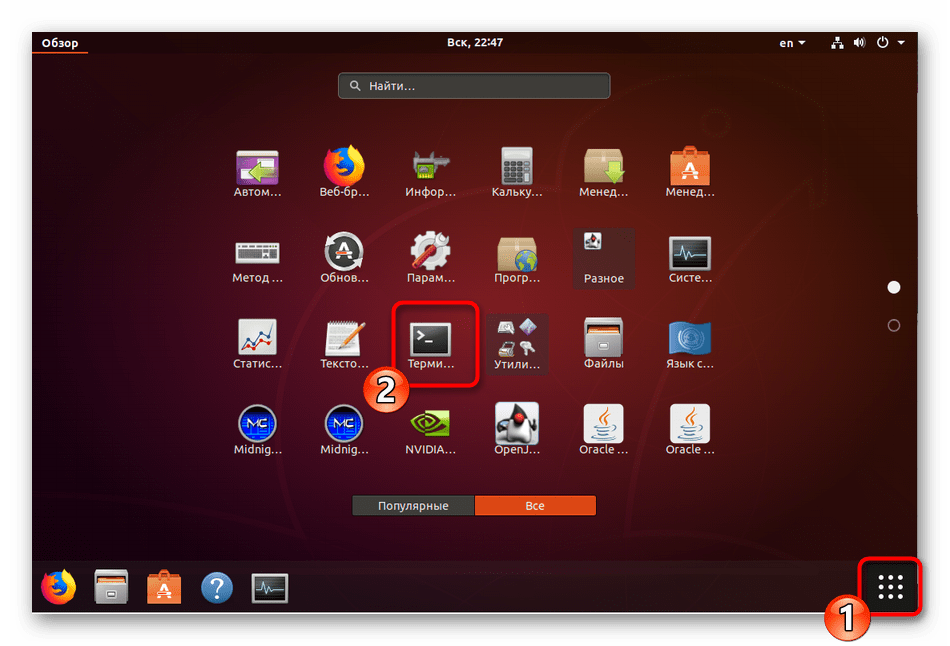
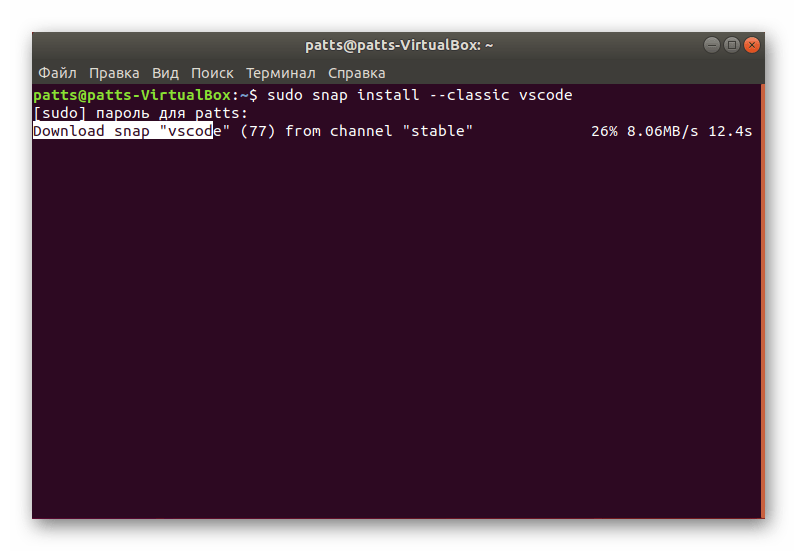
- Запустите «Терминал» через Ctrl + Alt + T или воспользуйтесь соответствующей иконкой в меню.
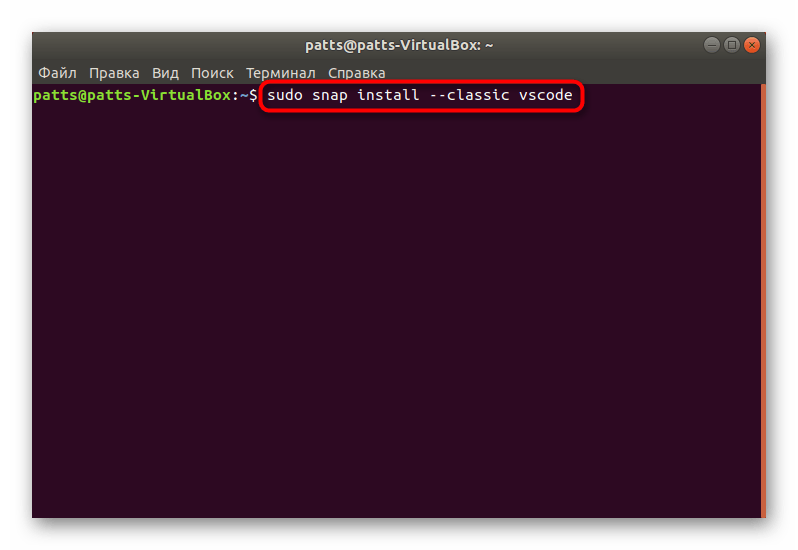
Пропишите команду sudo snap install —classic vscode для загрузки и установки VS из официального хранилища.
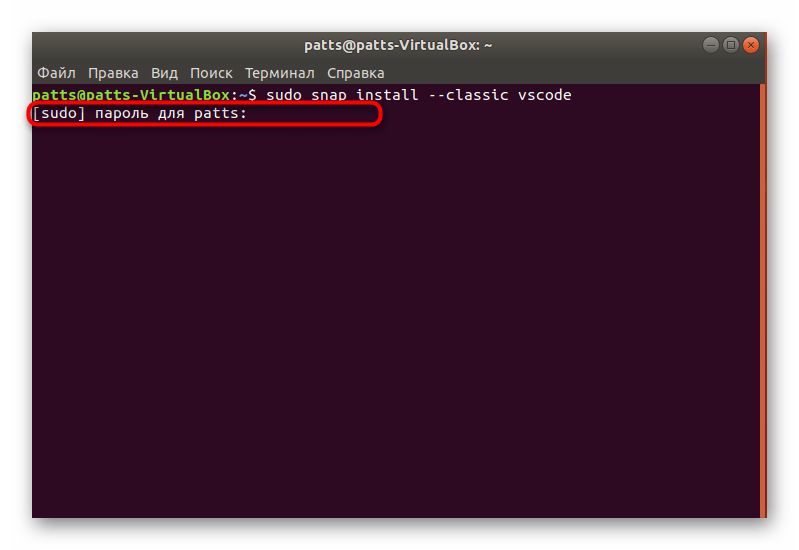
Подтвердите подлинность учетной записи, введя свой пароль для рут-доступа.
По завершении установки вы получите уведомление и можно будет сразу же запустить программу, введя vscode .
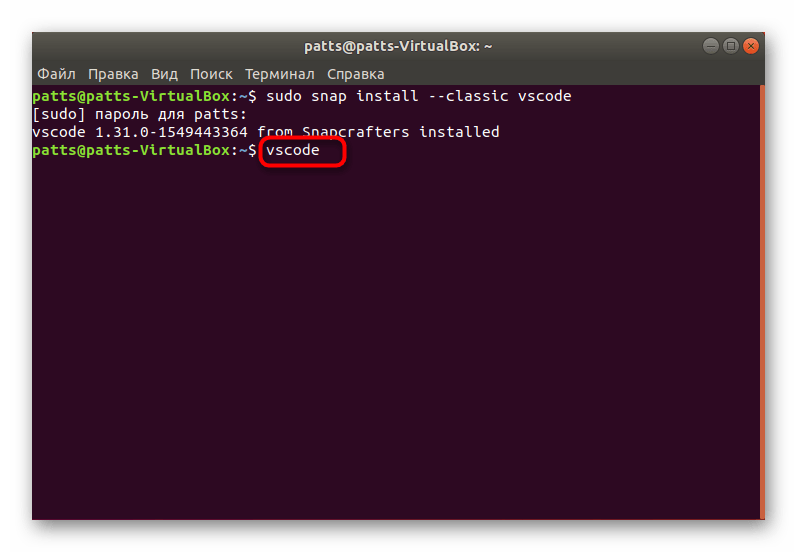
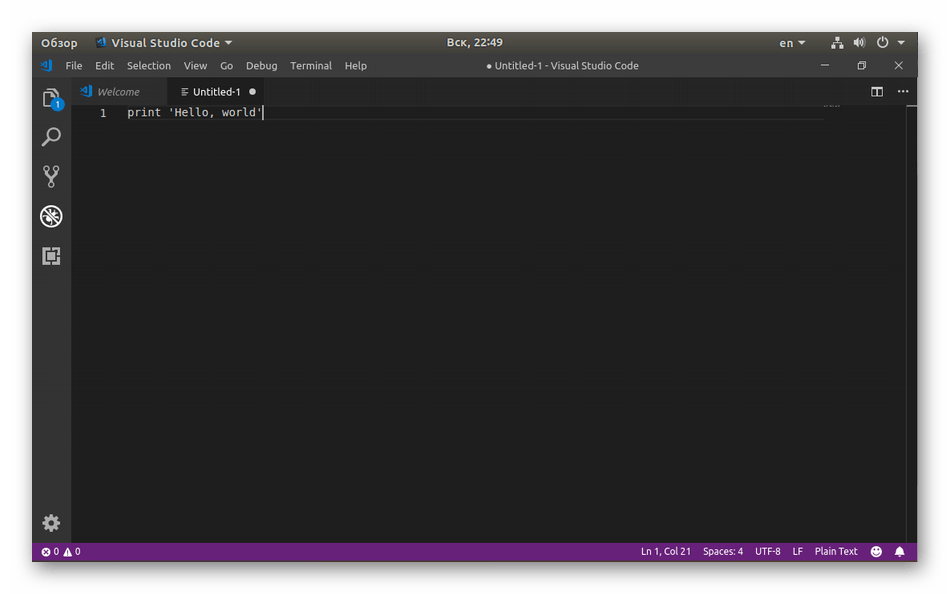
Теперь вам доступно взаимодействие с графическим интерфейсом интересующего редактора. В меню был создан значок, через который также запускается VS.
Однако не каждому пользователю подходит метод инсталляции через представленный репозиторий, поэтому советуем ознакомиться с альтернативным вариантом, который не сложнее рассмотренного.
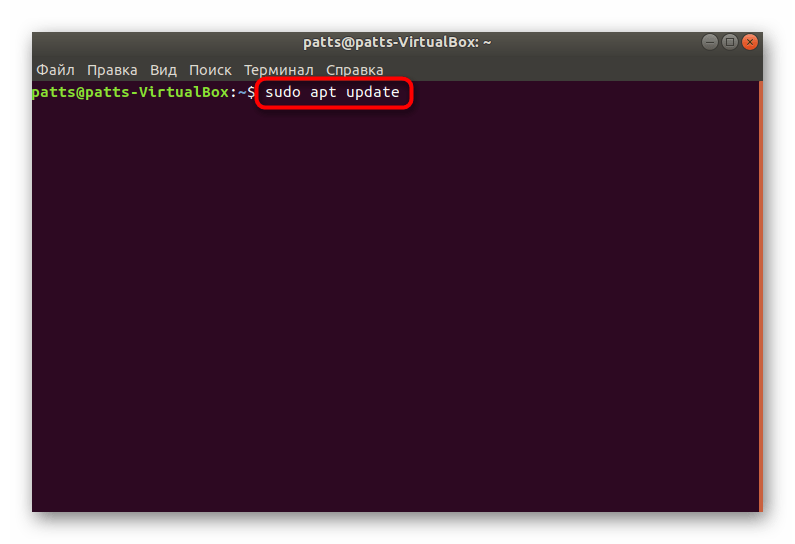
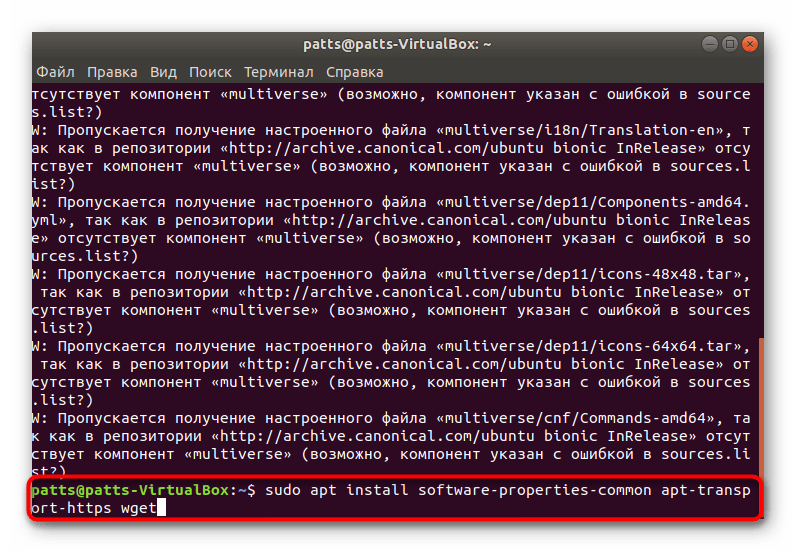
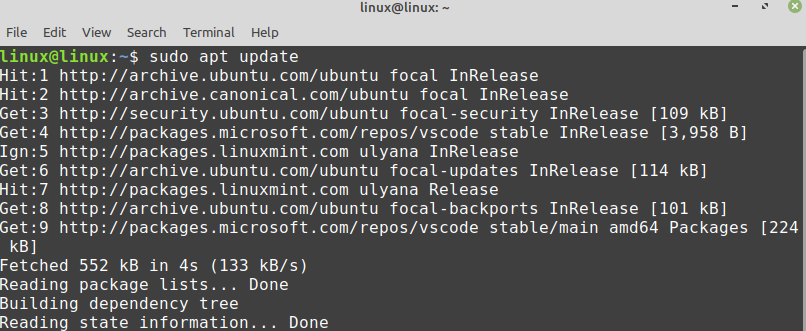
- Откройте «Терминал» и в первую очередь обновите системные библиотеки путем ввода sudo apt update .
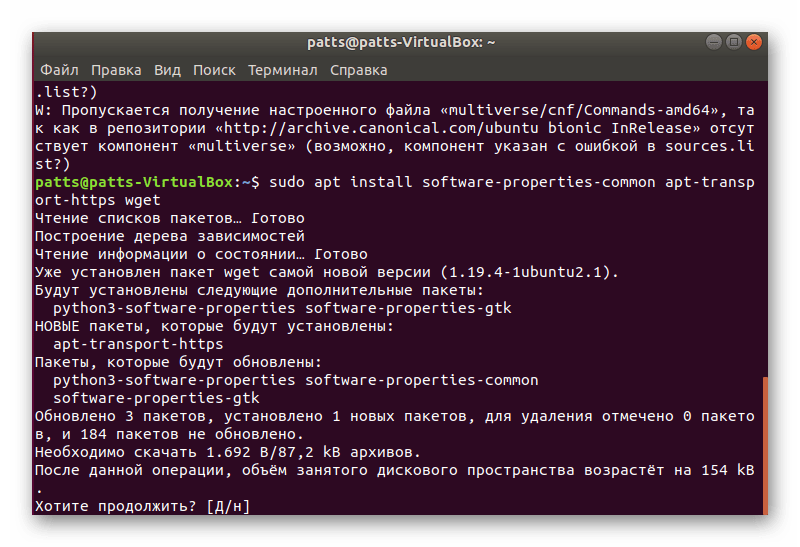
Далее следует установить зависимости, используя sudo apt install software-properties-common apt-transport-https wget .
Подтвердите добавление новых файлов, выбрав правильный вариант.
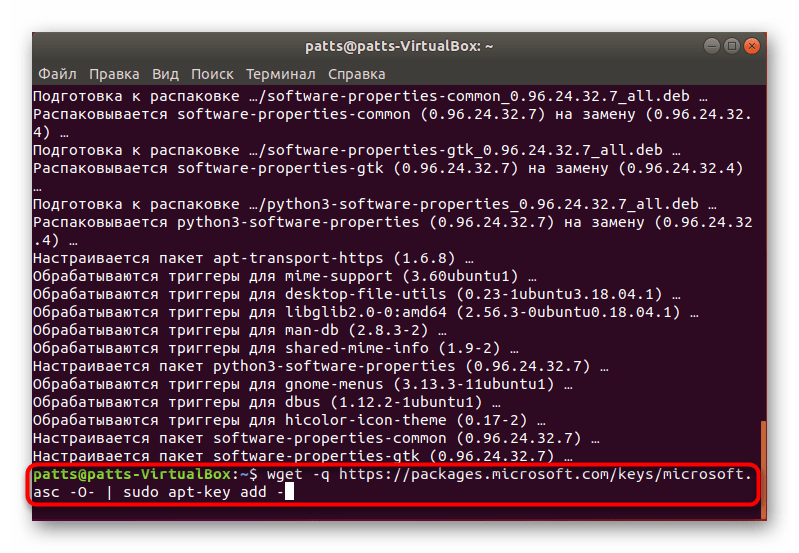
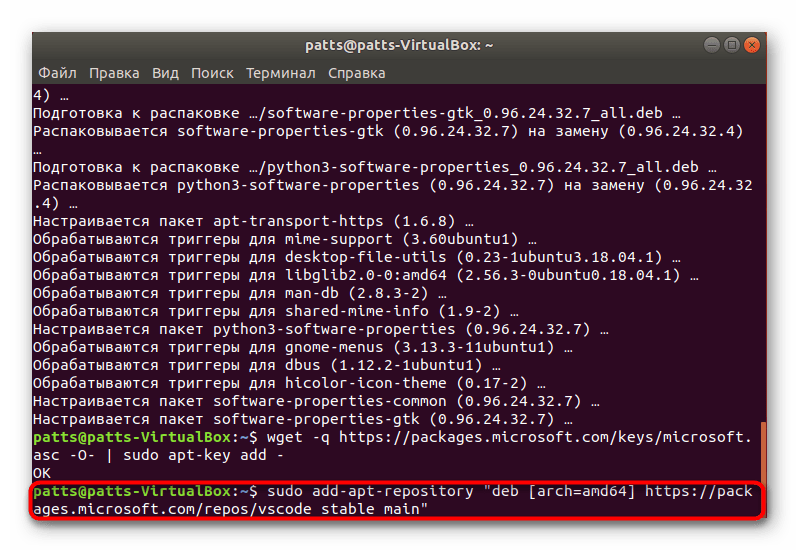
Инсталлируйте ключ Microsoft GPG, который играет роль шифрования электронных подписей через wget -q https://packages.microsoft.com/keys/microsoft.asc -O- | sudo apt-key add — .
Затем завершите добавление, вставив строку sudo add-apt-repository «deb [arch=amd64] https://packages.microsoft.com/repos/vscode stable main» .
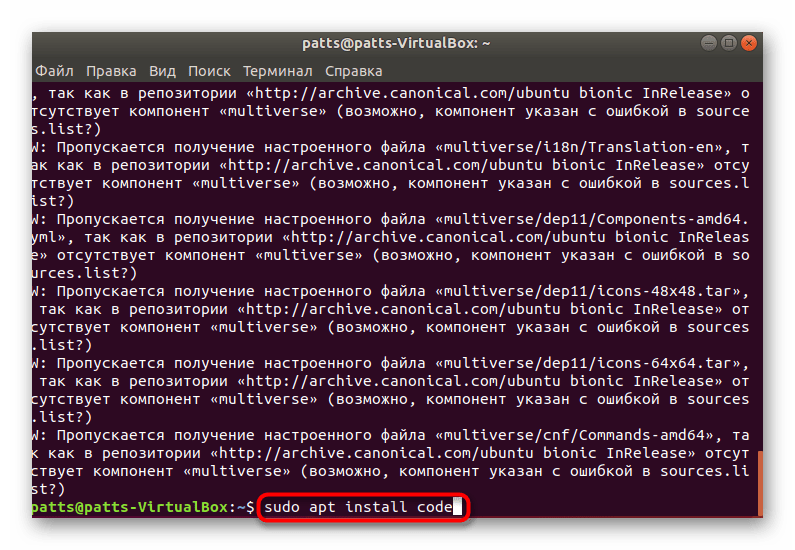
Осталось только установить саму программу, написав sudo apt install code .
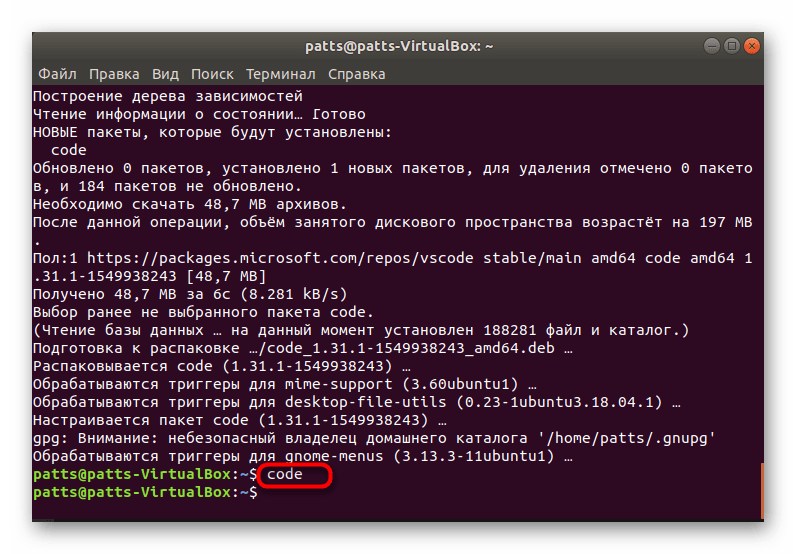
Запуск Visual Studio Code, добавленной в систему таким образом, выполняется через команду code .
Способ 2: Скачивание официального DEB-пакета
Не всем юзерам порой удобно работать через консоль или могут возникнуть какие-то трудности с командами. К тому же иногда на компьютере отсутствует подключение к интернету. В этих случаях на помощь приходит официальный DEB-пакет, который вы можете предварительно загрузить на носитель и уже на своем ПК установить VS Code.
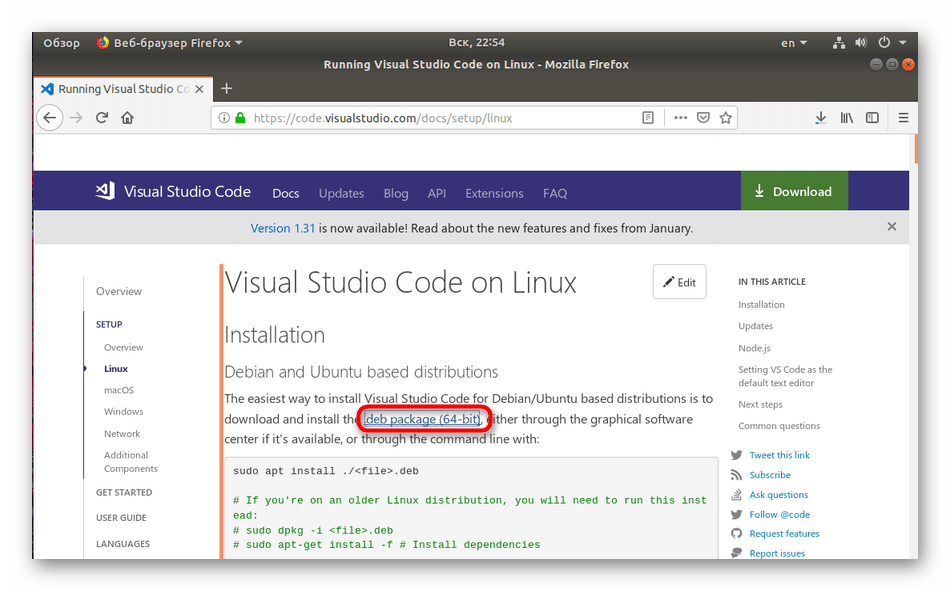
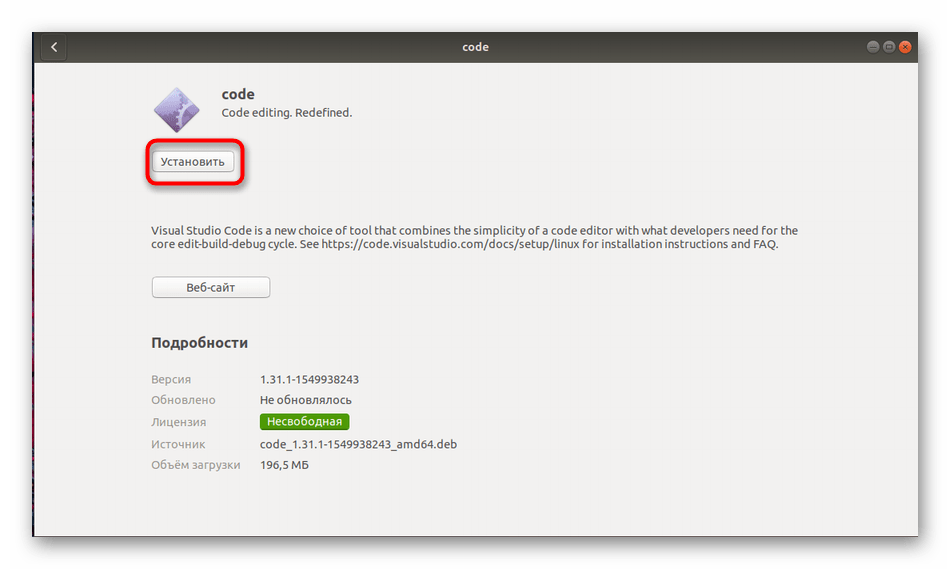
- Перейдите по указанной выше ссылке и скачайте DEB-пакет необходимой вам программы.
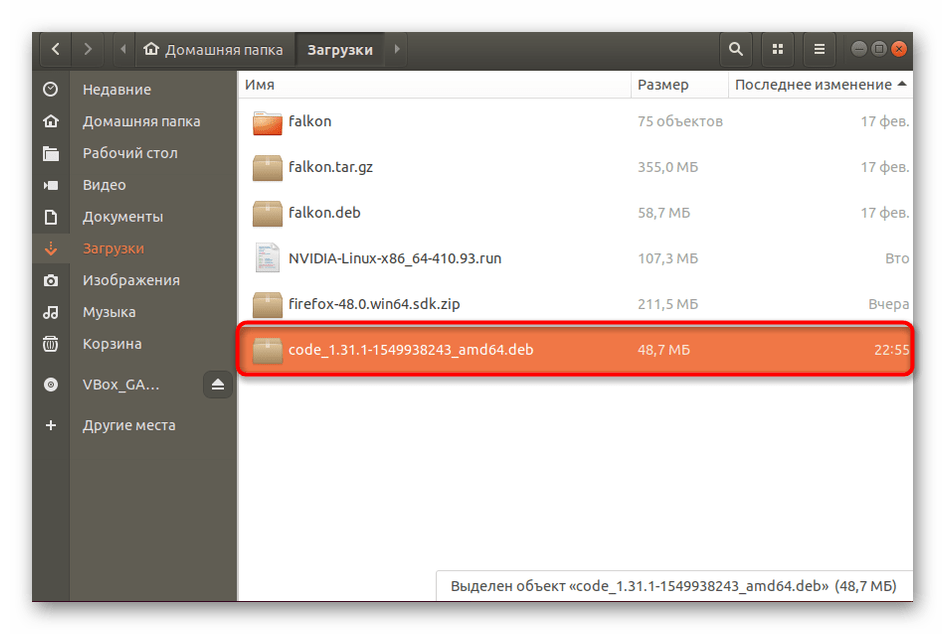
Откройте папку, куда была произведена загрузка, и запустите ее.
Начните установку через «Менеджер приложений».
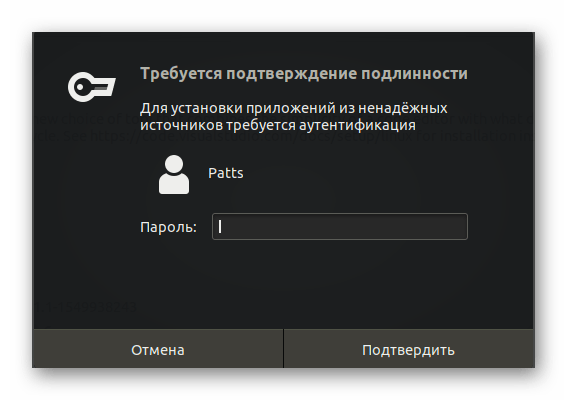
Подтвердите свою учетную запись вводом пароля.
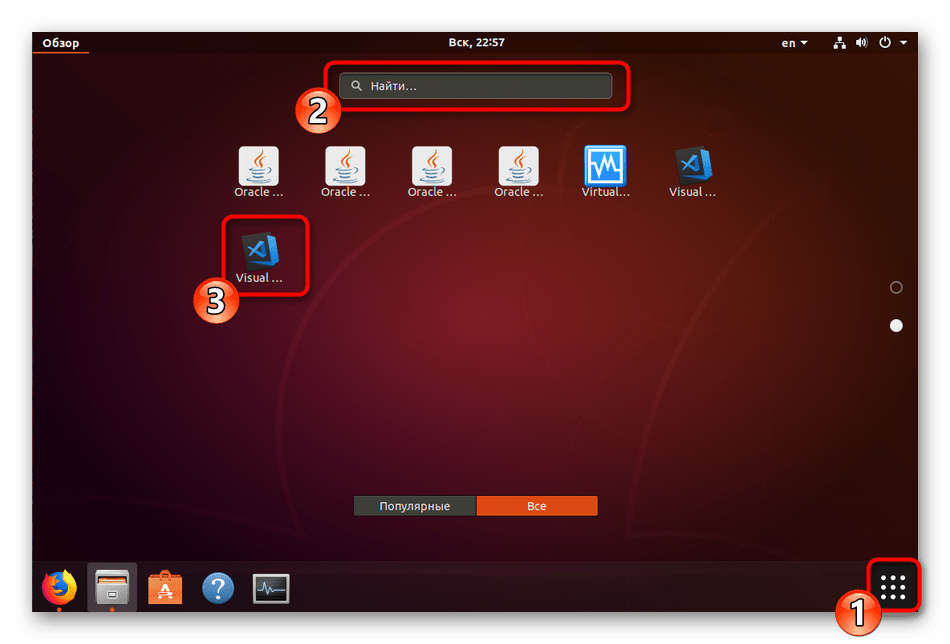
По окончании инсталляции найти значок запуска программы можно через меню, воспользовавшись поиском.
Если же появилась надобность в добавлении обновлений к рассматриваемому софту, откройте консоль и поочередно вводите следующие команды:
sudo apt-get install apt-transport-https
sudo apt-get update
sudo apt-get install code
Что касается пользователей, использующих дистрибутивы, разработанные на основе RHEL, Fedora или CentOS, вам следует использовать указанные ниже строки, чтобы провести инсталляцию программы.
sudo rpm —import https://packages.microsoft.com/keys/microsoft.asc
sudo sh -c ‘echo -e «[code]\nname=Visual Studio Code\nbaseurl=https://packages.microsoft.com/yumrepos/vscode\nenabled=1\ngpgcheck=1\ngpgkey=https://packages.microsoft.com/keys/microsoft.asc» > /etc/yum.repos.d/vscode.repo’
Обновление пакетов осуществляется путем указания dnf check-update , а затем sudo dnf install code .
Существуют обладатели и ОС на openSUSE and SLE. Здесь код немного меняется:
sudo rpm —import https://packages.microsoft.com/keys/microsoft.asc
sudo sh -c ‘echo -e «[code]\nname=Visual Studio Code\nbaseurl=https://packages.microsoft.com/yumrepos/vscode\nenabled=1\ntype=rpm-md\ngpgcheck=1\ngpgkey=https://packages.microsoft.com/keys/microsoft.asc» > /etc/zypp/repos.d/vscode.repo’
Обновление же производится через последовательную активацию sudo zypper refresh и sudo zypper install code
Теперь вы ознакомлены с методами установки Visual Studio Code на разные дистрибутивы ядра Linux. Если же вы столкнулись с какими-либо проблемами или неполадками, обязательно сначала ознакомьтесь с текстом ошибки, изучите официальную документацию операционной системы, а также оставляйте вопросы в комментариях.
Помимо этой статьи, на сайте еще 12315 инструкций.
Добавьте сайт Lumpics.ru в закладки (CTRL+D) и мы точно еще пригодимся вам.
Отблагодарите автора, поделитесь статьей в социальных сетях.
Источник
How to Install Visual Studio Code on Linux
Developed by Microsoft, Visual Studio Code is a free and open-source, cross-platform IDE or code editor that enables developers to develop applications and write code using a myriad of programming languages such as C, C++, Python, Go and Java to mention a few.
In this guide, we will walk you through the installation of the Visual Studio Code on Linux. To be more specific, you will learn how to install the Visual Studio Code on both Debian-based and RedHat-based Linux distributions.
On this page:
How to Install Visual Studio Code on Debian, Ubuntu and Linux Mint
The most preferred method of installing Visual Code Studio on Debian based systems is by enabling the VS code repository and installing the Visual Studio Code package using the apt package manager.
Once updated, proceed and install dependencies required by executing.
Next, using the wget command, download the repository and import Microsoft’s GPG key as shown:
Once you’ve enabled the repository, update the system and install Visual Studio Code by running the command:
Due to its size, the installation takes approximately 5 minutes. Once installed, use the application manager to search Visual Code Studio and launch it as shown.
![]() Install Visual Studio Code in Ubuntu
Install Visual Studio Code in Ubuntu
How to Install Visual Studio Code on CentOS, RHEL, and Fedora
The procedure of installing Visual Studio Code on RedHat based distributions is pretty much like Ubuntu. Right off the bat, launch your terminal and update your system:
Next, import Microsoft’s GPG key using the rpm command below:
With Microsoft’s GPG key in place, proceed and create the repository file for Visual Studio Code:
Next, append the code below and save the file:
To install Visual Studio code, run the command:
To use it, use the Application manager to search the Visual Studio Code and launch it, you will get a window as shown below.
![]() Install Visual Studio Code in CentOS
Install Visual Studio Code in CentOS
You can now proceed and start writing your code and installing your preferred extensions.
Conclusion
Visual Studio Code is a powerful and feature-rich code editor that allows you to develop applications in a diverse array of programming languages. It’s especially popular with Python and C programmers. In this topic, we walked you through the installation of the Visual Studio Code on Linux.
If You Appreciate What We Do Here On TecMint, You Should Consider:
TecMint is the fastest growing and most trusted community site for any kind of Linux Articles, Guides and Books on the web. Millions of people visit TecMint! to search or browse the thousands of published articles available FREELY to all.
If you like what you are reading, please consider buying us a coffee ( or 2 ) as a token of appreciation.

We are thankful for your never ending support.
Источник
Install code
on Linux Mint

- Visual Studio Code (vscode) Publisher
 Verified account
 - Development
 Verified account
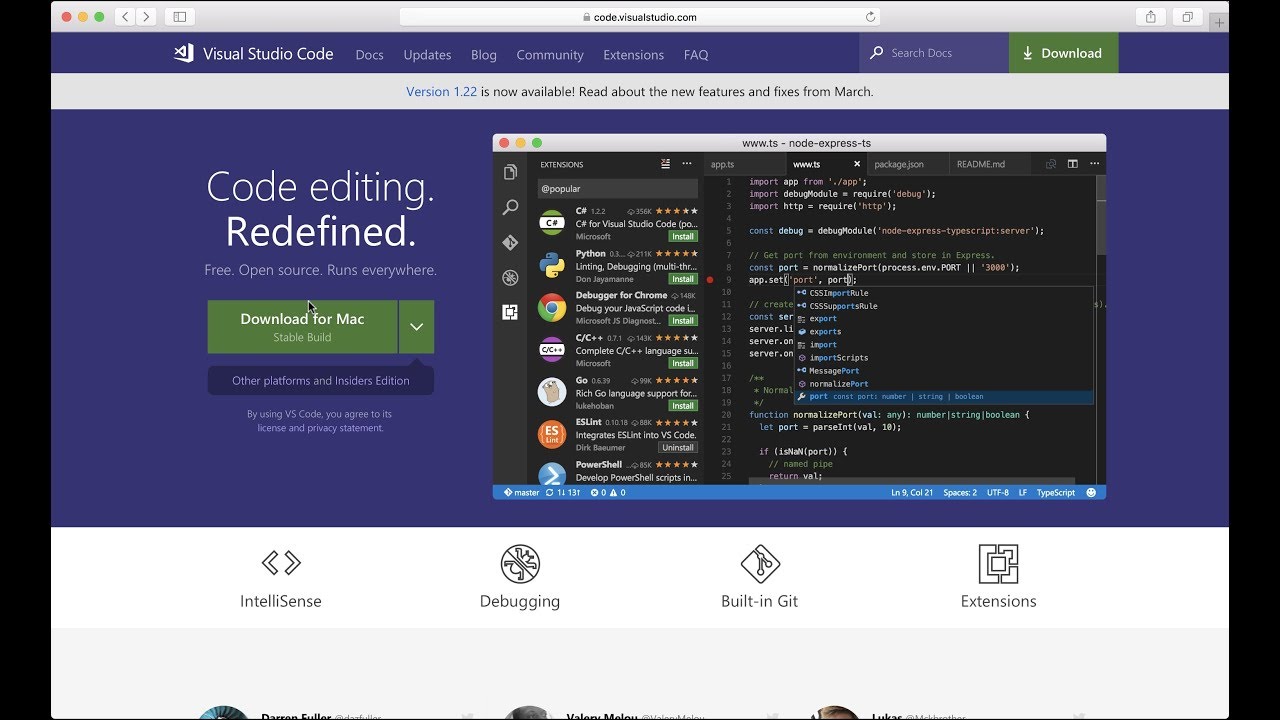

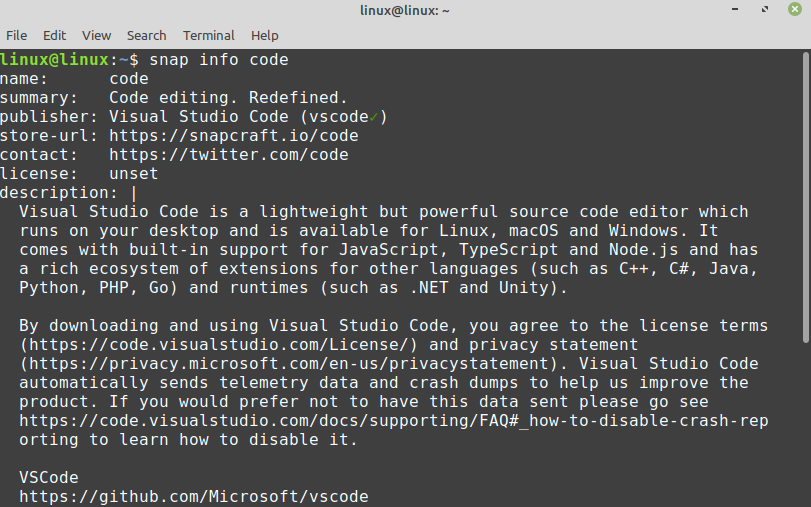
Code editing. Redefined.
Visual Studio Code is a new choice of tool that combines the simplicity of a code editor with what developers need for the core edit-build-debug cycle.
Details for code
Enable snaps on Linux Mint and install code
Snaps are applications packaged with all their dependencies to run on all popular Linux distributions from a single build. They update automatically and roll back gracefully.
Snaps are discoverable and installable from the Snap Store, an app store with an audience of millions.
Enable snapd
Snap is available for Linux Mint 18.2 (Sonya), Linux Mint 18.3 (Sylvia), Linux Mint 19 (Tara), Linux Mint 19.1 (Tessa) and the latest release, Linux Mint 20 (Ulyana). You can find out which version of Linux Mint you’re running by opening System info from the Preferences menu.
On Linux Mint 20, /etc/apt/preferences.d/nosnap.pref needs to be removed before Snap can be installed. This can be accomplished from the command line:
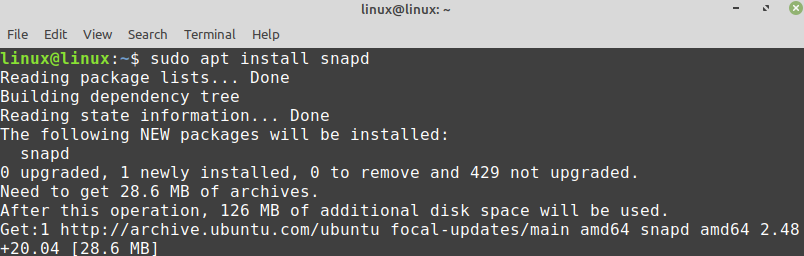
To install snap from the Software Manager application, search for snapd and click Install. Alternatively, snapd can be installed from the command line:
Either restart your machine, or log out and in again, to complete the installation.
Install code
To install code, simply use the following command:
Источник
How to Install and Use Visual Studio Code on Linux Mint 20
Developed by Microsoft, Visual Studio (VS) Code is a multi-platform, modern, and comprehensive code editor. The Visual Studio Code supports TypeScript, Node.JS, JavaScript by default. Moreover, a plethora of extensions are available for visual studio code, enabling us to support other programming languages like C, C++, GO, etc. The Visual Studio Code is available as a Debian package, flatpak package, and snap application.
Installing Visual Studio Code on Linux Mint 20 from the Debian package
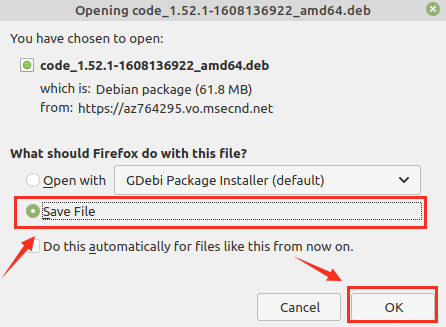
To download the VS Code official Debian package, open your browser and visit the VS Code webpage (https://code.visualstudio.com/Download).

The VS code Debian package, is available for Linux. Click on the Debian package to download it.
Next, choose ‘Save File’ and click on ‘OK’.
The VS, code Debian package, will be downloaded in the ‘Downloads’ directory.
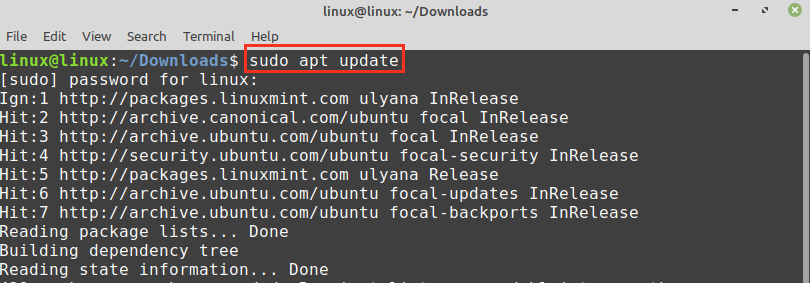
Once the Debian package is downloaded, fire up the terminal and navigate to the ‘Downloads’ directory with the command:

Next, update the apt cache because it is recommended to update the apt cache before installing any new application:
Type the below-given command to install the VS code .deb package:
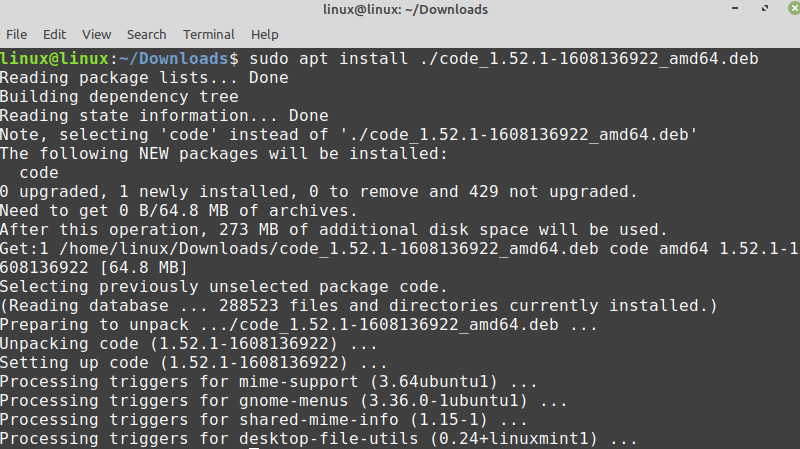
When the VS code is successfully installed, verify the installation and check the installed version using the command:

The VS code 1.52.1 is successfully installed on my Linux Mint 20.
Installing Visual Studio Code on Linux Mint 20 from the snap application manager
Snap is the universal package manager for various Linux distribution. However, it is disabled on Linux Mint 20 by default. To install VS Code from the snap application manager, we need to enable and install the snapd on Linux Mint 20.
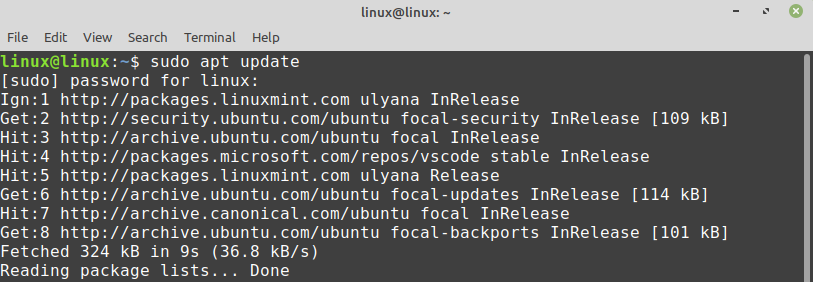
Before installing snap on Linux Mint 20, remove the nosnap.pref file with the command:

Next, update the apt cache and install the snapd with the commands:
To install VS Code from the snap application manager, execute the command:

Verify the installation using the command:
Installing Visual Studio Code flatpak package on Linux Mint 20
Flatpak is also a package manager for Linux. It comes pre-installed on Linux Mint 20.
Fire up the terminal and update the apt cache before installing the Visual Studio Code flatpak package:
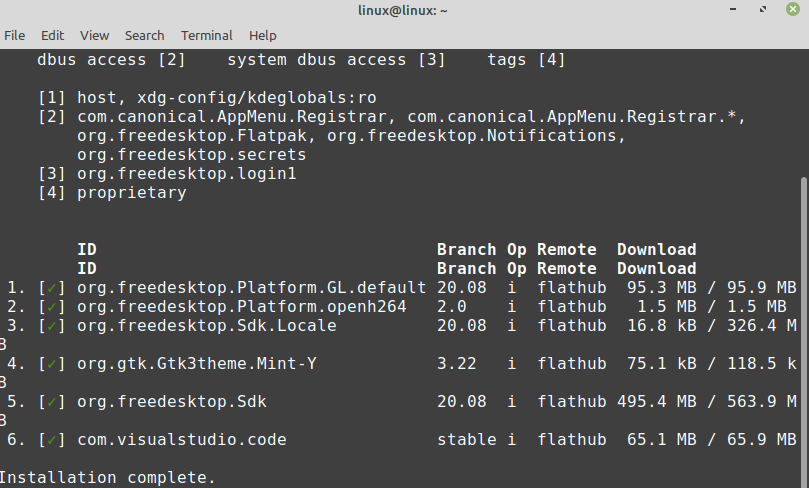
Now, install the Visual Studio Code flatpak package with the command:
The Visual Studio Code flatpak package is successfully installed.

Press ‘y’ to continue installing the Visual Studio Code flatpak package.
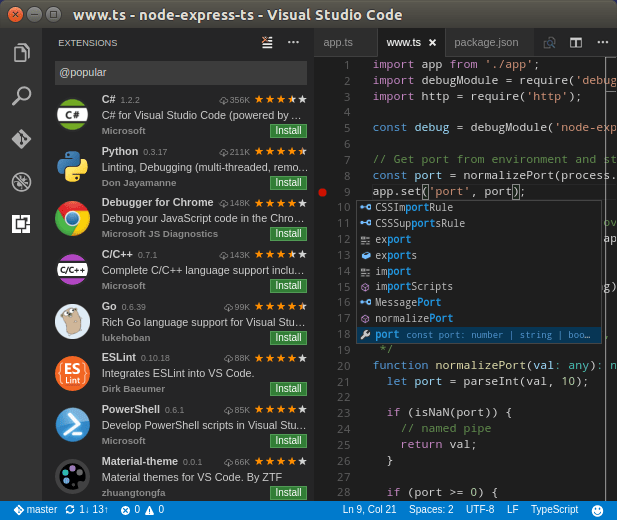
Getting started with Visual Studio Code
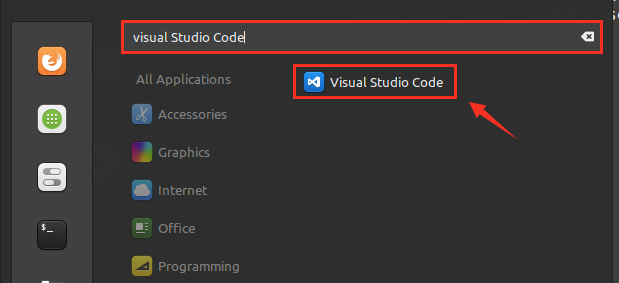
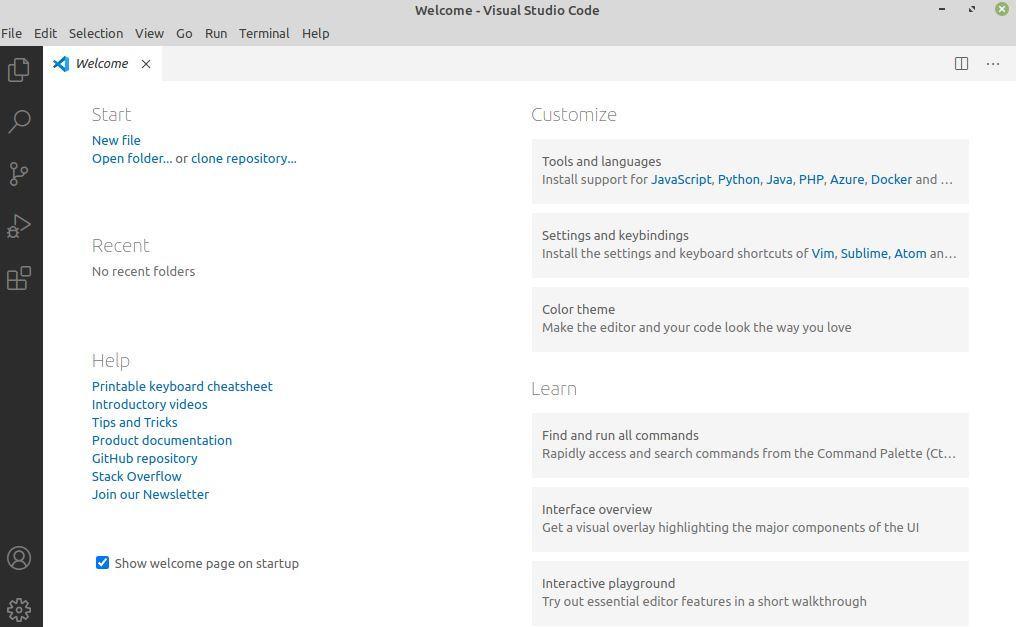
Once you have installed the Visual Studio Code application using any of the described methods, click on the Application Menu and search for Visual Studio Code.
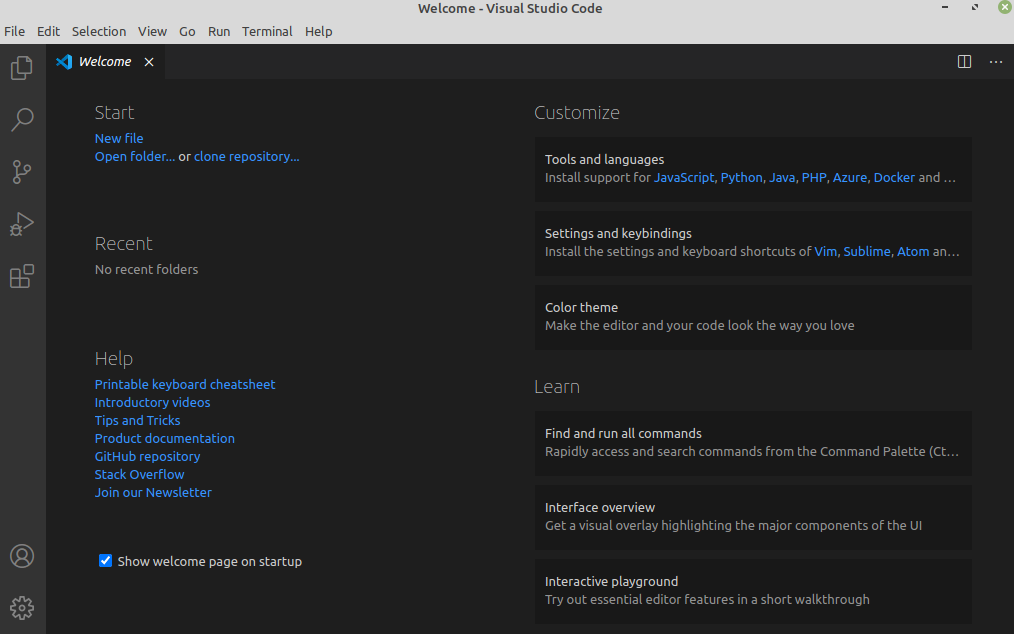
Open the Visual Studio Code application, and a dashboard screen will appear. The default theme of Visual Studio Code is dark, but it can be changed as well.
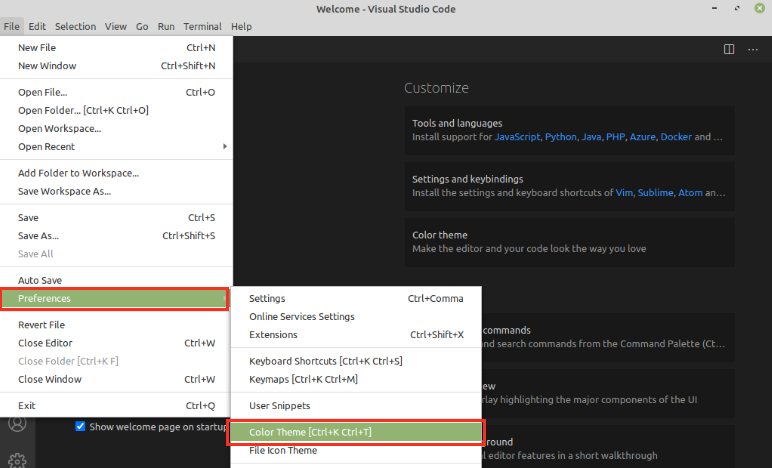
To change the theme, click on File, choose preferences and select ‘Color Theme’.
Select the theme for the given list of themes.
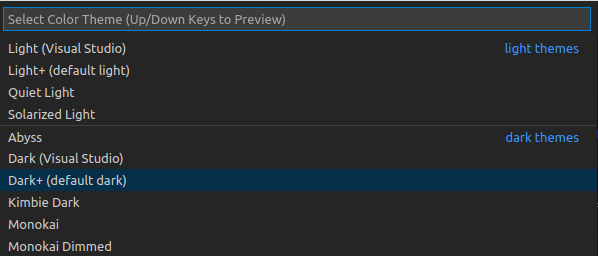
The theme will be updated successfully.
To create a new file, press ctrl+n and start using Visual Studio Code.
Conclusion
Visual Studio Code is a free and popular code editor. It is a multi-platform tool installed on Linux Mint 20 through the Debian package, flatpak, and snap application manager. It provides a wide variety of extensions that enable us to use famous programming languages. This post explains the Visual Studio Code installation on Linux Mint 20.
About the author

Kamran Sattar Awaisi
I am a software engineer and a research scholar. I like to write article and make tutorial on various IT topics including Python, Cloud Computing, Fog Computing and Deep Learning. I love to use Linux based operating systems.
Источник


