- Практическое применение Linux Deploy на десктопах
- How To Install Kali Linux on Android using Linux deploy.
- Standard Packages of Kali Linux
- 1. Kali Specific
- 2. Useful utilities and Software’s
- 3. Enhancements and accessibility
- Steps to Install Kali Linux in any Android device
- Conclusion
- FAQs
- Similar Posts
- How to install Substratum Themes With & Without Root on Any Android
- How to unlock Bootloader and install TWRP on any Android device
- How to Get iOS 14 & 15 Emojis on Android Devices
- Top 5 Best Android Emulators for Windows
- How to Install Xperia XZ2 Walkman APK in all Android Phones
- Best Movie Download Apps for Android 2021
- Leave a Reply Cancel reply
- 12 Comments
Практическое применение Linux Deploy на десктопах
Несмотря на то, что изначально Linux Deploy задумывался как приложение для Android, со временем появляются и другие варианты его применения. С появлением Linux Deploy CLI стал доступен ряд возможностей, открывающих новые сферы применения этого инструмента.

Linux Deploy CLI — это приложение с интерфейсом для командной строки, предназначенное для автоматизации процесса установки, конфигурирования и запуска GNU/Linux дистрибутивов внутри контейнера chroot. Приложение может работать как в обычных десктопных Linux-дистрибутивах, так и на мобильных платформах, основанных на ядре Linux, при условии соблюдения необходимых зависимостей (все зависимости могут быть собраны статически). Приложения из Linux-дистрибутива запускаются в chroot окружении, работают параллельно с основной системой и сопоставимы с ней по скорости. Поскольку работа Linux Deploy базируется на системном вызове ядра Linux, то в роли «гостевых» систем могут выступать только дистрибутивы Linux.
Приложение может работать в двух режимах: с правами суперпользователя (chroot) и без них (proot). В обычном режиме доступны все поддерживаемые типы установки: установка в файл, на раздел диска (логический диск), в POSIX совместимую директорию и в оперативную память (tmpfs). В режиме proot доступна установка только в директорию, а также появляется ряд ограничений:
- все пользователи внутри контейнера имеют полный доступ ко всей файловой системе контейнера, а владельцем всех файлов и каталогов является текущий пользователь;
- нет доступа к привилегированным операциям с системой, например, не работает ping, ulimit и т.п.;
- приложения могут работать только с номерами сетевых портов выше 1024;
- если приложение в своей работе использует системный вызов chroot, то его необходимо запускать через специальную утилиту fakechroot, например fakechroot /usr/sbin/sshd -p 2222.
Приложение поддерживает автоматическую установку (базовой системы) и начальную настройку дистрибутивов Debian, Ubuntu, Kali Linux, Arch Linux, Fedora, CentOS, Gentoo, openSUSE и Slackware. Установка Linux-дистрибутива осуществляется по сети с официальных зеркал в интернете. Также поддерживается импорт любой другой системы из заранее подготовленного rootfs-ахрива в формате tar.gz, tar.bz2 или tar.xz. Приложение позволяет подключаться к консоли установленной системы (контейнеру), а также запускать и останавливать приложения внутри контейнера (есть поддержка различных систем инициализации и собственных сценариев автозапуска). Каждый вариант установки сохраняется в отдельный конфигурационный файл, который отвечает за настройку каждого контейнера. При необходимости, контейнеры можно запускать параллельно. Можно экспортировать конфигурацию и сам контейнер как rootfs-архив для последующего развертывания этого контейнера без повторной установки и настройки.
Вообще, идея Linux Deploy возникла из желания получить легкий и удобный инструмент для быстрого развертывания Linux-дистрибутива, который можно было бы использовать для целей разработки, тестирования или обучения, а затем быстро удалить его, не внося изменения в основную (хост) Linux-систему и не рискуя ее целостностью. Благодаря программе PRoot стало возможным создавать контейнеры для запуска Linux-приложений без прав суперпользователя (root), а также использовать программную эмуляцию QEMU для запуска приложений с отличающийся от хоста архитектурой без необходимости поддержки модуля binfmt_misc на уровне ядра.
Так вышло, что на моей основной работе с 2011 года используются компьютеры с Debian. Местные разработчики периодически нуждаются в системе для запуска и тестирования своих веб-приложений (в основном Java, PHP, Python). Для этих целей обычно использовались виртуальные системы либо на базе VirtualBox, либо в местном «облаке» Proxmox, либо Docker. Основным недостатком VirtualBox является его требовательность к ресурсам компьютера, большой размер VDI образа диска, относительно невысокая скорость работы и вероятность поломки образа VM при неправильном выключении системы. Недостатком при использовании «облака» можно назвать необходимость самому администратору обслуживать запросы пользователей на создание таких систем, а также расходование ресурсов «облака» на второстепенные задачи. Для работы с Docker требуются права суперпользователя.
В этом месяце был проведен эксперимент, PHP-разработчикам их виртуальный сервер был заменен на LD-контейнер. Были подготовлены два контейнера на базе Debian: Apache + PHP + OCI8 и Apache + PHP + MySQL + PhpMyAdmin. Контейнеры были размещены на общем сетевом диске в локальной сети, размер каждого контейнера составил около 150 МБ.
Что от этого получил администратор:
- один раз подготовленный контейнер может быть развернут на компьютере разработчика одной командой без участия администратора;
- работа с контейнером не требует прав суперпользователя, поэтому отсутствует риск поломки основной системы.
Что получил разработчик:
- развертывание, запуск и управление системой в контейнере осуществляется без участия администратора одной командой;
- развертывание контейнера из заранее подготовленных архивов осуществляется по сети менее чем за минуту;
- запуск и остановка контейнера (Веб-сервер + БД) происходит мгновенно, не нужно ждать запуска операционной системы;
- нет риска повредить контейнер, если забыл его отключить при выключении компьютера, т.к. образ системы представляет собой обычный каталог без собственной файловой системы;
- компьютер работает быстрее, т.к. ресурсы тратятся только на запускаемый софт в контейнере, а не на всю операционную систему (в нашем случае это порядка 50 МБ, вместо 500 МБ в VirtualBox).
- проверка работоспособности ПО прямо из каталога IDE без необходимости заливать его на сервер, для этого достаточно подключить к контейнеру необходимый каталог основной системы.
А теперь более подробно о том, как этого добиться. Далее будет приведена инструкция по подготовке и развертыванию LD-контейнера.
Для запуска контейнеров без прав суперпользователя необходимо установить PRoot:
Загрузка и установка Linux Deploy CLI:
Создание конфигурации с именем «linux» для развертывания базовой системы Debian Wheezy (64 бита):
Посмотреть сохраненную конфигурацию:
Запуск развертывания новой системы:
Подключение к консоли контейнера под пользователем root (для выхода команда exit):
Далее можно установить и настроить необходимый софт в контейнере, однако следует учитывать описанные ранее особенности. Например, для запуска Apache нужно поменять его порт (файл /etc/apache2/ports.conf) на 8000, установить пустой параметр APACHE_ULIMIT_MAX_FILES=» » (файл /etc/apache2/envvars), а сам apachectl запускать из-под обычного пользователя (не root).
Настройка автозапуска на базе системы инициализации SysV:
Параметры: INIT_LEVEL — уровень инициализации SysV, INIT_USER — из-под какого пользователя запускать сервисы (по умолчанию это root), INIT_ASYNC — запускать сервисы параллельно.
Подготовка конфигурации, экспорт ее и экспорт контейнера в rootfs-архив (поддерживаются tar.gz, tar.bz2 и tar.xz архивы):
Экранирование «\$» позволяет сохранять в конфиг имена переменных, а не их значения. Таким образом при импорте конфига эти переменные будут автоматически заменены на соответствующие значения, которые могут отличаться от текущих. Теперь есть два файла (linux.conf и linux.tgz), которые можно использовать при импорте контейнера на другом компьютере:
Подключить к контейнеру каталог основной системы (каталог
/www подключить в /var/www контейнера):
Запуск контейнера (для SysV выполняются сценарии /etc/rcN.d/SXXname start):
Остановка контейнера с освобождением ресурсов (для SysV выполняются сценарии /etc/rc6.d/KXXname stop):
В итоге получилось решение, которое удовлетворяет потребностям как разработчиков, так и администраторов. Исходные коды приложения Linux Deploy доступны под лицензией GPL версии 3.
Источник
How To Install Kali Linux on Android using Linux deploy.
Updated on: Sep 20, 2021
Kali Linux continues to be a popular operating system for white hat hackers, security researchers and pen testers. It is a penetration testing Linux distribution (distro) mainly used by digital forensics and cryptographers because it offers a wide range of tools to support investigations and incident response mechanism. Kali’s advanced penetration testing tools and its ease of use means that it should be a part of every security professional’s toolbox.
While Kali Linux is only made available for a few Android devices, there is now a way to flash the system using change root (chroot) on almost any modern handset that runs on Android OS (You can also flash the latest Android ROMs if you don;t have one, although you would have to unlock your bootloader, install twrp and root your phone to do that). The developers of Linux Deploy have made it extremely easy to get any number of Linux distributions installed in a chroot environment (virtualized environment) using a simple GUI builder.
Let’s get started with installing Kali Linux on any Android devices.
Prerequisites
- A device running Android 2.1 and above, rooted (Learn How To Root Your Phone Here).
- At least 5 GB free space on internal or external storage. (You can also learn how to increase your internal memory of you have less space on your device).
- A fast, wireless internet connection.
- Full battery
- Patience.
Standard Packages of Kali Linux
Standard packages contains anything and everything I found useful. This list if divided into 3 parts:
1. Kali Specific
Kali Linux is a special build from Debian. Kali Linux inherits a lot of the issues from Debian Linux. This section shows you how to resolve of those. They are not specific to Kali Linux only and you might be leave them as it is, but I found that if I see an error my OCD kicks in and I have to make it go away…
2. Useful utilities and Software’s
A collection of utilities and software’s I found useful. These are day to day software’s that are available in most other Linux distributions or at least I think they should be made available as part of a default installation.
3. Enhancements and accessibility
Kali Linux is made to boot up fast and low of resources. But if you have some more CPU and GPU power to spare, you might want to try to make it look more colorfu
Steps to Install Kali Linux in any Android device
Step 1. The first step is to download and install Linux Deploy app in your Android device. The latest update Linux Deploy v2.6.0 supports Android 5.0 and above versions. That means, even newer devices can now take advantage of Linux Deploy.
Step 2. Launch the app after the downloading and installation process. On the screen, you may see a download button at the bottom. Tap on it to download an additional package (Navigation drawer).
Step 3. Now, look for the navigation drawer (it could be the three dots beside the download button, or the hamburger button. Inside, tap on Distribution option and change it to Kali Linux instead of Linux. At this point, you’ve pretty much covered the important stuff.
You also have an option of choosing your architecture, verify that the Kali mirror is correct, set your installation type and location on your Android device, etc. Generally speaking, the defaults provided by Linux Deploy are reasonable to begin with.
Step 4. Now scroll up and click on the Install button at the top of there. Depending on your Internet connection speed, this process could take a while.
Step 5. Starting of services such as SSH and VNC for easier remote access. All of this is automatically done by hitting the “Start” button. You should see Linux Deploy setting up your image with output similar to the following:
Now you can use either a SSH or VNC client to access your Kali instance.
Step 6. Now, download and install VNC Viewer App on your Android from the Google Play Store. After that, launch the app and fill up the settings as displayed on the screenshot below:
Step 7. Now click on the Connect button, and that’s pretty much it. You are now done. Kali Linux is now installed in your Android smartphone. You can enjoy the dummy hacking environment on your phone.
Conclusion
Some devices reported strange error after Installing Kali Linux. If you faced any such error, it could be a ROM issue. Try with other devices if you failed. Let us know if you encountered any strange error whose solution you can’t find in Linux forums, and we will try to provide you solution.
FAQs
Kali Linux is not illegal as it is only a tool. It only became illegal if someone uses it for hacking and other activities with criminal intent. However, if your job description is to regularly attempt to hack into the networks and system to expose security loopholes and provide patches, then this will not automatically make it illegal. This is called “Penetration Testing”, one of the many uses of Kali Linux.
Linux was developed by Mati Aharoni and Devon Kearns of Offensive Security through the rewrite of their previous Knoppix-based information security testing Linux distribution called BackTrack. Third-party core developer Raphaёl Hertzog later joined the group as a Debian expert. The Kali Linux project began in 2012.
Linux is the preferred Linux distribution the hackers use because it includes a large amount of penetration testing tools to help various fields of security and forensics. Of course, Kali Linux is designed as a testing ground for people working in the information security industry. However, its open-source nature also exposes it some people who use it for illegal activities.
It is a matter of preference and how you will use it for. Ubuntu is suited for people who are just starting to get familiar with Linux. Ubuntu is a general-purpose operating system that means that it is a more personal operating system for the mainstream Linux users. Somewhat like macOS and Windows. It is beautiful, and it was designed to be like that. Its features are less complicated because it is targeting mass or mainstream users.
On the other hand, Linux is designed as a tool for ethical hackers, or people who regularly attempt to hack into the networks and system to expose security loopholes and provide patches.
Hackers use Kali Linux because it offers a wide range of features which aims to test information security with its various security-related tools. Founders Mati Aharoni and Devon Kearns designed Kali Linux as a replacement for their previous Knoppix-based digital forensics and penetration testing distribution BackTrack. BackTrack was discontinued in 2012 in favour of Kali Linux.
If you want to update your Kali Linux, you will need to use a combination of two commands.
update && apt upgrade –y
“apt update” command refreshes the list of repositories on your system. Apt update checks if there are new packages available from Kali Linux server. It doesn’t download or install the latest packages on your system. Instead, it only fetches information about the new packages.
“apt upgrade” on the other hand is the one that updates your system. When you run the apt update command, your system knows which packages have available updates (thanks to apt update). If there is an available update, your system will automatically download and install the new update.
You can’t, unfortunately. Since in this article, we only installed Kali Linux on Android phone using Linux Deploy, which is just chrooting into a distro. Kali Linux on Android is just running on a virtualized setup. Hence you will still retain your Android ROM. Currently, Offensive Security has only built native images of Kali Linux on select ARM hardware.
Ajinkya has close to a decade of experience covering consumer technology and previously worked with Android Authority, Android Headlines, Anandtech and lot more. Ajinkya loves all things technology and is also an avid DIYer at heart. Ajinkya has a background in IT and Deep Passion for Everything Android and Google. His specialties lay in Smartphones of all budgets, Accessories, Home Automation and more.
Similar Posts

How to install Substratum Themes With & Without Root on Any Android
Android is known best for its customization and the tweaks which are not found in any other Smartphone OS. You might be familiar with the theme engine available on CyanogenMod phones. But what about the stock Android phones. You don’t get any theme engine on your stock Android devices. Right? Today, I will be telling you…
How to unlock Bootloader and install TWRP on any Android device
Smartphone enables a person with limitless features that can’t be even imagined of. The present time is the era of handheld devices with various brand or companies manufacturing smartphones that come with variety of features. This has exponentially increased the number of smartphone users. Popular smartphones do come as a package of great features and…

How to Get iOS 14 & 15 Emojis on Android Devices
Do you like the new Emojis? Which One is your favourite or the one you use the most? Emoji has become an important part of chatting. We often use emojis to express the situations. Nearly every single emoticon has been redesigned through the years. Most smartphone users use emoji’s as it is an easy way of…

Top 5 Best Android Emulators for Windows
Android has become one of the most popular mobile operating systems along with iOS. But now, using it as on a PC has also kind of become a thing. In fact, the popularity of Android is just one reason why people are using Android emulators. If it isn’t obvious, Android emulators are programs that simulate…
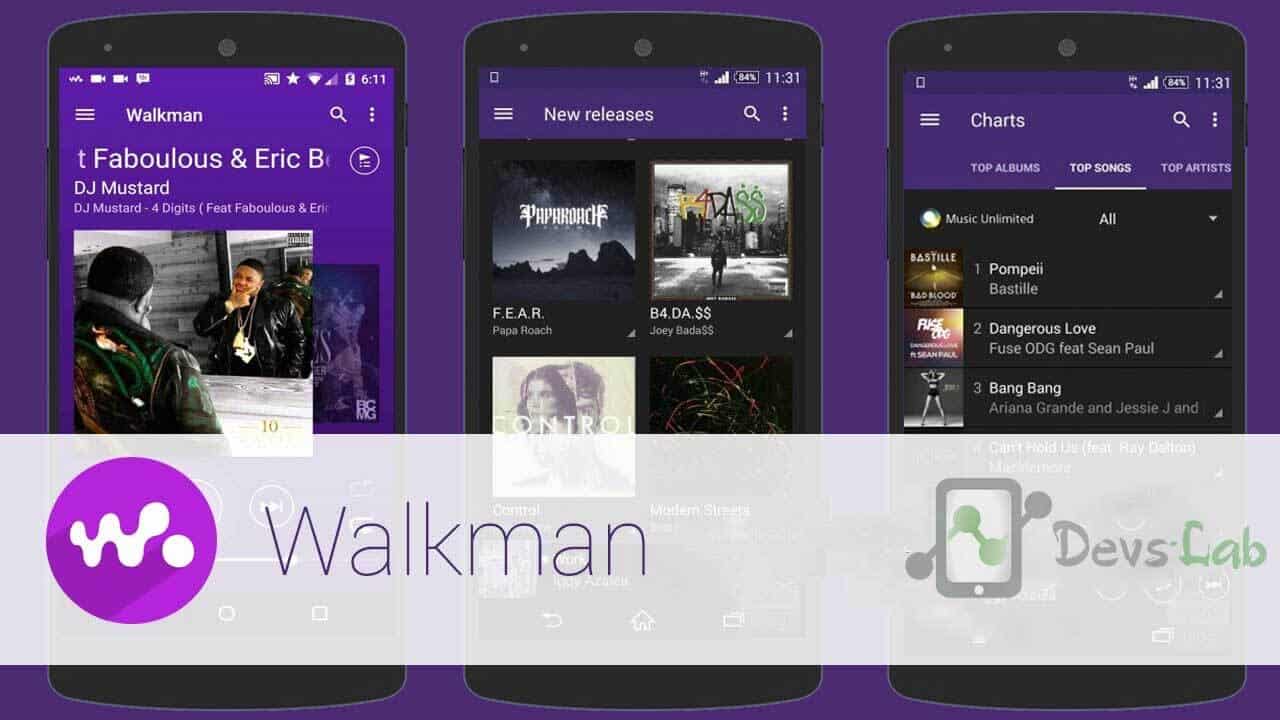
How to Install Xperia XZ2 Walkman APK in all Android Phones
Sony is generally known for its Music optimized Smartphones with a premium look & its quality. Even I’m a Walkman lover because of its Interface & features. Sony Smartphones were preferred for their simplicity, features & hardware which was always trustworthy! Sony always had some unique features in their Smartphones that made it stand out…

Best Movie Download Apps for Android 2021
Online streaming is here to stay, thanks to the convenience it brings to everyone who can actually afford monthly subscriptions. Our leap to 5G this year will make content streaming even more possible for everyone. However, while some of us would want to rely on the internet for everything we do, there are times when…
Leave a Reply Cancel reply
12 Comments
Idiot admin reply us ssh and vnc fail error are u blind cnt u see our issue
We can return the whole proces to go back to kali to Android. How
Help mee…when m click on start it shows in starting service SSH & VNC fail
hello sir please which way you recognise as the best way for rooting android phone and tablet. I need your reply through my email adress thank you
My linux deploy shows when i installing ssh and vnc shows fail..why?
I have successfully installed but when I connect through vnc, I am getting a blank screen with a mouse cursor. I want to upload the screenshot here. May I know the issue and how to upload the image here?
In my android ssh and vnc shows fail
Hi admin
Have download the kali Linux img already 3.2gb with torrent download already. Can I complete the installation without re downloading it through the Linux deploy app?
Thanks for this great post but can you provide me any way by which i could install kali in my non rooted device.I will thankfull to you and waiting for your kind reply sir.
As you need to change few System files while installing Kali linux. You must root your Android device. You can check How to Root Any Android device.
How many mb data pack use Kali installation
Источник


