- Manual installation steps for older versions of WSL
- Step 1 — Enable the Windows Subsystem for Linux
- Step 2 — Check requirements for running WSL 2
- Step 3 — Enable Virtual Machine feature
- Step 4 — Download the Linux kernel update package
- Step 5 — Set WSL 2 as your default version
- Step 6 — Install your Linux distribution of choice
- Troubleshooting installation
- Downloading distributions
- Install Windows Terminal (optional)
- Ubuntu Documentation
- Download Wubi
- Install Ubuntu
- Windows-based Un-installation
- Uninstall from Windows XP
- Uninstall from Windows Vista or Windows 7
- Uninstall from Windows 8
- Selecting Windows or Ubuntu
- External Links
- Install WSL
- Prerequisites
- Install
- Change the default Linux distribution installed
- Set up your Linux user info
- Set up and best practices
- Want to try the latest WSL preview features?
Manual installation steps for older versions of WSL
For simplicity, we generally recommend using the wsl —install to install Windows Subsystem for Linux, but if you’re running an older build of Windows, that may not be supported. We have included the manual installation steps below. If you run into an issue during the install process, check the installation section of the troubleshooting guide.
Step 1 — Enable the Windows Subsystem for Linux
You must first enable the «Windows Subsystem for Linux» optional feature before installing any Linux distributions on Windows.
Open PowerShell as Administrator and run:
We recommend now moving on to step #2, updating to WSL 2, but if you wish to only install WSL 1, you can now restart your machine and move on to Step 6 — Install your Linux distribution of choice. To update to WSL 2, wait to restart your machine and move on to the next step.
Step 2 — Check requirements for running WSL 2
To update to WSL 2, you must be running Windows 10.
- For x64 systems: Version 1903 or higher, with Build 18362 or higher.
- For ARM64 systems: Version 2004 or higher, with Build 19041 or higher.
- Builds lower than 18362 do not support WSL 2. Use the Windows Update Assistant to update your version of Windows.
To check your version and build number, select Windows logo key + R, type winver, select OK. Update to the latest Windows version in the Settings menu.
If you are running Windows 10 version 1903 or 1909, open «Settings» from your Windows menu, navigate to «Update & Security» and select «Check for Updates». Your Build number must be 18362.1049+ or 18363.1049+, with the minor build # over .1049. Read more: WSL 2 Support is coming to Windows 10 Versions 1903 and 1909.
Step 3 — Enable Virtual Machine feature
Before installing WSL 2, you must enable the Virtual Machine Platform optional feature. Your machine will require virtualization capabilities to use this feature.
Open PowerShell as Administrator and run:
Restart your machine to complete the WSL install and update to WSL 2.
Step 4 — Download the Linux kernel update package
Download the latest package:
If you’re using an ARM64 machine, please download the ARM64 package instead. If you’re not sure what kind of machine you have, open Command Prompt or PowerShell and enter: systeminfo | find «System Type» . Caveat: On non-English Windows versions, you might have to modify the search text, translating the «System Type» string. You may also need to escape the quotations for the find command. For example, in German systeminfo | find ‘»Systemtyp»‘ .
Run the update package downloaded in the previous step. (Double-click to run — you will be prompted for elevated permissions, select вЂyes’ to approve this installation.)
Once the installation is complete, move on to the next step — setting WSL 2 as your default version when installing new Linux distributions. (Skip this step if you want your new Linux installs to be set to WSL 1).
Step 5 — Set WSL 2 as your default version
Open PowerShell and run this command to set WSL 2 as the default version when installing a new Linux distribution:
Step 6 — Install your Linux distribution of choice
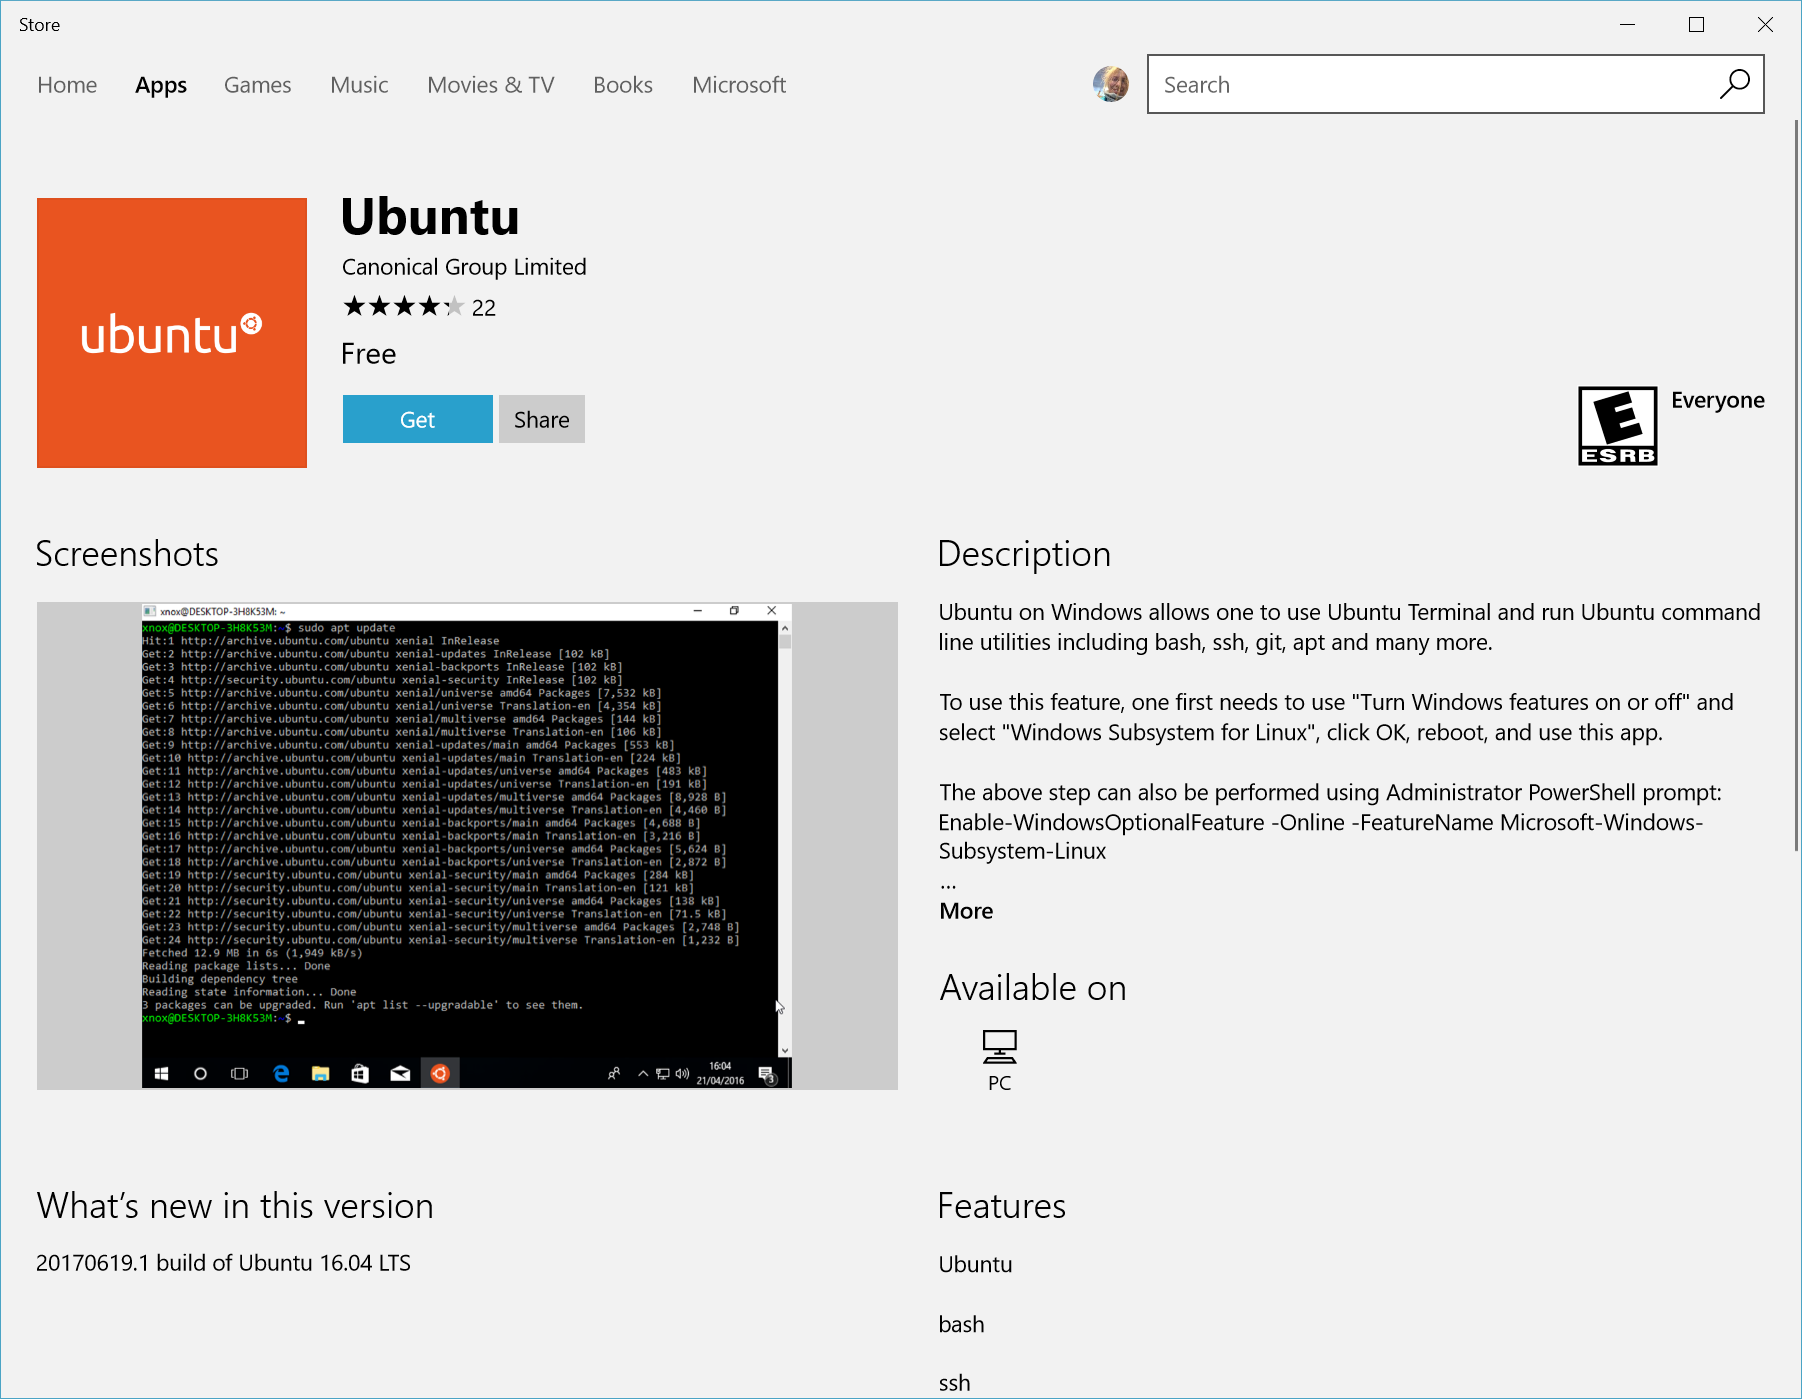
Open the Microsoft Store and select your favorite Linux distribution.

The following links will open the Microsoft store page for each distribution:
From the distribution’s page, select «Get».
The first time you launch a newly installed Linux distribution, a console window will open and you’ll be asked to wait for a minute or two for files to de-compress and be stored on your PC. All future launches should take less than a second.

CONGRATULATIONS! You’ve successfully installed and set up a Linux distribution that is completely integrated with your Windows operating system!
Troubleshooting installation
If you run into an issue during the install process, check the installation section of the troubleshooting guide.
Downloading distributions
There are some scenarios in which you may not be able (or want) to, install WSL Linux distributions using the Microsoft Store. You may be running a Windows Server or Long-Term Servicing (LTSC) desktop OS SKU that doesn’t support Microsoft Store, or your corporate network policies and/or admins do not permit Microsoft Store usage in your environment. In these cases, while WSL itself is available, you may need to download Linux distributions directly.
If the Microsoft Store app is not available, you can download and manually install Linux distributions using these links:
This will cause the .appx packages to download to a folder of your choosing.
If you prefer, you can also download your preferred distribution(s) via the command line, you can use PowerShell with the Invoke-WebRequest cmdlet. For example, to download Ubuntu 20.04:
If the download is taking a long time, turn off the progress bar by setting $ProgressPreference = ‘SilentlyContinue’
You also have the option to use the curl command-line utility for downloading. To download Ubuntu 20.04 with curl:
In this example, curl.exe is executed (not just curl ) to ensure that, in PowerShell, the real curl executable is invoked, not the PowerShell curl alias for Invoke-WebRequest.
Once the distribution has been downloaded, navigate to the folder containing the download and run the following command in that directory, where app-name is the name of the Linux distribution .appx file.
If you are using Windows server, or run into problems running the command above you can find the alternate install instructions on the Windows Server documentation page to install the .appx file by changing it to a zip file.
Once your distribution is installed, follow the instructions to create a user account and password for your new Linux distribution.
Install Windows Terminal (optional)
Using Windows Terminal enables you to open multiple tabs or window panes to display and quickly switch between multiple Linux distributions or other command lines (PowerShell, Command Prompt, PowerShell, Azure CLI, etc). You can fully customize your terminal with unique color schemes, font styles, sizes, background images, and custom keyboard shortcuts. Learn more.
Источник
Ubuntu Documentation
The Windows-based Ubuntu Installer (Wubi) allows you to install and uninstall Ubuntu from within Microsoft Windows. It lets a Microsoft Windows user try Ubuntu without risking any data loss due to disk formatting or partitioning.
Wubi requires Windows 98, ME, 2000, XP, Vista, Windows 7.
NOTE: Hibernation is not supported when installing Ubuntu via Wubi.
Download Wubi
Download Wubi from the Ubuntu Windows Installer Download page, this will download the latest version by default. You can download other versions of Ubuntu
Install Ubuntu
- Within Microsoft Windows, place your downloaded ISO in the same directory as the Wubi, and run the installer.

In the Desktop Environment list, select Ubuntu. If you wish to install Kubuntu, Xubuntu or another official derivative of Ubuntu, select your preferred one from the drop-down list.
Select Install. The Ubuntu Setup progress window appears. When Ubuntu has finished installing, the Completing the Ubuntu Setup Wizard window appears.

Select Reboot now and click Finish. Your computer restarts and the Windows Boot Manager appears. 
NOTE: Since Wubi installs Ubuntu on the same file partition as Windows, there may be a slight degradation in Ubuntu’s performance over time due to file fragmentation.
Windows-based Un-installation
When installed from Microsoft Windows, Ubuntu can be uninstalled using Microsoft Window’s standard Add or Remove Programs/Uninstall a program option.
Uninstall from Windows XP
From the Start menu, select Control Panel. The Control Panel appears.

Select Add or Remove Programs. Add or Remove Programs appears.
Select Ubuntu and click Remove. The Wubi Uninstall window appears.
Click Uninstall. Ubuntu uninstalls. The Completing the Wubi Uninstall Wizard appears.
Click Finish. Ubuntu is uninstalled.
Uninstall from Windows Vista or Windows 7
Removing Ubuntu in Windows Vista or Windows 7 follows the standard Uninstall a program option in Microsoft Windows.
From the Start menu, select Control Panel. The Control Panel appears.

Under Programs, select Uninstall a program. The Uninstall or change a program window appears.

Select Ubuntu and then click Uninstall/Change. The Wubi Uninstall window appears.

Click Uninstall. The progress wizard appears. The Completing the Wubi Uninstall Wizard appears.

Click Finish. Ubuntu is uninstalled.
Uninstall from Windows 8

Removing Ubuntu from Windows 8 is done in a similar manner to Windows Vista and Windows 7, however there is a different procedure for accessing the Programs and Features.
- Select any tile by right-clicking any non-store application in your Start screen.
- On the bar that opens at the bottom, select Uninstall. This will open the Programs and Features dialog on your desktop.
- Note: This will not uninstall that application.
Select Ubuntu and then click Uninstall/Change. The Wubi Uninstall window appears.
Click Uninstall. The progress wizard appears. The Completing the Wubi Uninstall Wizard appears.
Click Finish. Ubuntu has been successfully removed from your computer.
Selecting Windows or Ubuntu
If you installed Ubuntu via the Wubi installer, the Windows (NT) Boot Loader (ntldr) loads. You can choose which operating system to «boot-up» into.
To Choose Which Operating System Boots-Up
- Turn on or restart your system. The Windows Boot Manager appears.
NOTE: The default operating system is Microsoft Windows. If you do not choose an operating system, Microsoft Windows will automatically load.
External Links
Wubi (последним исправлял пользователь cariboo 2014-06-26 19:22:56)
The material on this wiki is available under a free license, see Copyright / License for details
You can contribute to this wiki, see Wiki Guide for details
Источник
Install WSL
Prerequisites
You must be running Windows 10 version 2004 and higher (Build 19041 and higher) or Windows 11.
To check your Windows version and build number, select Windows logo key + R, type winver, select OK. You can update to the latest Windows version in the Settings menu or using the Windows Update Assistant.
If you’re running an older build, or just prefer not to use the install command and would like step-by-step directions, see WSL manual installation steps for older versions.
Install
You can now install everything you need to run Windows Subsystem for Linux (WSL) by entering this command in PowerShell or Windows Command Prompt and then restarting your machine.
This command will enable the required optional components, download the latest Linux kernel, set WSL 2 as your default, and install a Linux distribution for you (Ubuntu by default, see below to change this).
The first time you launch a newly installed Linux distribution, a console window will open and you’ll be asked to wait for files to de-compress and be stored on your machine. All future launches should take less than a second.
Change the default Linux distribution installed
By default, the installed Linux distribution will be Ubuntu. This can be changed using the -d flag.
- To change the distribution installed, enter: wsl —install -d . Replace with the name of the distribution you would like to install.
- To see a list of available Linux distributions available for download through the online store, enter: wsl —list —online or wsl -l -o .
- To install additional Linux distributions after the initial install, you may also use the command: wsl —install -d .
If you want to install additional distributions from inside a Linux/Bash command line (rather than from PowerShell or Command Prompt), you must use .exe in the command: wsl.exe —install -d or to list available distributions: wsl.exe -l -o .
If you run into an issue during the install process, check the installation section of the troubleshooting guide.
Set up your Linux user info
Once you have installed WSL, you will need to create a user account and password for your newly installed Linux distribution. See the Best practices for setting up a WSL development environment guide to learn more.
Set up and best practices
We recommend following our Best practices for setting up a WSL development environment guide for a step-by-step walk-through of how to set up a user name and password for your installed Linux distribution(s), using basic WSL commands, installing and customizing Windows Terminal, set up for Git version control, code editing and debugging using the VS Code remote server, good practices for file storage, setting up a database, mounting an external drive, setting up GPU acceleration, and more.
Want to try the latest WSL preview features?
Try the most recent features or updates to WSL by joining the Windows Insiders Program. Once you have joined Windows Insiders, you can choose the channel you would like to receive preview builds from inside the Windows settings menu to automatically receive any WSL updates or preview features associated with that build. You can choose from:
- Dev channel: Most recent updates, but low stability.
- Beta channel: Ideal for early adopters, more reliable builds than the Dev channel.
- Release Preview channel: Preview fixes and key features on the next version of Windows just before its available to the general public.
Источник


