- LAMP (apache mysql php)
- Содержание
- Установка стандартного набора LAMP
- Удаление LAMP
- Установка Apache 2
- Возможные ошибки
- Виртуальные хосты
- Установка PHP 5
- Проверка PHP
- Возможные ошибки
- Установка MySQL и его модулей для PHP 5
- PhpMyAdmin
- Где лежат настройки Apache/PHP/MySQL?
- Как включить отображение ошибок PHP?
- Ссылки
- Быстрая установка Apache, PHP, MySQL и phpMyAdmin на Ubuntu
- Что это
- Приступим
- How To Install Linux, Apache, MySQL, PHP (LAMP) stack on Ubuntu 18.04
- Introduction
- Prerequisites
- Step 1 — Installing Apache and Updating the Firewall
- Adjust the Firewall to Allow Web Traffic
- How To Find your Server’s Public IP Address
- Step 2 — Installing MySQL
- Step 3 — Installing PHP
- Changing Apache’s Directory Index (Optional)
- Installing PHP Extensions (Optional)
- Step 4 — Setting Up a Virtual Host (Recommended)
- Step 5 — Testing PHP Processing on your Web Server
- Conclusion
LAMP (apache mysql php)
Содержание
В этой статье описана установка и настройка LAMP (Linux-Apache-MySQL-PHP) сервера на базе Ubuntu включающего Apache 2, PHP 5, и MySQL 5.0.
Установка стандартного набора LAMP
Начиная с Ubuntu 7.04 (Feisty Fawn) поумолчанию установлена полезная утилита Tasksel(англ.). Она поможет вам установить LAMP. Просто выполним команду:
При установке будет запрошен пароль для создания администратора БД MySQL.
Удаление LAMP
Для удаления LAMP вам придется удалить его компоненты отдельно:
Установка Apache 2
Если требуется установить только веб-сервер Apache 2 используйте любой метод для того, чтобы установить пакет apache2 . Для того, чтобы Apache заработал его следует перезапустить:
Возможные ошибки
Если при запуске появляется следующая ошибка
apache2: Could not determine the server’s fully qualified domain name, using 127.0.0.1 for ServerName
запустите свой любимй текстовый редактор (например sudo nano или gksu gedit ) и создайте файл /etc/apache2/conf.d/fqdn , со следующим содержанием:
Это так же можно сделать выполнив комманду:
Виртуальные хосты
Apache2 позволяет создавать различные конфигурационные файлы для сайтов. Они находятся в папке /etc/apache2/sites-available. По-умолчанию создается только один сайт default, на который можно зайти введя в браузере http://localhost или http://127.0.0.1.
Директория для файлов сайта находится в /var/www. Необходимы права root для доступа к этой папке. Но вы можете изменить права на нее командой
Вы также можете создать собственные сайты.
Для примера мы создадим новый сайт в папке /home/user/public_html/ :
Отредактируем новый конфиг-файл в текстовом редакторе выполнив в консоли sudo nano или gksudo gedit , например:
Теперь вы можете деактивировать ваш старый сайт и включить новый. Ubuntu содержит две маленькие утилиты для помощи в этом: a2ensite (apache2enable site) и a2dissite (apache2disable site).
Осталось только перезапустить Apache2:
Если вы не создали папку /home/user/public_html/, то получите сообщение с предупреждением об этом.
Внесем имя сайта в список хостов сервера:
Дописать в строчку 127.0.0.1 localhost через пробел mysite www.mysite Перезапустить Apache2
Для проверки вашего нового сайта создайте файл в папке /home/user/public_html:
И откройте в браузере адрес http://localhost/
Установка PHP 5
Чтобы установить модуль PHP для Apache используйте любой метод для того, чтобы установить пакет libapache2-mod-php5 . Включить модуль PHP 5 в Apache можно выполнив:
Это создаст символическую ссылку /etc/apache2/mods-enabled/php5 указывающую на /etc/apache2/mods-availble/php5 . Если не вы используете устаревшие в PHP короткие теги (что крайне нерекомендуемо) вместо откройте от имени суперпользователя файл /etc/php5/apache2/php.ini , найдите в нем строчку
и замените ее на
Это заставит игнорировать открывающие теги в файлах, обрабатываемых PHP .
Для того, чтобы изменения вступили в силу перезапустите Apache
Проверка PHP
В папке /var/www создайте файл test.php, дайте права на чтение из него всем (или хотя бы пользователю apache ) и запишите в него следующую строку:
Теперь попробуйте в своем браузере перейти на страницу http://localhost/test.php. Если вы видите описание установленного PHP , значит вы все настроили правильно.
Возможные ошибки
Если при выполнении команды sudo a2enmod php5 вы получаете в ответ
попробуйте полностью удалить пакет libapache2-mod-php5
и установить его заново.
Не забывайте очищать кеш браузера перед тем как снова тестировать свой сайт.
Помните, что Apache будет обрабатывать файл только если URI начинается с http:// . Если адрес начинается с file:// , то файл будет отображатся напрямую браузером, по этому вы увидите только CSS и (X)HTML , но не PHP . Если вы не конфигурировали виртуальные хосты, то локальный адрес будет иметь вид http://127.0.0.1 , http://localhost или http://ваш_IP.
Установка MySQL и его модулей для PHP 5
Чтобы установить MySQL используйте любой метод для того, чтобы установить пакеты mysql-server libapache2-mod-auth-mysql php5-mysql .
PhpMyAdmin
Все задачи которые требуется выполнить при момощи MySQL можно делать используя графический интерфейс программ phpmyadmin . Устанавливаем утилиту
При установке она запросит пароли которые были заданы при установке MySQL.
При ошибке 404 внесите в файл /etc/apache2/apache2.conf строчку Include /etc/phpmyadmin/apache.conf
Где лежат настройки Apache/PHP/MySQL?
| Путь | Описание |
|---|---|
| /etc/mysql/my.cnf | Файл настроек MySQL |
| /etc/apache2/apache2.conf | Файл настроек Apache 2 |
| /etc/php5/apache2/php.ini | Файл настроек PHP5 |
Как включить отображение ошибок PHP?
В используемом файле настроек php.ini, точное местоположение которого подскажет функция phpinfo() (для устанавливаемого по умолчанию Apache это /etc/php5/apache2/php.ini) за отображение ошибок отвечают следующие опции:
E_DEPRECATED , которое отображает все ошибки.
Ссылки
© 2012 Ubuntu-ru — Русскоязычное сообщество Ubuntu Linux.
© 2012 Canonical Ltd. Ubuntu и Canonical являются зарегистрированными торговыми знаками Canonical Ltd.
Источник
Быстрая установка Apache, PHP, MySQL и phpMyAdmin на Ubuntu
Что это

Откуда взялось слово LAMP, спросите вы. Хоть как бы забавно ни было, это не лампа, а связка программного обеспечения Linux + Apache + MySQL + PHP( Кстати, вместо PHP могут использоваться и другие скриптовые языки. Pyhon или Perl).
Apache – это бесплатный и самый популярный веб сервер под платформы GNU/Linux, Win32, Mac. Для него существует много документации на русском языке.
MySQL – СУБД ( система управления базой данных). В базе данных храниться практически вся информация, которая используется на сайте. Логины, ники, посты, и т.д.
PHP – Скриптовый язык программирования для веб приложений.
Приступим
Чтобы поставить всё нужное для организации веб сервера с поддержкой всех нужных инструментов на Linux нужно сделать следущие операции. Для начала нам нужен сам веб сервер Apache. Заходим в терминал и прописываем там команду:
sudo apt-get install apache2 libapache2-mod-auth-mysql
Эта команда скачает и установит с репозитория сам сервер Apache 2, и библиотеку libapache2-mod-auth-mysql.
Затем устанавливает интерпретатор php c дополнительными библиотеками:
sudo apt-get install php5-common php5 libapache2-mod-php5 php5-cli php5-cgi php5-mysql
Для того, чтобы всё заработало нужно перезапустить сервер Apache командой:
sudo /etc/init.d/apache2 reload
Теперь всё работает. Вы можете перейти по адресу localhost и перед вами появиться страница с текстом «Its Works ..» и так далее. Если так оно и есть, значит сервер Apache 2 работает. Проверить же работоспособность php можно создав файл c раcширением php в папке /var/www и открыть его в браузере через адрес
localhost/имя_вашего_файла.php. Чтобы внести изменения в этот каталог вам нужны права администратора, поэтому, вам нужно запустить ваш файловый менеджер от имени администратора. В Ubuntu это делает команда sudo nautilus. Допустим создайте файл test.php, в который вставьте , если по адресу localhost/test.php выдаст большую синюю страницу с информацией про сервер и настройки php, значит вам удалось установить php.Это выглядит примерно так:
После всех манипуляций с Веб сервером для возможности использовать полную динамичность веб программирования так-же стоит установить СУБД
MySQL. Нужно выполнить в терминале команду:
sudo apt-get install mysql-server mysql-client mysql-admin
Это установит клиент и сервер СУБД MySQL. Установщик спросит пароль для пользователя root в СУБД MySQL. Если вы занимаетесь разработкой приложений, отладкой и тестированием, то можно ставить простой пароль для удобства.
Стоит так-же поставить phpMyAdmin для управления базой данных.
sudo apt-get install phpmyadmin
Выбираем apache2 из предложенного списка.
phpMyAdmin будет доступен по адресу localhost/phpmyadmin. Если при переходе по адресу выдает ошибку, попробуйте выполнить команды:
sudo ln -s /etc/phpmyadmin/apache.conf /etc/apache2/conf.d/phpmyadmin.conf
sudo /etc/init.d/apache2 reload
Команда запуска, перезапуска, остановки сервера Apache:
Источник
How To Install Linux, Apache, MySQL, PHP (LAMP) stack on Ubuntu 18.04
Last Validated on July 15, 2021 Originally Published on April 27, 2018
Not using Ubuntu 18.04?
Choose a different version or distribution.
Introduction
A “LAMP” stack is a group of open-source software that is typically installed together to enable a server to host dynamic websites and web apps. This term is actually an acronym which represents the Linux operating system, with the Apache web server. The site data is stored in a MySQL database, and dynamic content is processed by PHP.
In this guide, we’ll install a LAMP stack on an Ubuntu 18.04 server.
Prerequisites
In order to complete this tutorial, you’ll need to have an Ubuntu 18.04 server with a non-root sudo -enabled user account and a basic firewall configured. To set this up, you can follow our initial server setup guide for Ubuntu 18.04.
Step 1 — Installing Apache and Updating the Firewall
The Apache web server is a popular open source web server that can be used along with PHP to host dynamic websites. It’s well-documented and has been in wide use for much of the history of the web.
First, make sure your apt cache is updated with:
If this is your first time using sudo in this session, you’ll be prompted to provide your regular user’s password to validate your permissions.
Once the cache has been updated, you can install Apache with:
After entering this command, apt will tell you which packages it plans to install and how much extra disk space they’ll take up. Press Y and hit ENTER to confirm, and the installation will proceed.
Adjust the Firewall to Allow Web Traffic
Next, assuming that you have followed the initial server setup instructions and enabled the UFW firewall, make sure that your firewall allows HTTP and HTTPS traffic. You can check that UFW has an application profile for Apache like so:
If you look at the Apache Full profile details, you’ll see that it enables traffic to ports 80 and 443 :
To allow incoming HTTP and HTTPS traffic for this server, run:
You can do a spot check right away to verify that everything went as planned by visiting your server’s public IP address in your web browser (see the note under the next heading to find out what your public IP address is if you do not have this information already):
You will see the default Ubuntu 18.04 Apache web page, which is there for informational and testing purposes. It should look something like this:
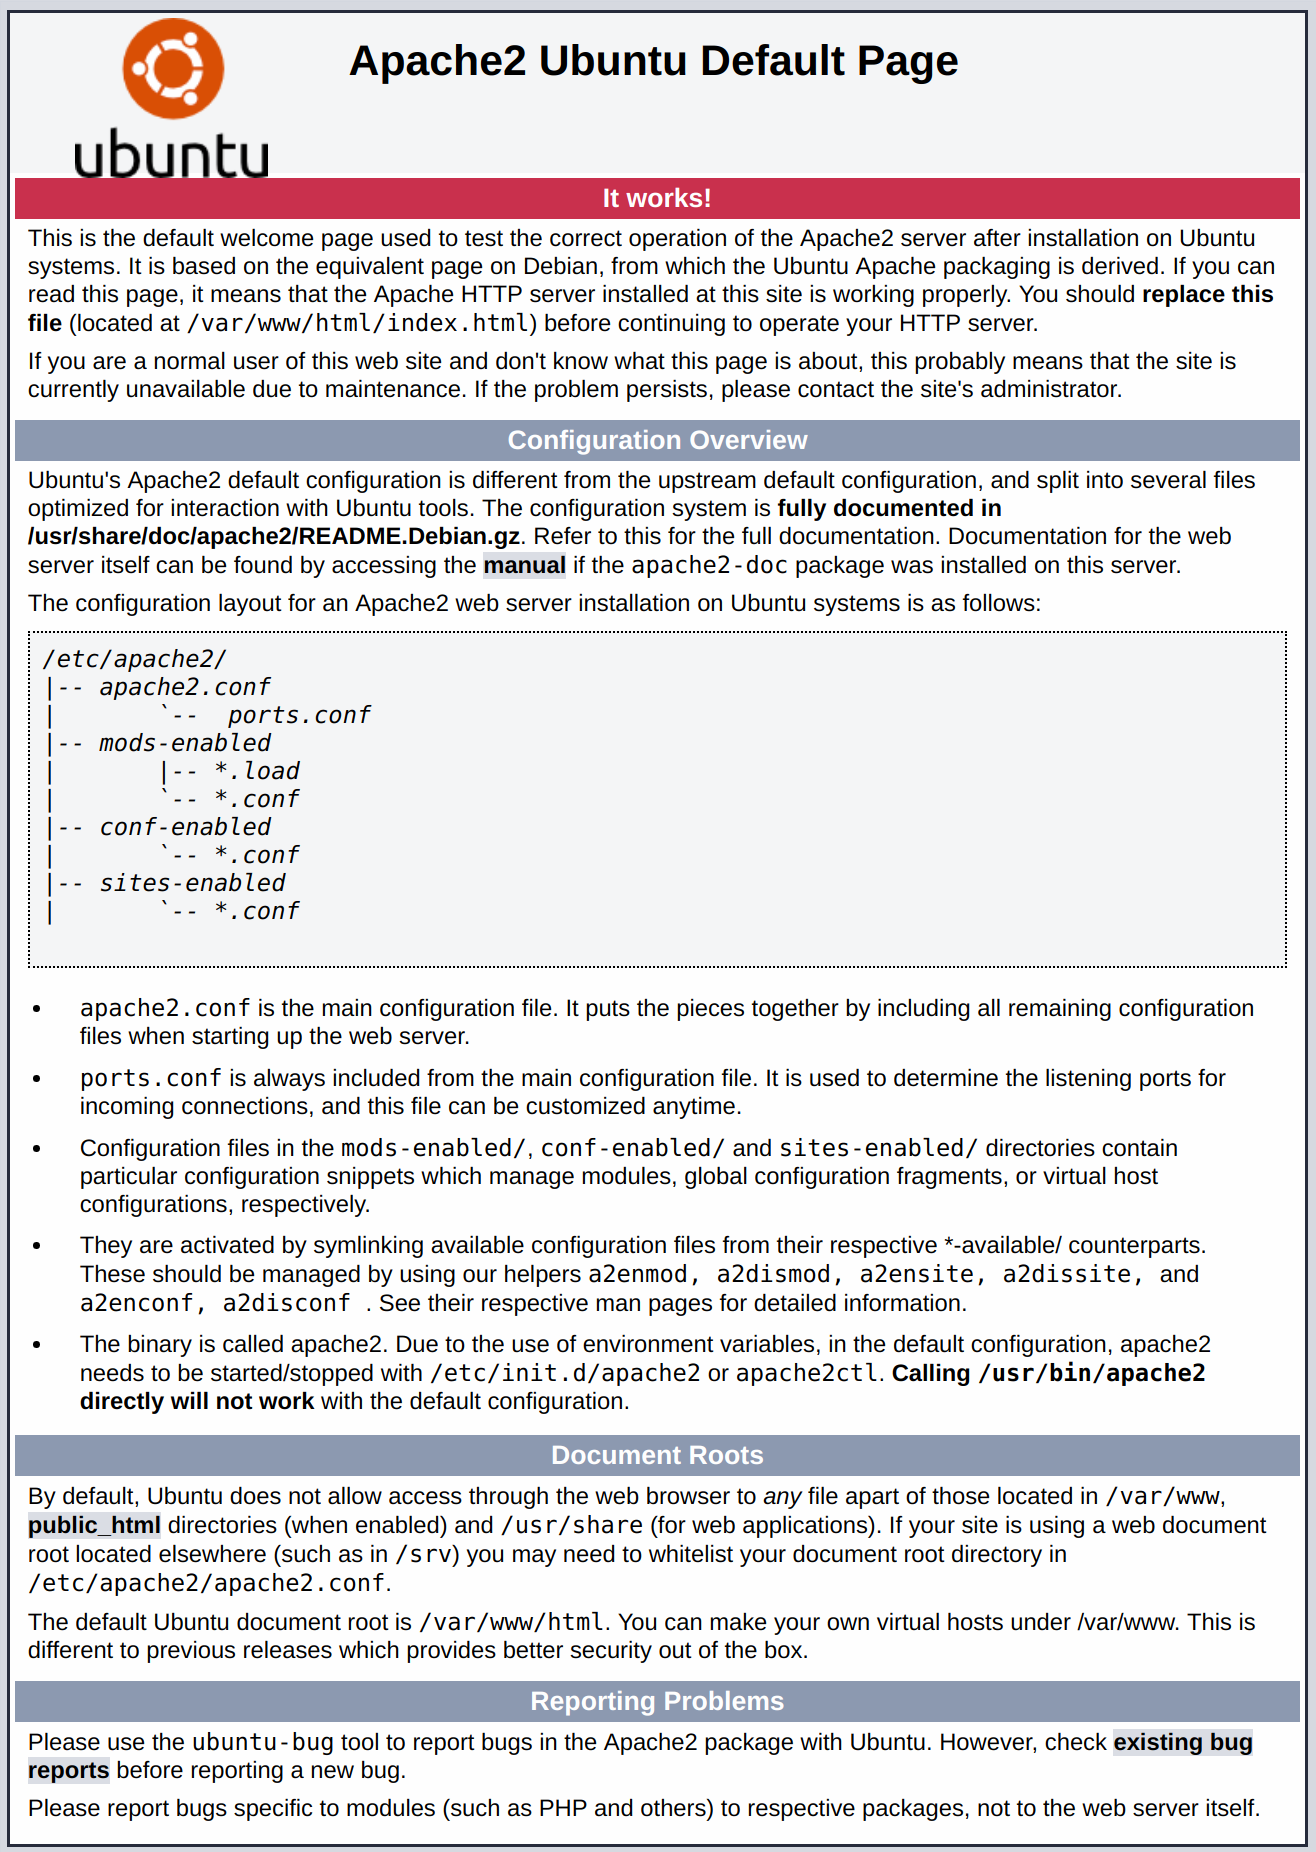
If you see this page, then your web server is now correctly installed and accessible through your firewall.
How To Find your Server’s Public IP Address
If you do not know what your server’s public IP address is, there are a number of ways you can find it. Usually, this is the address you use to connect to your server through SSH.
There are a few different ways to do this from the command line. First, you could use the iproute2 tools to get your IP address by typing this:
This will give you two or three lines back. They are all correct addresses, but your computer may only be able to use one of them, so feel free to try each one.
An alternative method is to use the curl utility to contact an outside party to tell you how it sees your server. This is done by asking a specific server what your IP address is:
Regardless of the method you use to get your IP address, type it into your web browser’s address bar to view the default Apache page.
Step 2 — Installing MySQL
Now that you have your web server up and running, it is time to install MySQL. MySQL is a database management system. Basically, it will organize and provide access to databases where your site can store information.
Again, use apt to acquire and install this software:
Note: In this case, you do not have to run sudo apt update prior to the command. This is because you recently ran it in the commands above to install Apache. The package index on your computer should already be up-to-date.
This command, too, will show you a list of the packages that will be installed, along with the amount of disk space they’ll take up. Enter Y to continue.
When the installation is complete, run a simple security script that comes pre-installed with MySQL which will remove some dangerous defaults and lock down access to your database system. Start the interactive script by running:
This will ask if you want to configure the VALIDATE PASSWORD PLUGIN .
Note: Enabling this feature is something of a judgment call. If enabled, passwords which don’t match the specified criteria will be rejected by MySQL with an error. This will cause issues if you use a weak password in conjunction with software which automatically configures MySQL user credentials, such as the Ubuntu packages for phpMyAdmin. It is safe to leave validation disabled, but you should always use strong, unique passwords for database credentials.
Answer Y for yes, or anything else to continue without enabling.
If you answer “yes”, you’ll be asked to select a level of password validation. Keep in mind that if you enter 2 for the strongest level, you will receive errors when attempting to set any password which does not contain numbers, upper and lowercase letters, and special characters, or which is based on common dictionary words.
Regardless of whether you chose to set up the VALIDATE PASSWORD PLUGIN , your server will next ask you to select and confirm a password for the MySQL root user. This is not to be confused with the system root. The database root user is an administrative user with full privileges over the database system. Even though the default authentication method for the MySQL root user dispenses the use of a password, even when one is set, you should define a strong password here as an additional safety measure. We’ll talk about this in a moment.
If you’ve enabled password validation, you’ll be shown the password strength for the root password you just entered and your server will ask if you want to change that password. If you are happy with your current password, enter N for “no” at the prompt:
For the rest of the questions, press Y and hit the ENTER key at each prompt. This will remove some anonymous users and the test database, disable remote root logins, and load these new rules so that MySQL immediately respects the changes you have made.
When you’re finished, test if you’re able to log in to the MySQL console by typing:
This will connect to the MySQL server as the administrative database user root, which is inferred by the use of sudo when running this command. You should see output like this:
To exit the MySQL console, type:
Notice that you didn’t need to provide a password to connect as the root user, even though you have defined one when running the mysql_secure_installation script. That is because the default authentication method for the administrative MySQL user is unix_socket instead of password . Even though this might look like a security concern at first, it makes the database server more secure because the only users allowed to log in as the root MySQL user are the system users with sudo privileges connecting from the console or through an application running with the same privileges. In practical terms, that means you won’t be able to use the administrative database root user to connect from your PHP application. Setting a password for the root MySQL account works as a safeguard, in case the default authentication method is changed from unix_socket to password .
For increased security, it’s best to have dedicated user accounts with less expansive privileges set up for every database, especially if you plan on having multiple databases hosted on your server. Please refer to our guide on How To Create a New User and Grant Permissions on MySQL for detailed instructions on how to create MySQL users and configure database access rights.
Your MySQL server is now installed and secured. Next, we’ll install PHP, the final component in the LAMP stack.
Step 3 — Installing PHP
PHP is the component of your setup that will process code to display dynamic content. It can run scripts, connect to your MySQL databases to get information, and hand the processed content over to your web server so that it can display the results to your visitors.
Once again, leverage the apt system to install PHP. In addition to the php package, you’ll also need libapache2-mod-php to integrate PHP into Apache, and the php-mysql package to allow PHP to connect to MySQL databases. Run the following command to install all three packages and their dependencies:
This should install PHP without any problems. We’ll test this in a moment.
Changing Apache’s Directory Index (Optional)
In some cases, you’ll want to modify the way that Apache serves files when a directory is requested. Currently, if a user requests a directory from the server, Apache will first look for a file called index.html . We want to tell the web server to prefer PHP files over others, to make Apache look for an index.php file first. If you don’t do that, an index.html file placed in the document root of the application will always take precedence over an index.php file.
To make this change, open the dir.conf configuration file in a text editor of your choice. Here, we’ll use nano :
It will look like this:
Move the PHP index file (highlighted above) to the first position after the DirectoryIndex specification, like this:
When you are finished, save and close the file by pressing CTRL+X . Confirm the save by typing Y and then hit ENTER to verify the file save location.
After this, restart the Apache web server in order for your changes to be recognized. You can do that with the following command:
You can also check on the status of the apache2 service using systemctl :
Press Q to exit this status output.
Installing PHP Extensions (Optional)
To extend the functionality of PHP, you have the option to install some additional modules. To see the available options for PHP modules and libraries, pipe the results of apt search into less , a pager which lets you scroll through the output of other commands:
Use the arrow keys to scroll up and down, and press Q to quit.
The results are all optional components that you can install. It will give you a short description for each:
To learn more about what each module does, you could search the internet for more information about them. Alternatively, look at the long description of the package by typing:
There will be a lot of output, with one field called Description which will have a longer explanation of the functionality that the module provides.
For example, to find out what the php-cli module does, you could type this:
Along with a large amount of other information, you’ll find something that looks like this:
If, after researching, you decide you would like to install a package, you can do so by using the apt install command like you have been doing for the other software.
If you decided that php-cli is something that you need, you could type:
If you want to install more than one module, you can do that by listing each one, separated by a space, following the apt install command, like this:
At this point, your LAMP stack is installed and configured. Before you do anything else, we recommend that you set up an Apache virtual host where you can store your server’s configuration details.
Step 4 — Setting Up a Virtual Host (Recommended)
When using the Apache web server, you can use virtual hosts (similar to server blocks in Nginx) to encapsulate configuration details and host more than one domain from a single server. We will set up a domain called your_domain, but you should replace this with your own domain name. To learn more about setting up a domain name with DigitalOcean, see our Introduction to DigitalOcean DNS.
Apache on Ubuntu 18.04 has one server block enabled by default that is configured to serve documents from the /var/www/html directory. While this works well for a single site, it can become unwieldy if you are hosting multiple sites. Instead of modifying /var/www/html , let’s create a directory structure within /var/www for your_domain site, leaving /var/www/html in place as the default directory to be served if a client request doesn’t match any other sites.
Create the directory for your_domain as follows:
Next, assign ownership of the directory with the $USER environment variable, which references the current logged user:
The permissions of your web root directory should be correct if you haven’t modified its umask value, but you can make sure by typing:
Next, create a sample index.html page using nano or your favorite editor:
Inside, add the following sample HTML:
Save and close the file when you are finished.
In order for Apache to serve this content, it’s necessary to create a virtual host file with the correct directives. Instead of modifying the default configuration file located at /etc/apache2/sites-available/000-default.conf directly, let’s make a new one at /etc/apache2/sites-available/ your_domain .conf :
Paste in the following configuration block, which is similar to the default, but updated for our new directory and domain name:
Notice that we’ve updated the DocumentRoot to our new directory and ServerAdmin to an email that the your_domain site administrator can access. We’ve also added two directives: ServerName , which establishes the base domain that should match for this virtual host definition, and ServerAlias , which defines further names that should match as if they were the base name.
Save and close the file when you are finished.
Let’s enable the file with the a2ensite tool:
Disable the default site defined in 000-default.conf :
Next, let’s test for configuration errors:
You should see the following output:
Restart Apache to implement your changes:
Apache should now be serving your domain name. You can test this by navigating to http:// your_domain , where you should see something like this:

With that, your virtual host is fully set up. Before making any more changes or deploying an application, though, it would be helpful to proactively test out your PHP configuration in case there are any issues that should be addressed.
Step 5 — Testing PHP Processing on your Web Server
In order to test that your system is properly configured for PHP, create a PHP script called info.php . In order for Apache to find this file and serve it correctly, it must be saved to your web root directory.
Create the file at the web root you created in the previous step by running:
This will open a blank file. Add the following text, which is valid PHP code, inside the file:
When you are finished, save and close the file.
Now you can test whether your web server is able to correctly display content generated by this PHP script. To try this out, visit this page in your web browser. You’ll need your server’s public IP address or domain name again.
The address you will want to visit is:
The page that you come to should look something like this:
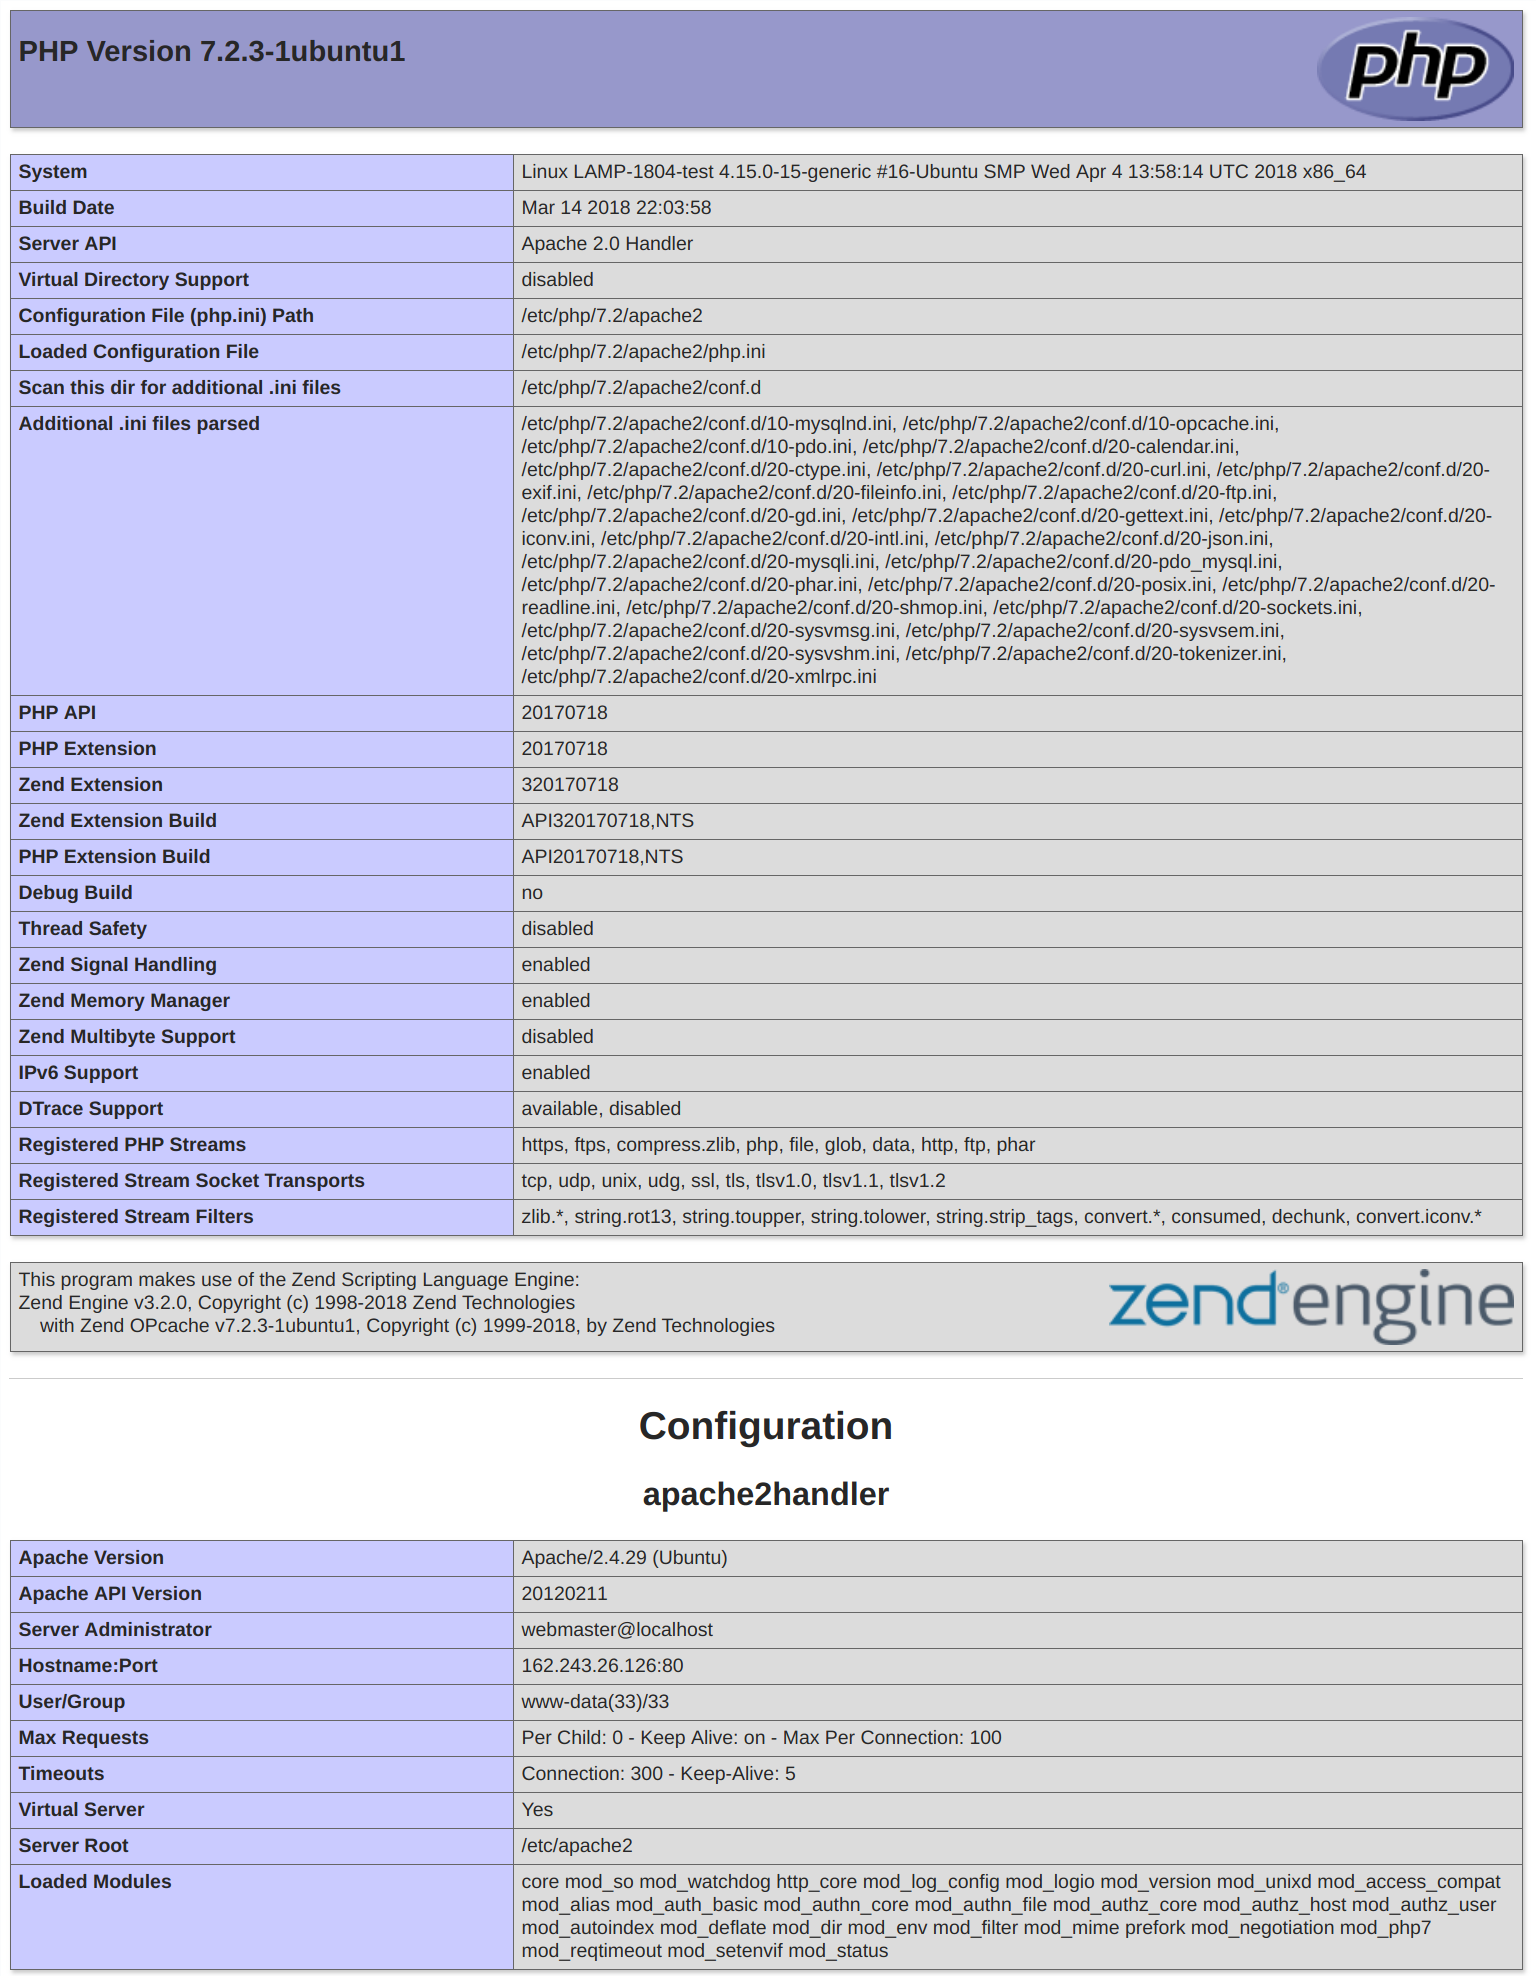
This page provides some basic information about your server from the perspective of PHP. It is useful for debugging and to ensure that your settings are being applied correctly.
If you can see this page in your browser, then your PHP is working as expected.
You probably want to remove this file after this test because it could actually give information about your server to unauthorized users. To do this, run the following command:
You can always recreate this page if you need to access the information again later.
Conclusion
Now that you have a LAMP stack installed, you have many choices for what to do next. You’ve installed a platform that will allow you to install most kinds of websites and web software on your server.
As an immediate next step, you should ensure that connections to your web server are secured, by serving them via HTTPS. Follow our guide on how to secure Apache with Let’s Encrypt to secure your site with a free TLS/SSL certificate.
Some other popular options are:
- Install WordPress the most popular content management system on the internet.
- Set Up PHPMyAdmin to help manage your MySQL databases from a web browser.
- Learn how to use SFTP to transfer files to and from your server.
Источник


