- Как установить IntelliJ IDEA в Linux
- Установка IntelliJ IDEA
- Способ 1. Установка IntelliJ IDEA из Центра программного обеспечения (Рекомендуется для Ubuntu)
- Способ 2. Установка IntelliJ IDEA в Linux с помощью пакетов Snap
- Способ 3. Установка IntelliJ IDEA с использованием PPA (для Ubuntu)
- Как установить IntelliJ IDEA в Ubuntu 18.04
- Подготовка
- Установка IntelliJ IDEA
- Запуск IntelliJ IDEA
- Выводы
- Как установить IntelliJ IDEA в Ubuntu 20.04 LTS
- Как установить IntelliJ IDEA в Ubuntu 20.04 LTS
- Установите IntelliJ IDEA на Ubuntu 20.04 LTS Focal Fossa
- Шаг 1. Во-первых, убедитесь, что все ваши системные пакеты обновлены, выполнив следующие apt команды в терминале.
- Шаг 2. Установка IntelliJ IDEA в Ubuntu 20.04.
- Install IntelliJ IDEA
- System requirements
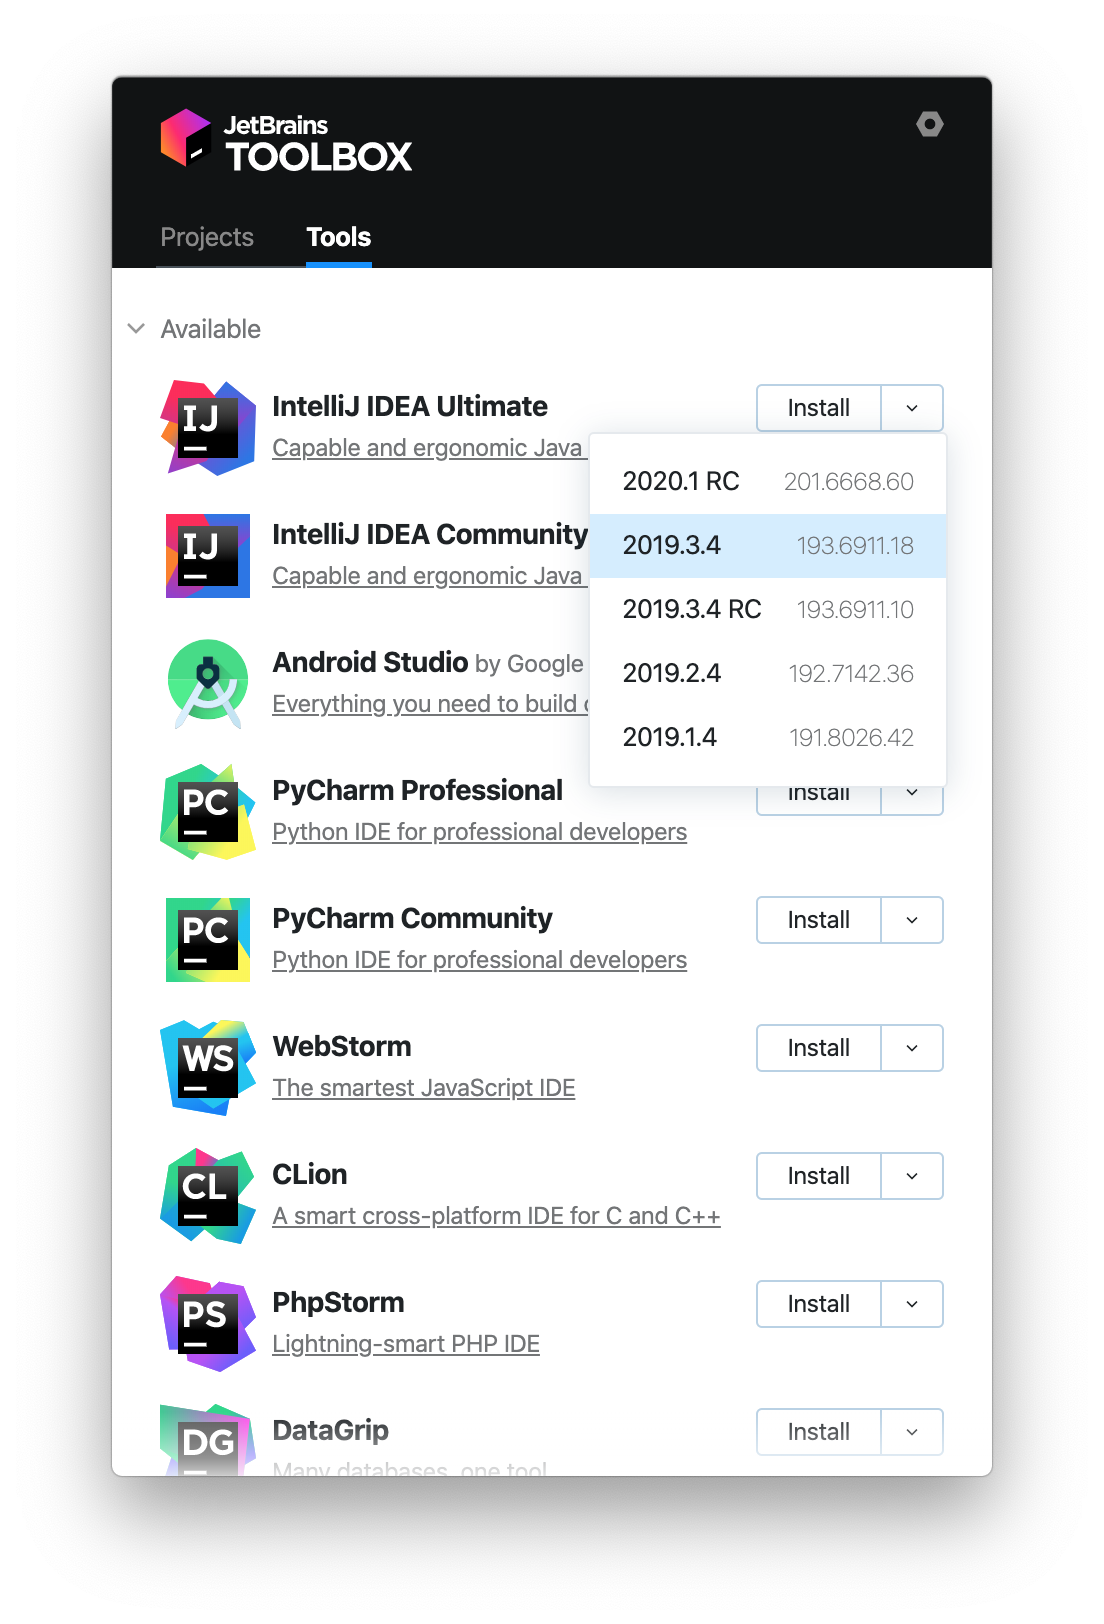
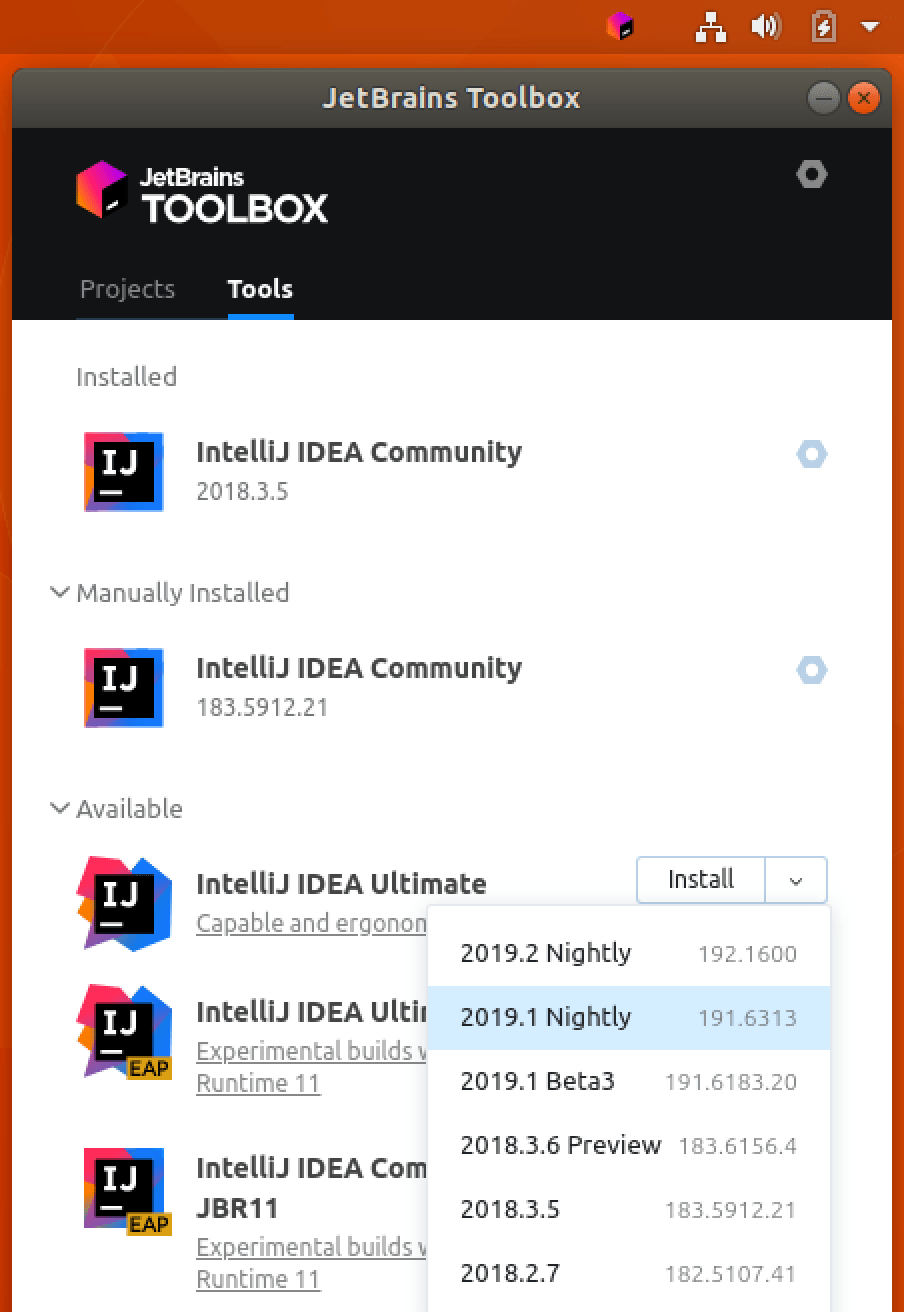
- Install using the Toolbox App
- Install the Toolbox App
- Install the Toolbox App
- Install the Toolbox App
- Standalone installation
- Silent installation on Windows
- Silent configuration file
- Install as a snap package on Linux
Как установить IntelliJ IDEA в Linux
IntelliJ IDEA — это интегрированная среда разработки (IDE) на Java, созданная компанией JetBrains.
IntelliJ IDEA выпускается в следующих вариациях:
- IntelliJ IDEA Community Edition (бесплатная версия)
- IntelliJ IDEA Ultimate Edition (платная версия с дополнительными функциями)
- IntelliJ IDEA Educational (это та же Ultimate Edition, но бесплатная для студентов и преподавателей)
Установка IntelliJ IDEA
Способ 1. Установка IntelliJ IDEA из Центра программного обеспечения (Рекомендуется для Ubuntu)
Все варианты IntelliJ IDEA доступны в Центре программного обеспечения:
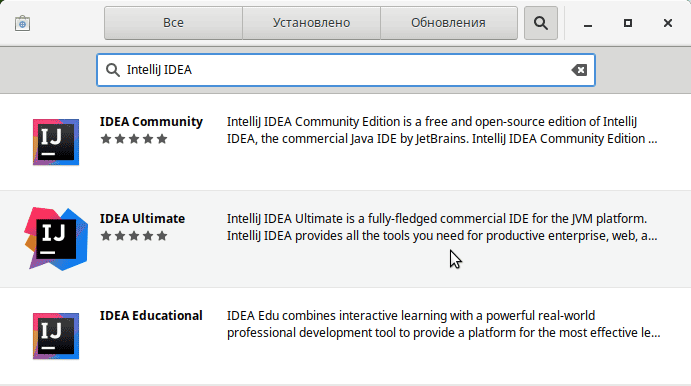
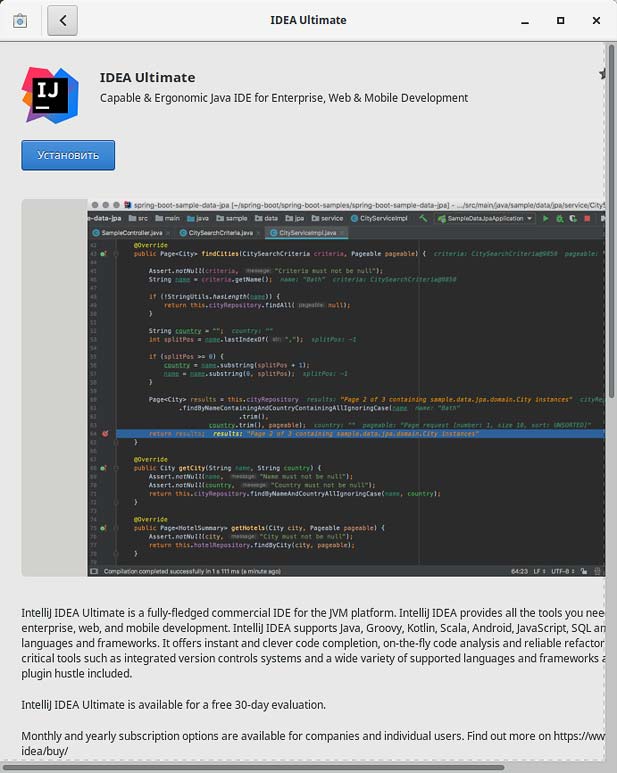
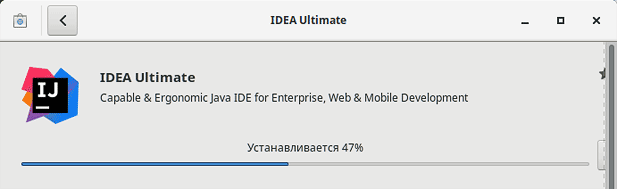
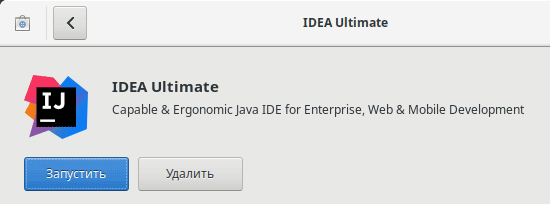
В следующем окне нажмите на кнопку «Установить»

Способ 2. Установка IntelliJ IDEA в Linux с помощью пакетов Snap
Пакеты Snap поддерживаются всеми основными дистрибутивами Linux.
Для версии Community Edition:
Для версии Ultimate Edition:
Для версии Educational:
Способ 3. Установка IntelliJ IDEA с использованием PPA (для Ubuntu)
Данный PPA разработан и поддерживается Марселем Капфером и доступен для Ubuntu 18.04, 16.04, 18.10, 19.04, а также все дистрибутивы Linux на их основе. Но через этот PPA можно установить только версию Ultimate Edition.
Для удаления IntelliJ IDEA Community Edition, установленную таким образом, воспользуйтесь командами:
Источник
Как установить IntelliJ IDEA в Ubuntu 18.04
IntelliJ IDEA — это полнофункциональная IDE для разработки JVM и Android. Он имеет встроенную поддержку отладки, поддержку Docker и Docker Compose , встроенный элемент управления Git , интегрирует основные инструменты автоматизации сборки, такие как Maven и Gradle , подсветку синтаксиса, завершение кода, терминал ssh , рефакторинг кода и широкие возможности навигации.
IntelliJ IDEA расширяется с помощью подключаемых модулей и предлагает поддержку платформ Java, таких как Swing и JavaFX. Его также можно использовать для разработки на других языках программирования, таких как Python , Kotlin, Groovy, Scala, Erlang, Dart и других.
IntelliJ IDEA доступна в двух редакциях: Community и Ultimate. Для получения дополнительной информации о различиях между двумя выпусками посетите матрицу сравнения выпусков .
В этом руководстве объясняется, как установить IntelliJ IDEA в Ubuntu 18.04. Те же инструкции применимы для Ubuntu 16.04 и любого дистрибутива на основе Ubuntu, включая Kubuntu, Linux Mint и Elementary OS.
Подготовка
- Минимум 2 ГБ ОЗУ, рекомендуется 4 ГБ ОЗУ
- 1,5 ГБ на жестком диске + не менее 1 ГБ для кешей
- Минимальное разрешение экрана 1024×768
Вам нужно будет войти в систему как пользователь с доступом sudo, чтобы иметь возможность устанавливать пакеты в вашей системе Ubuntu.
Установка IntelliJ IDEA
Самый простой способ — установить IntelliJ IDEA на Ubuntu 18.04 — использовать систему быстрой упаковки.
Чтобы загрузить и установить пакет оснастки IntelliJ IDEA, откройте терминал с помощью Ctrl+Alt+T и введите:
Загрузка может занять некоторое время в зависимости от скорости вашего подключения. При успешной установке вы увидите следующий вывод:
Вот и все. IntelliJ IDEA установлена на вашем рабочем столе Ubuntu.
Запуск IntelliJ IDEA
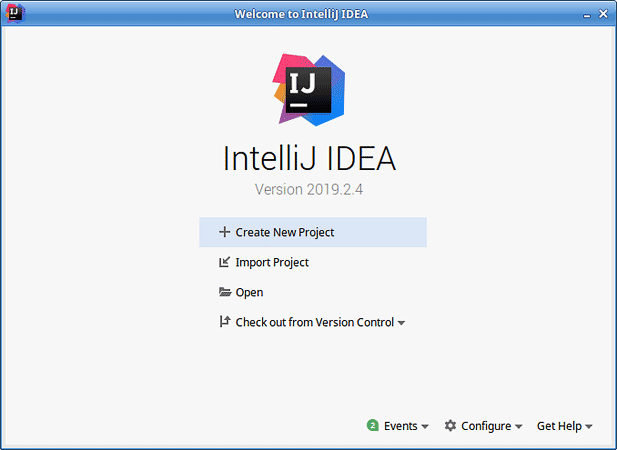
Теперь, когда IntelliJ IDEA установлена в вашей системе Ubuntu, вы можете запустить ее, щелкнув значок IntelliJ IDEA ( Activities -> IntelliJ IDE ):

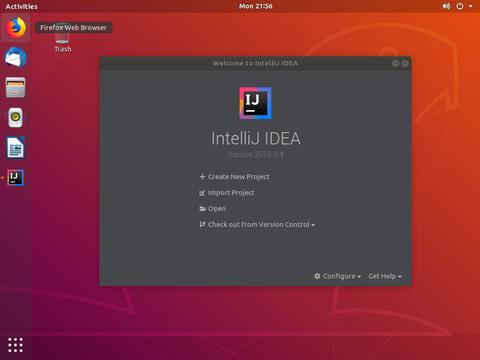
Когда вы запускаете IntelliJ IDEA в первый раз, появится окно, подобное приведенному ниже, с просьбой импортировать настройки IntelliJ IDE из предыдущей установки:

Сделайте свой выбор и нажмите OK чтобы продолжить.
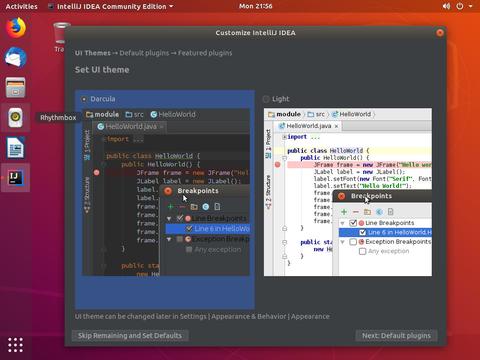
Далее вам будет предложено принять политику конфиденциальности. Прокрутите до конца, установите флажок подтверждения и нажмите кнопку « Continue . Вас также спросят, хотите ли вы отправлять статистику анонимных данных в JetBrains.
На следующем экране вы можете настроить установку IntelliJ IDEA и установить дополнительные плагины:
После завершения настройки вы можете создать новый проект.
Выводы
Вы узнали, как установить IntelliJ IDEA на рабочий стол Ubuntu 18.04. Теперь вы можете изучить свою новую среду IDE и начать работу над проектами Python.
Чтобы получить дополнительную информацию о том, как начать работу с IntelliJ IDEA, посетите страницу документации IntelliJ IDEA .
Если у вас есть вопросы, оставьте комментарий ниже.
Источник
Как установить IntelliJ IDEA в Ubuntu 20.04 LTS

Как установить IntelliJ IDEA в Ubuntu 20.04 LTS
В этом руководстве мы покажем вам, как установить IntelliJ IDEA в Ubuntu 20.04 LTS. Для тех из вас, кто не знал, IntelliJ Idea — это интегрированная среда разработки Java (IDE) для разработки компьютерного программного обеспечения. Он разработан JetBrains и выпущен под лицензией Apache в январе 2001 года. IntelliJ IDEA также поддерживает основные инструменты автоматизации сборки, такие как Maven, Ant и Gradle, системы контроля версий, такие как Git и SVN. Имеет встроенный терминал, инструменты базы данных, автозавершение кода, встроенный отладчик. Кроме того, он поддерживает обнаружение дубликатов, подключение контейнеров Docker и серверов приложений, таких как Tomcat, JBoss и т. Д.
В этой статье предполагается, что у вас есть хотя бы базовые знания Linux, вы знаете, как использовать оболочку, и, что наиболее важно, вы размещаете свой сайт на собственном VPS. Установка довольно проста и предполагает, что вы работаете с учетной записью root, в противном случае вам может потребоваться добавить ‘ sudo ‘ к командам для получения привилегий root. Я покажу вам пошаговую установку IntelliJ IDEA JetBrains на сервере Ubuntu 20.04 (Focal Fossa).
Установите IntelliJ IDEA на Ubuntu 20.04 LTS Focal Fossa
Шаг 1. Во-первых, убедитесь, что все ваши системные пакеты обновлены, выполнив следующие apt команды в терминале.
Шаг 2. Установка IntelliJ IDEA в Ubuntu 20.04.
Самый простой способ — установить IntelliJ IDEA в системе Ubuntu — использовать систему быстрой упаковки. Выполните следующую команду, чтобы установить пакет оснастки IntelliJ IDEA:
После успешной установки для запуска IntelliJ IDEA IDE через терминал выполните следующую команду:
Поздравляю! Вы успешно установили IntelliJ IDEA . Благодарим за использование этого руководства по установке IntelliJ IDEA в системе Ubuntu 20.04 Focal Fossa. Для получения дополнительной помощи или полезной информации мы рекомендуем вам посетить официальный сайт IntelliJ IDEA .
Источник
Install IntelliJ IDEA
IntelliJ IDEA is a cross-platform IDE that provides consistent experience on the Windows, macOS, and Linux operating systems.
IntelliJ IDEA is available in the following editions:
Community Edition is free and open-source, licensed under Apache 2.0. It provides all the basic features for JVM and Android development.
IntelliJ IDEA Ultimate is commercial, distributed with a 30-day trial period. It provides additional tools and features for web and enterprise development.
For more information, see the comparison matrix.
System requirements
| Requirement | Minimum | Recommended |
|---|---|---|
| RAM | 2 GB of free RAM | 8 GB of total system RAM |
| CPU | Any modern CPU | Multi-core CPU. IntelliJ IDEA supports multithreading for different operations and processes making it faster the more CPU cores it can use. |
| Disk space | 2.5 GB and another 1 GB for caches | SSD drive with at least 5 GB of free space |
| Monitor resolution | 1024×768 | 1920×1080 |
| Operating system | Latest 64-bit version of Windows, macOS, or Linux (for example, Debian, Ubuntu, or RHEL) |
You do not need to install Java to run IntelliJ IDEA because JetBrains Runtime is bundled with the IDE (based on JRE 11). However, to develop Java applications, a standalone JDK is required.
Install using the Toolbox App
The JetBrains Toolbox App is the recommended tool to install JetBrains products. Use it to install and manage different products or several versions of the same product, including Early Access Program (EAP) and Nightly releases, update and roll back when necessary, and easily remove any tool. The Toolbox App maintains a list of all your projects to quickly open any project in the right IDE and version.
Install the Toolbox App
Download the installer .exe from the Toolbox App web page.
Run the installer and follow the wizard steps.
After you run the Toolbox App, click its icon in the notification area and select which product and version you want to install.
Log in to your JetBrains Account from the Toolbox App and it will automatically activate the available licenses for any IDE that you install.
Install the Toolbox App
Download the disk image .dmg from the Toolbox App web page.
There are separate disk images for Intel and Apple Silicon processors.
Mount the image and drag the JetBrains Toolbox app to the Applications folder.
After you run the Toolbox App, click its icon in the main menu and select which product and version you want to install.
Log in to your JetBrains Account from the Toolbox App and it will automatically activate the available licenses for any IDE that you install.
Install the Toolbox App
Download the tarball .tar.gz from the Toolbox App web page.
Extract the tarball to a directory that supports file execution.
For example, if the downloaded version is 1.17.7391, you can extract it to the recommended /opt directory using the following command:
Execute the jetbrains-toolbox binary from the extracted directory to run the Toolbox App and select which product and version you want to install. After you run the Toolbox App for the first time, it will automatically add the Toolbox App icon to the main menu.
Log in to your JetBrains Account from the Toolbox App and it will automatically activate the available licenses for any IDE that you install.
You can use this shell script that automatically downloads the tarball with the latest version of the Toolbox App, extracts it to the recommended /opt directory, and creates a symbolic link in the /usr/local/bin directory.
Standalone installation
Install IntelliJ IDEA manually to manage the location of every instance and all the configuration files. For example, if you have a policy that requires specific install locations.
Run the installer and follow the wizard steps.
On the Installation Options step, you can configure the following:
Create a desktop shortcut for launching IntelliJ IDEA.
Add the directory with IntelliJ IDEA command-line launchers to the PATH environment variable to be able to run them from any working directory in the Command Prompt.
Add the Open Folder as Project action to the system context menu (when you right-click a folder).
Associate specific file extensions with IntelliJ IDEA to open them with a double-click.

To run IntelliJ IDEA, find it in the Windows Start menu or use the desktop shortcut. You can also run the launcher batch script or executable in the installation directory under bin .
Extract the archive to the desired folder.
To run IntelliJ IDEA, use the launcher batch script or executable in the extracted directory under bin .
There are separate disk images for Intel and Apple Silicon processors.
Mount the image and drag the IntelliJ IDEA app to the Applications folder.
Run the IntelliJ IDEA app from the Applications directory, Launchpad, or Spotlight.
Extract the tarball to a directory that supports file execution.
For example, to extract it to the recommended /opt directory, run the following command:
Do not extract the tarball over an existing installation to avoid conflicts. Always extract it to a clean directory.
Execute the idea.sh script from the extracted directory to run IntelliJ IDEA.
To create a desktop entry, do one of the following:
On the Welcome screen, click Configure | Create Desktop Entry
From the main menu, click Tools | Create Desktop Entry
When you run IntelliJ IDEA for the first time, some steps are required to complete the installation, customize your instance, and start working with the IDE.
For information about the location of the default IDE directories with user-specific files, see Directories used by the IDE.
Silent installation on Windows
Silent installation is performed without any user interface. It can be used by network administrators to install IntelliJ IDEA on a number of machines and avoid interrupting other users.
To perform silent install, run the installer with the following switches:
/S : Enable silent install
/CONFIG : Specify the path to the silent configuration file
/D : Specify the path to the installation directory
This parameter must be the last in the command line and it should not contain any quotes even if the path contains blank spaces.
To check for issues during the installation process, add the /LOG switch with the log file path and name between the /S and /D parameters. The installer will generate the specified log file. For example:
Silent configuration file
You can download the default silent configuration file for IntelliJ IDEA at https://download.jetbrains.com/idea/silent.config
The silent configuration file defines the options for installing IntelliJ IDEA. With the default options, silent installation is performed only for the current user: mode=user . If you want to install IntelliJ IDEA for all users, change the value of the installation mode option to mode=admin and run the installer as an administrator.
The default silent configuration file is unique for each JetBrains product. You can modify it to enable or disable various installation options as necessary.
It is possible to perform silent installation without the configuration file. In this case, omit the /CONFIG switch and run the installer as an administrator. Without the silent configuration file, the installer will ignore all additional options: it will not create desktop shortcuts, add associations, or update the PATH variable. However, it will still create a shortcut in the Start menu under JetBrains .
Install as a snap package on Linux
You can install IntelliJ IDEA as a self-contained snap package. Since snaps update automatically, your IntelliJ IDEA installation will always be up to date.
To use snaps, install and run the snapd service as described in the installation guide.
On Ubuntu 16.04 LTS and later, this service is pre-installed.
IntelliJ IDEA is distributed via two channels:
The stable channel includes only stable versions. To install the latest stable release of IntelliJ IDEA, run the following command:
The —classic option is required because the IntelliJ IDEA snap requires full access to the system, like a traditionally packaged application.
The edge channel includes EAP builds. To install the latest EAP build of IntelliJ IDEA, run the following command:
When the snap is installed, you can launch it by running the intellij-idea-community , intellij-idea-ultimate , or intellij-idea-educational command.
To list all installed snaps, you can run sudo snap list . For information about other snap commands, see the Snapcraft documentation.
Источник


