- How to Install VMware Workstation Player in Ubuntu Linux
- Install VMware in Ubuntu 16.04 and 18.04:
- Recommended system requirements for installing VMware Workstation Player:
- Step 1: Install required build packages
- Step 2: Download VMware Workstation Player
- Step 3: Installing VMware Player
- Step 4: Installing VMware Player
- Установка VMware на Ubuntu 18.04
- Установка VMware на Ubuntu 18.04
- Удаление VMware Workstation
- Выводы
- Clear Linux* OS on VMware* Workstation Player
- Overview
- Install the VMware Workstation Player hypervisor
- Create a blank VM
- Enable UEFI boot support
- Instantiate Clear Linux OS
- Related topics
How to Install VMware Workstation Player in Ubuntu Linux
Last updated September 6, 2021 By Abhishek Prakash 100 Comments
This quick tutorial shows you how to install VMware Workstation Player on Ubuntu Linux.
VMware is one of the best application for desktop and server virtualization in Linux. Some people prefer it more than Oracle’s open source VirtualBox.
With a virtual machine application like VMware, you can run another operating system inside your current operating system.
For example, if you want to try another Linux distribution, you can install it on a USB stick and use it as live USB or install it alongside your current os. Both are okay but you have to log out of your current system and boot into another just for trying a new OS.
In this scenario, you can install another operating system inside Ubuntu as a virtual machine. You’ll be able to use it without leaving your main OS i.e. Ubuntu.
In this small tutorial, I’ll show you how to install VMware Workstation Player in Ubuntu 14.04, 16.04, 18.04 and other versions. The instructions should also be valid for Linux Mint and other Ubuntu-based distributions.
VMWare Workstation is not an open source software.
Install VMware in Ubuntu 16.04 and 18.04:
VMware Workstation Player is free for personal and non-commercial use. As an individual, you can use it without paying anything. VMware is not open source though.
Recommended system requirements for installing VMware Workstation Player:
For a decent experience with VMware, your system should meet the following criteria:
- 2GHz 64-bit processor
- 4 GB of RAM
- Disk space depends upon the guest operating system you would be installing in the VM
To install VMware Workstation Player in Ubuntu and other Ubuntu-based distributions, follow the steps below:
Step 1: Install required build packages
Open a terminal (Ctrl+Alt+T) and use the command below to install required build packages and Linux Kernel headers:
Step 2: Download VMware Workstation Player
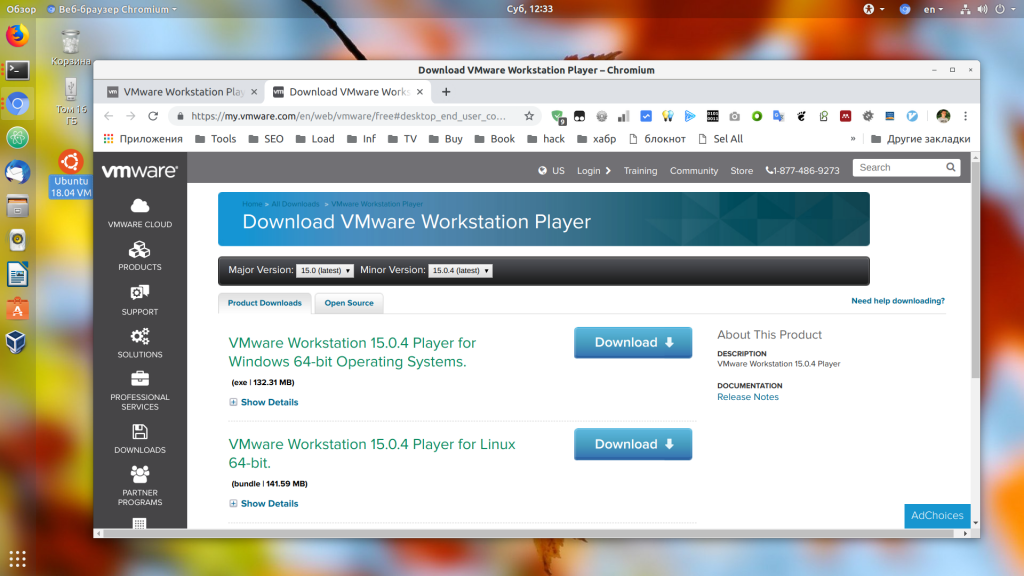
Next step is to download the VMware Workstation Player from their website.
Don’t worry! It’s free to use for personal use. You don’t have to pay. Just hit the download button here.

You’ll see options to download VMware Workstation Player for both Windows and Linux. No prizes for guessing that you have to download the Linux version here.
Don’t worry if you see a .txt or .bundle file. That actually is the installer.

Step 3: Installing VMware Player
You have to set execute permission on the downloaded installer file.
You can do it graphically as well. Just go to the folder where the file was downloaded. Right click on it and make it executable.
After that, double click on it to run the VMWare installer.
I prefer the command line so I am listing the commands you would need.
I am assuming that it has been downloaded to your Downloads directory. If so, use the command below to make the file executable:
And then run the installation file:
This will open an installation window.
Step 4: Installing VMware Player
From here, it’s no rocket science. Like any other application, click on next in most of the screen. For your ease, I have listed the screenshots here:


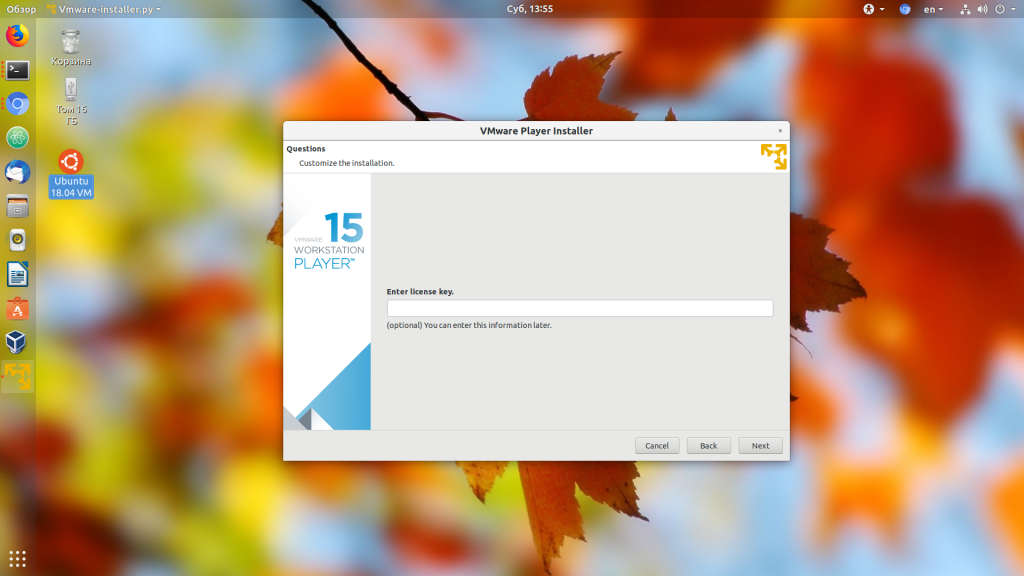
You might also be asked for a license key – do not panic – you do not need one if you want to use the free VMware player for non-commercial purpose. For business use, get the pro edition (where you will get a license key).


And that would be it.
If you want to be able to copy-paste between the real OS (host) and the virtual OS (guest) and share files between them, you should also install VMware Tools on Linux.
I hope it helped you to install VMware Workstation Player in Ubuntu and Linux Mint. I will show you how to configure VMware Player with an OS in another post soon.
Any questions or suggestions are most welcome. Stay in touch. Ciao 🙂
Like what you read? Please share it with others.
Источник
Установка VMware на Ubuntu 18.04
В наши дни компьютеры становятся настолько мощными, что на них могут свободно выполняться несколько операционных систем одновременно. Для этого можно использовать виртуальные машины. Запуск Linux в виртуальной машине может быть полезным если вы хотите попробовать какую-нибудь новую операционную систему или потренироваться перед установкой на реальный жесткий диск.
В виртуальных машинах можно запускать не только различные дистрибутивы Linux, но и разные версии Windows. VMware — это одна из самых популярных виртуальных машин для Linux и Windows. С помощью нее вы можете создавать и запускать несколько виртуальных машин одновременно.
Нужно сказать, что программа не распространяется с открытым исходным кодом. Но она имеет две версии — платную Pro для компаний и бесплатную, но облегченную для домашних пользователей — Player. В этой статье мы рассмотрим как выполняется установка VMware на Ubuntu 18.04.
Установка VMware на Ubuntu 18.04
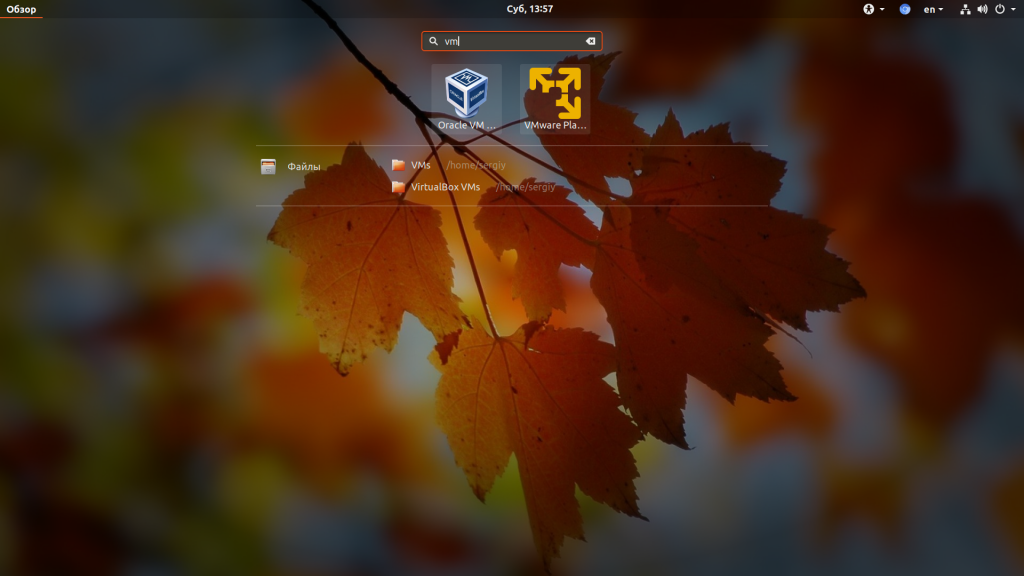
Поскольку это проприетарная программа, ее нет в официальных репозиториях и даже в PPA. Но вы можете бесплатно скачать установщик VMware Player из официального сайта. Для некоммерческого использования программу можно получить бесплтано. На данный момент последняя версия — 15, вам нужно только выбрать операционную систему:
После того как вы скачаете установщик, нужно установить заголовочные файлы ядра. Для этого нажмите Ctrl+Alt+T и выполните следующую команду:
sudo apt install build-essential linux-headers-$(uname -r)
После установки зависимостей может быть выполнена установка VMware на Ubuntu 16.04:
Вы также можете пойти другим путем. Сначала нужно добавить флаг исполняемости:
Затем запустите установщик:
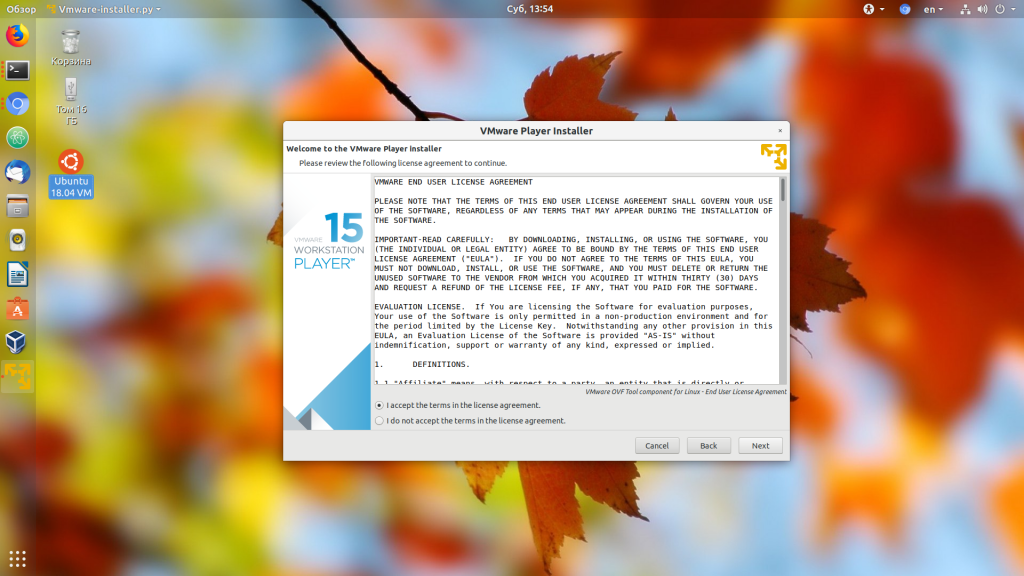
После этого запустится графический установщик, где нужно будет, в основном, нажимать кнопку Далее. На первом шаге примите лицензионное соглашение:
Во время установки программа попросит ввести ключ. Это необязательный шаг. Для не коммерческой версии ключ можно не вводить:
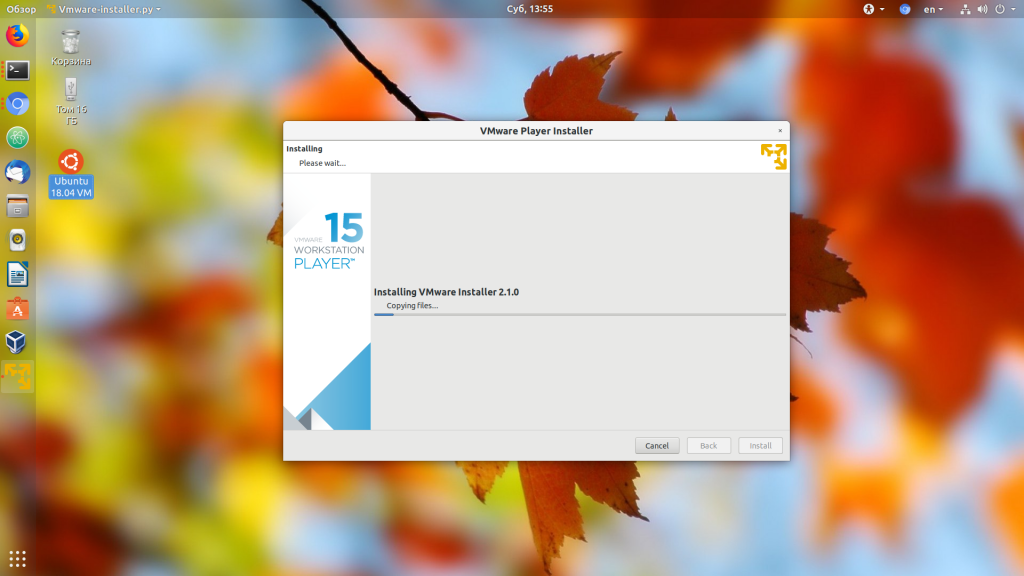
Затем будет еще несколько шагов, после которых пойдет установка программы:
Когда установка VMware Ubuntu 18.04 будет завершена, вы можете запустить ее из главного меню системы или через терминал.
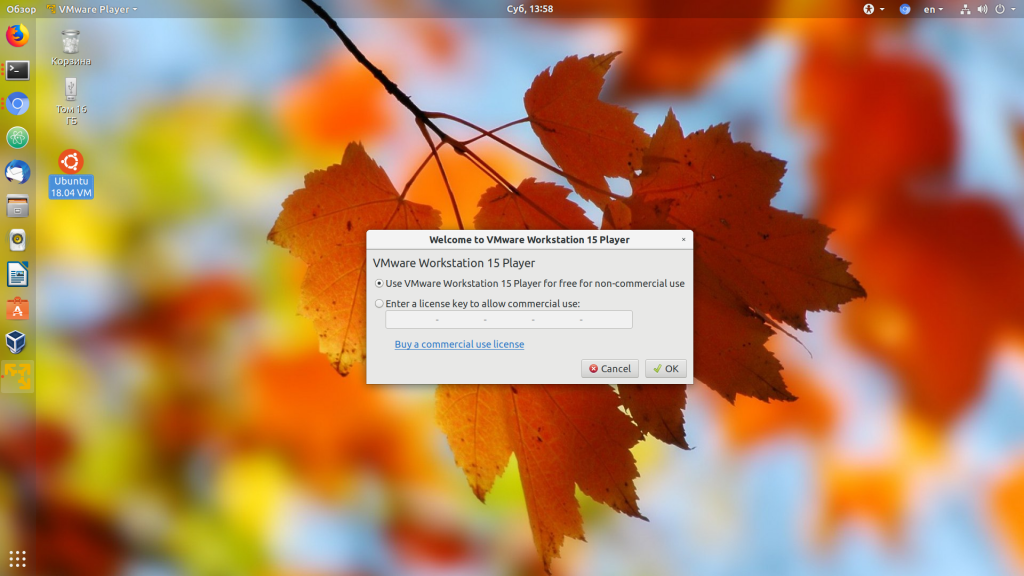
Для работы программы в окне ввода ключа выберите Use VMware Workstation 15 Player for free for non-commercial use:
Главное окно менеджера управления виртуальными машинами VMware будет выглядеть вот так:

Кроме того, установить VMware на Ubuntu 16.04 можно в текстовом режиме:
Удаление VMware Workstation
Если вы хотите удалить программу с вашего компьютера, то для этого достаточно использовать такую команду:
/Downloads/VMware-Player-15.0.4-12990004.x86_64.bundle -u vmware-player
Опять же откроется установщик, в котором нужно будет подтвердить удаление:
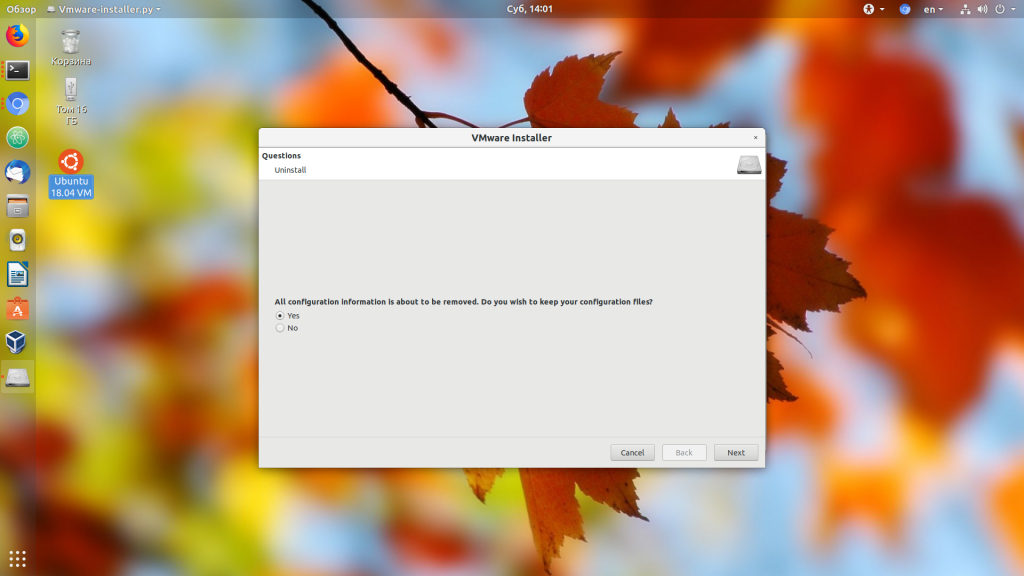
После этого программа будет полностью удалена из вашего компьютера, включая все ее файлы.
Выводы
В этой небольшой инструкции мы рассмотрели как выполняется установка VMware на Ubuntu. Это отличная виртуальная машина, которая в некоторых случаях даже лучше VirtualBox, решения с открытым исходным кодом. Если у вас остались вопросы, спрашивайте в комментариях!
Источник
Clear Linux* OS on VMware* Workstation Player
This guide explains how to set up the VMware* Workstation Player 15.5.1 hypervisor and instantiate a VM instance of Clear Linux OS by installing it using an ISO or using a pre-built image.
Overview
VMware Workstation Player is a type 2 hypervisor. It runs on top of Windows* or Linux* operating systems. With VMware Workstation Player, you can create, configure, manage, and run Clear Linux* OS VMs on your local system.
VMware offers a type 1 hypervisor called VMware ESXi designed for the cloud environment. For information on how to install Clear Linux OS as guest OS on it, see Clear Linux* OS on VMware* ESXi .
The screenshots in this document show the Windows version of the VMware Workstation Player 15.5.1. The menus and prompts are similar to those in other versions and for the Linux version, save some minor wording differences.
Install the VMware Workstation Player hypervisor
Enable Intel® Virtualization Technology (Intel® VT) and Intel® Virtualization Technology for Directed I/O (Intel® VT-d) in your system’s BIOS.
VMware Workstation Player is available for Windows and Linux. Download your preferred version.
Install VMware Workstation Player by following the instructions appropriate for your system’s OS:
On supported Linux distros:
Ensure your Linux distro is running a GUI desktop.
Start a terminal emulator.
Start the installer by issuing the command below and follow the guided steps.
Start the installer.
Follow the setup wizard.
Create a blank VM
Start the VMware Workstation Player app.
On the home screen, click Create a New Virtual Machine . See Figure 1.

Figure 1: VMware Workstation Player — Create a new virtual machine В
Select I will install the operating system later .

Figure 2: I will install the operating system later. В
Click the Next button.
On the Select a Guest Operating System window, set the Guest operating system setting to Linux . See Figure 3.

Figure 3: VMware Workstation Player — Select guest operating system type В
Set the Version setting to Other Linux 5.x or later kernel 64-bit .
Click the Next button.
On the Name the Virtual Machine screen, name the new VM. See Figure 4.

Figure 4: VMware Workstation Player — Name virtual machine В
Click the Next button.
On the Specify Disk Capacity screen, set the VM’s maximum disk size. If you’re planning to use a pre-built image, just use the default size for now. See Figure 5.

Figure 5: VMware Workstation Player — Set disk capacity В
For optimal performance with the Clear Linux OS Desktop image, we recommend 32GB of drive space. See Recommended minimum system requirements for more details.
Click the Next button.
On the Ready to Create Virtual Machine screen, click the Customize Hardware… button. See Figure 6.

Figure 6: VMware Workstation Player — Customize hardware В
Select Memory and set a desired value. See Figure 7.

Figure 7: VMware Workstation Player — Set memory size В
The Clear Linux OS live installer ISO needs a minimum of 1GB of RAM. After completing installation, Clear Linux OS can run on as little as 128MB of RAM. Thus, you can reduce the memory size if needed. See Recommended minimum system requirements for more details.
Under the Device list, select Processors . See Figure 8.

Figure 8: VMware Workstation Player — Set virtualization engine option В
Under Processors and Number of processor cores , enter the desired number of cores.
Under the Virtualization engine section, check the Virtualize Intel VT-x/EPT or AMD-V/RVI box.
Click the Close button.
Click the Finish button.
Enable UEFI boot support
Clear Linux OS needs UEFI support to boot and work properly. To enable it:
Close the VMware Workstation Player app.
Add the following line to the end of your VM’s .vmx file.
Depending on the OS, you can typically find the VMware VM files under:
On Linux distros: /home/username/vmware
On Windows: C:\Users\username\Documents\Virtual Machines
Instantiate Clear Linux OS
If you want to install Clear Linux OS from scratch, following the instructions in the Install |CL| using ISO tab. Otherwise, follow the Use |CL| pre-built VMware image tab to use our pre-built image.
Navigate to the Clear Linux OS Downloads page and download either the Server or Desktop ISO image. After the download is complete, you will attach this image.
Start the VMware Workstation Player app.
Select the VM that was created in section Create a blank VM. See Figure 9.
Click Edit virtual machine settings .

Figure 09: VMware Workstation Player — Edit virtual machine settings В
In the Virtual Machine settings window, under Hardware , select guilabel: CD/DVD (IDE) . See Figure 10.
Under Connection at the right, select Use ISO image file .
Click Browse and select the Clear Linux OS installer ISO.

Figure 10: VMware Workstation Player — Select Clear Linux OS installer ISO В
Click OK to close the Virtual Machine settings window.
Start the VM by clicking Play virtual machine .
Follow one of these guides to complete the installation of Clear Linux OS.
Reboot the VM after the installation completes.
Install the os-cloudguest-vmware bundle, the open source VMware Tools for Linux* guest operating systems, which enables new features and improves general performance.
More information is available on the VMWare Tools Product Documentation site.
Navigate to the Clear Linux OS Downloads page and download the VMware image.
Decompress the downloaded file and move it to the directory where your newly-created VM files reside.
Depending on the OS, you can typically find the VMware VM files under:
Linux distros /home/username/vmware
Windows C:\Users\username\Documents\Virtual Machines
Start the VMware Workstation Player app.
Select the VM that was created in section Create a blank VM. See Figure 9.
Click Edit virtual machine settings .
Figure 9: VMware Workstation Player — Edit virtual machine settings В
Under Hardware and Device list, select Hard Disk (SCSI) . See Figure 11.

Figure 11: VMware Workstation Player — Remove hard drive В
Click the Remove button.
To add a new hard disk and attach the pre-built Clear Linux OS VMware image, click the Add button. See Figure 12.

Figure 12: VMware Workstation Player — Add new device В
Under the Hardware types section, select Hard Disk . See Figure 13.

Figure 13: VMware Workstation Player — Add hard drive В
Click the Next button.
Select your preferred Virtual disk type . See Figure 14.

Figure 14: VMware Workstation Player — Select virtual disk type
Select the Use an existing virtual disk option. See Figure 15.

Figure 15: VMware Workstation Player — Use existing virtual disk В
Click the Browse button and select the pre-built Clear Linux OS VMware image file. See Figure 16.

Figure 16: VMware Workstation Player — Select pre-built VMware Clear Linux OS image file В
Click the Finish button.
When asked to convert the existing virtual disk to a newer format, selecting either option works.
Click the OK button.
Start the VM by clicking Play virtual machine .
If you need to increase the disk size of the pre-built Clear Linux OS image, see Increase Virtual Disk Size of an Image .
Related topics
For other guides on using the VMWare Player and ESXi, see:
Intel and the Intel logo are trademarks of Intel Corporation or its subsidiaries.
© Copyright 2021 Intel Corporation. All Rights Reserved.. Last updated on Sep 15, 2021.
*Other names and brands may be claimed as the property of others.
Источник


