- How to Install Windows 10 Custom Themes
- How to Install Microsoft Themes on Windows 10
- How to Install Non-Microsoft Themes on Windows 10
- Step 1: Creating a System Restore Point
- Step 2: Compatibility Checks
- Step 3: Installing UltraUXThemePatcher
- Step 4: Using 3rd party Windows themes
- How to Make Your Own Windows 10 Theme
- How To Make Windows 10 Theme
- Change the background of your desktop
- Pick up new colors
- Add sounds
- Screen saver
- Pointer
How to Install Windows 10 Custom Themes
Using a Windows 10 theme is the quickest way to customise your PC. A theme can contain custom sounds, wallpapers, color adjustments as well as other personalization tweaks. So far, Microsoft didn’t go crazy about letting us customise Windows 10 however we want. Sure, a lot of those restrictions were imposed for security reasons, but geeks will always find ways to tinker with how Windows looks and behaves.
Microsoft does not officially support 3rd party themes unless they are digitally signed by them. It’s somewhat understandable since people might embed them with malware and spread it across the internet. However, users have found ways to bypass Microsoft’s limitation and install third-party themes n Windows 10.
If you want to stay on the official site, I’m sorry to break it to you, but most Microsoft-supported themes are nothing short of boring. It’s true that the selection on their website got better lately, but they severely limit the customizations that can be done by UI designers. If you’re looking for something really special, independent design websites like DeviantArt have superior Windows 10 themes in terms of aesthetics.
Are you in the market for a customized Windows 10 theme? Then you got some choices to make. You either stay official and install a Microsoft theme, or you take the long route modify your computer to allow the installation of non-Microsoft themes. Keep in mind that Microsoft themes are extremely easy to install, while 3rd party themes will require you to take extra steps with a minimal amount of risk.
To make it easier for you, we created two guides below that will cover both the official(Method 1) and the unofficial way(Method 2). Let’s see how you can customize your Windows 10 look.
How to Install Microsoft Themes on Windows 10
If you’re after the quickest way of installing a Windows 10 theme, Microsoft has hundreds of different options neatly grouped into intuitive categories. You can browse all of them by visiting this website. The installation is extremely easy, but here’s a quick guide, just in case you get confused:
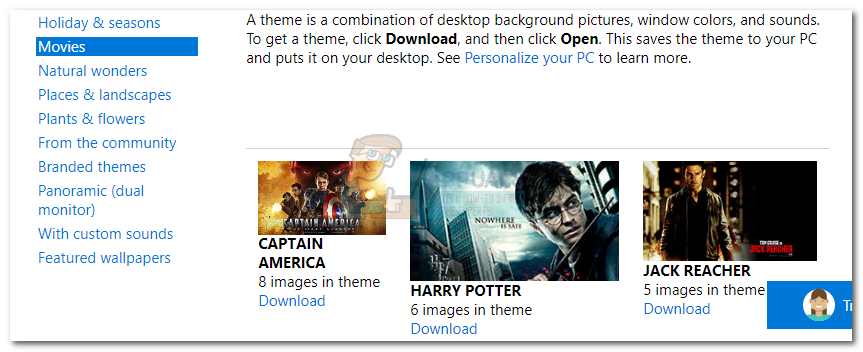
- Visit Microsoft’s website and browse for a theme. Don’t settle for just the Featured themes category, as a lot of good themes aren’t present there. If you use a dual monitor, select a theme from the Panoramic category.
 Note: Keep in mind that this website is exclusively designed for Window 10 themes. Installing them on an older Windows version won’t work.
 - Once you decide on a theme, click the Download button under it and wait for the process to complete.
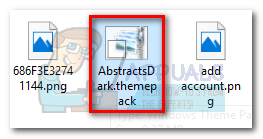
- Open the .themepack file and wait for the theme to unpack.
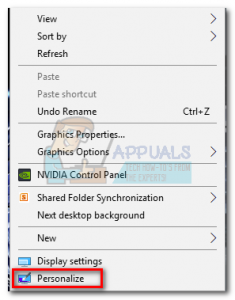
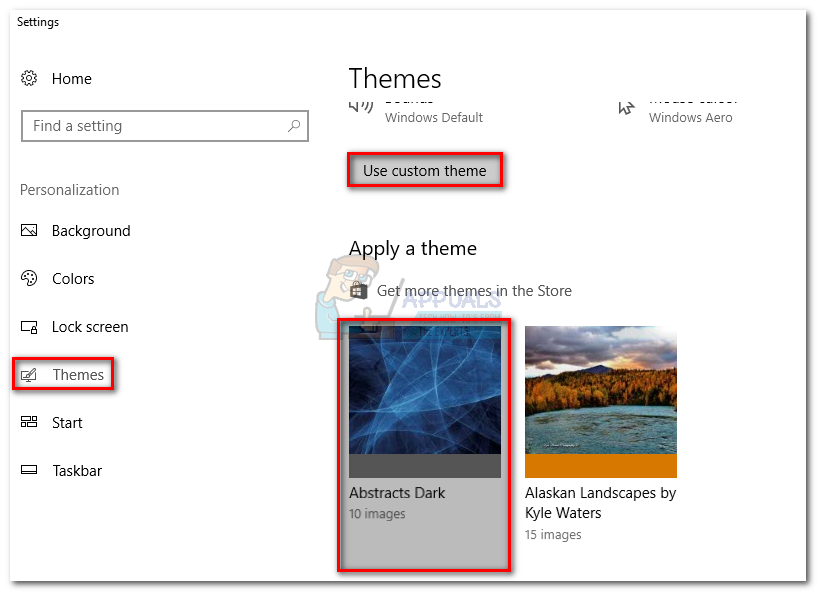
- Now right-click anywhere on your desktop and click Personalize.
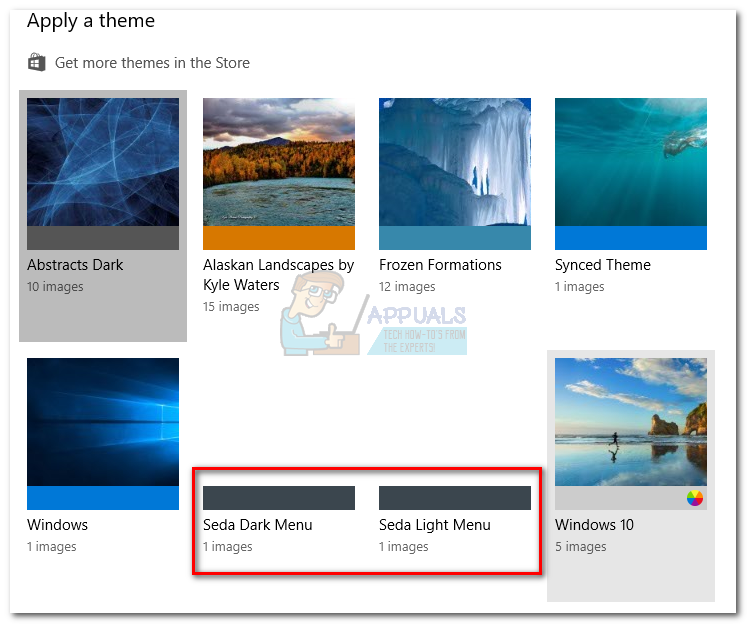
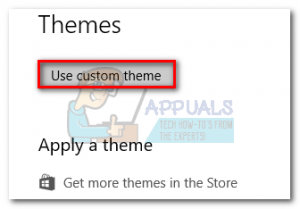
- Go to Themes, click on the theme that you’ve just unpacked and click Use Custom Theme.
 Note: Keep in mind that this website is exclusively designed for Window 10 themes. Installing them on an older Windows version won’t work.
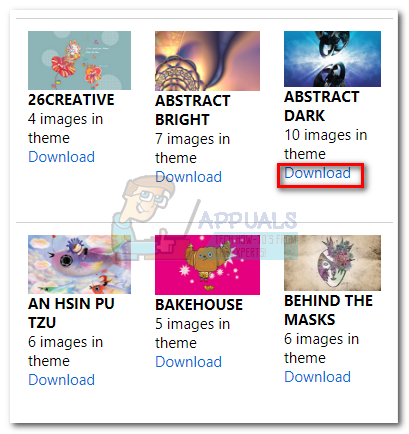
That’s it. The Microsoft theme you previously downloaded is active.
Note: Another way to apply a Microsoft-certified theme is to go to Settings > Themes and click on Get more themes in the Store (under Apply a theme). This will open up a Microsoft Store window with a limited selection of Windows 10 themes. But the theme selection in Microsoft Store is very limited when compared to the first method. 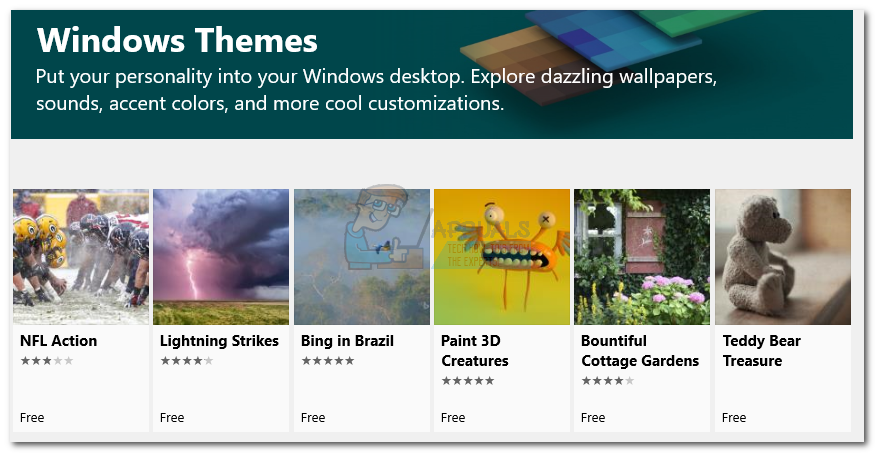
How to Install Non-Microsoft Themes on Windows 10
If you want to apply third-party themes, you’ll need to patch your system first. The DeviantArt community is filled with fancy third-party themes, but they are not as easier to install. To use them, you’ll have to spend a few minutes tinkering with your system.
Keep in mind that tinkering with system files can be dangerous and precaution methods should be taken. In order to eliminate every potential risk, we strongly advise you to start this process by creating a system restore point. If something goes terribly wrong, you’ll be able to save your Windows installation with minimal effort.
The software used to modify the stuff required to allow 3rd party themes is called UltraUXThemePatcher. The good news is, the software has reached a stage where it’s stable for the vast majority of users. The installer will automatically back up the original system files. So if anything goes wrong after the installation, uninstalling UltraUXThemePatcher will revert your system to the original behavior.
Note: Installing this application might lead to unexpected problems that might not be resolved by uninstalling UltraUXThemePatcher. To eliminate this risk, I strongly advise you to start with Step 1 where we create a system restore point.
Step 1: Creating a System Restore Point
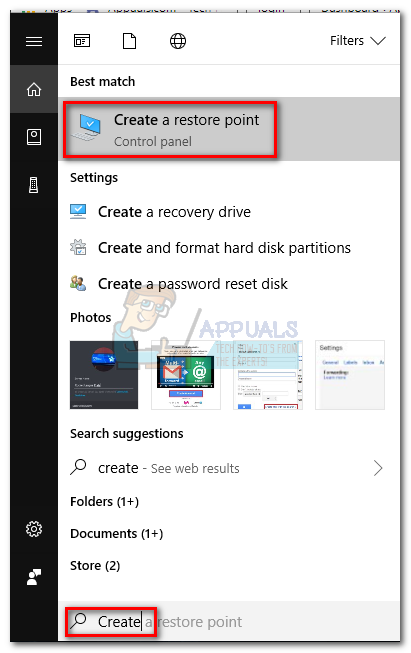
- Access the search bar in the bottom-left corner. Search for “restore” and click on Create a Restore point.
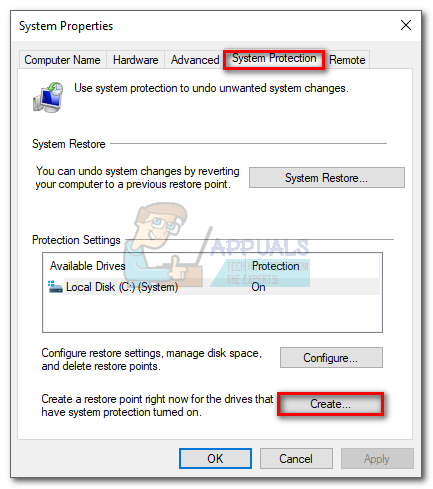
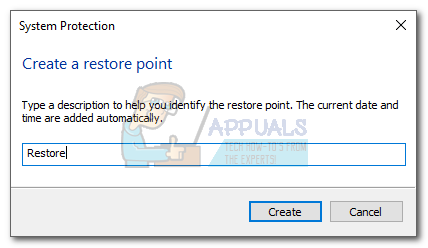
- Under System Protection, click on Create.
- Name your restore point and click on Create.
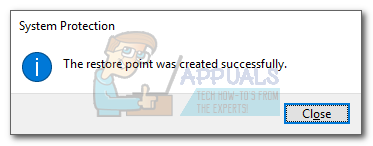
- Wait until the restore point is created. Do not start with Step 2 until the process is complete.
Step 2: Compatibility Checks
Before you let UltraUXThemePatcher modify important system files, it’s extremely important to verify if the software is compatible with your Windows version is supported. Here’s what you need to do:
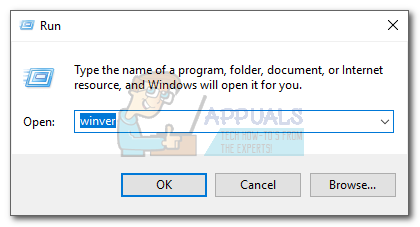
- Press Windows Key + R, type “winver” and press Enter.
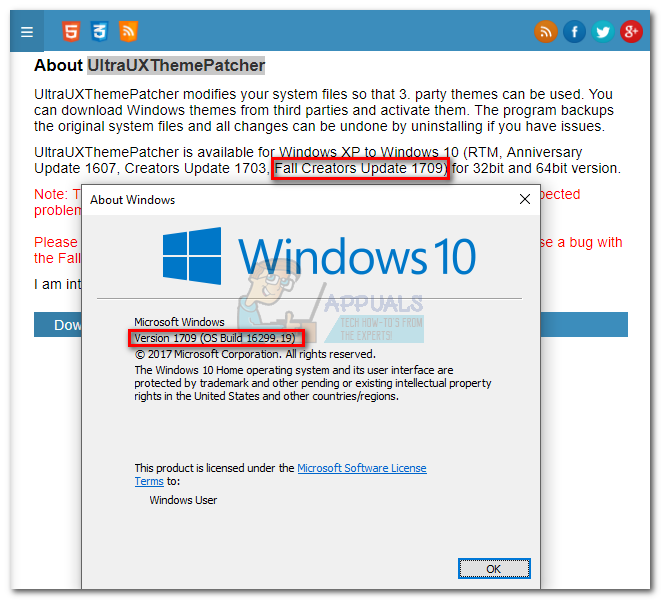
- Find out your Windows 10 version. You can leave the About window open for further references.
- Visit this link, go to the About section and see if your version of Windows 10 is supported by UltraUXThemePatcher. If it is, you can proceed safely to Step 3.

Step 3: Installing UltraUXThemePatcher
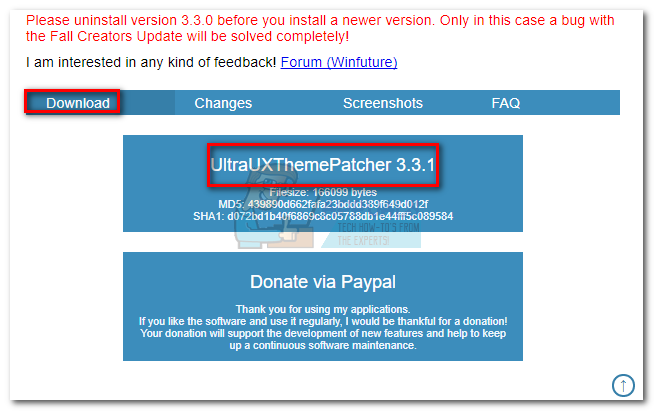
- Visit this link and download the latest version of UltraUXThemePatcher. Scroll down to the Download section and download the latest version.
- Right-click on the UltraUXThemePatcher executable and click on Run as Administrator.
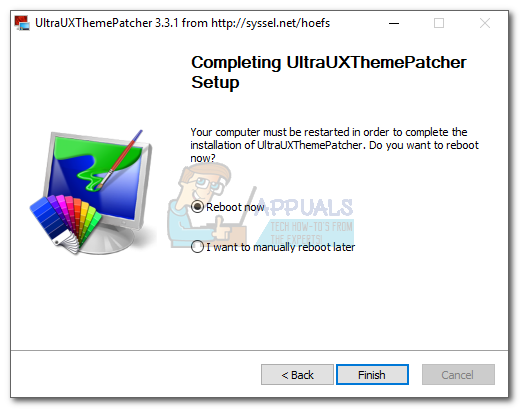
- Follow through with the installation instructions, then hit the Install button.
- Reboot your system to allow the changes to take effect.


Step 4: Using 3rd party Windows themes
Now that you’ve successfully patched your system files, you can use 3rd party themes from websites like DeviantArt. Some premium themes are paid only, but you can find a decent amount of freebies. Here’s a quick guide on how to apply them to your system:
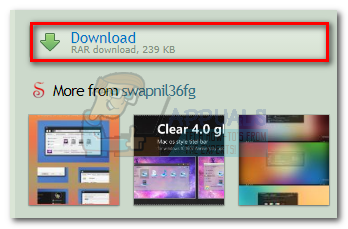
- Download a 3rd party theme from a website like DeviantArt. Keep in mind that most custom 3rd party themes will only work on certain Windows 10 builds. Before you apply it to your system, check out the Description section to find if yours is supported.
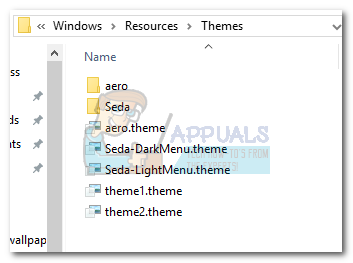
- Unpack the theme and make sure to copy the folder specifically designed for your Windows 10 build.
- Paste the theme folder in C:\ Windows \ Resources \ Themes.
- Now, right-click an empty space on the desktop, select Personalize > Themes and scroll down just under Apply a theme. You should be able to see the 3rd party theme.
- Select the theme, then click on Use custom theme to enable it on your system.

How to Make Your Own Windows 10 Theme
By Melanie Pinola 27 August 2015

Want to change how your desktop and windows look in Windows 10 and share that design with friends? Windows 10 lets you create your own theme with a custom desktop background, windows border and Start menu accent color. You can save these settings as a new theme file to use over and over or send to others.
1. Open the Start menu and select Settings.
2. Choose Personalization from the settings screen.
3. Change one or more of the following:
- Desktop background: Select picture, solid color, or slideshow. In addition to some default photos, you can click the Browse button to select a background picture. If you choose slideshow, the default album for the slideshow will be the Photos folder, but you can browse to a different folder and also set how often you want the picture to change on your desktop.
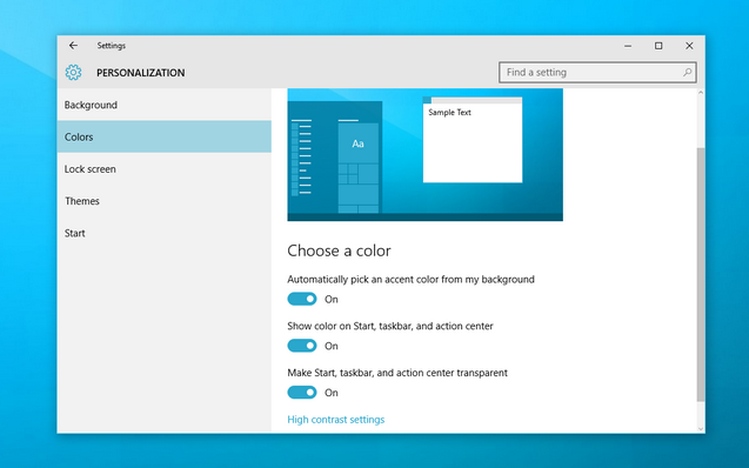
- Colors: You can either have Windows automatically pick an accent color from your background or select a color for the Start menu tiles background and the thin border around windows. This will also change the color of the Windows icon in the taskbar when you hover over it. Optionally, you can also have that color shown on the taskbar and Windows 10’s action center by checking those checkboxes.
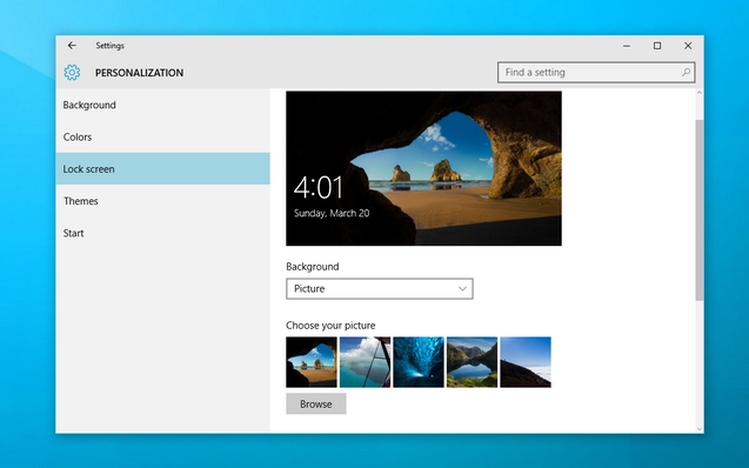
You can also change the Lock screen background image and Start menu settings here, but these aren’t saved with your theme.
4. Click Themes in the Personalization window, then Theme settings.
This will open up the personalization settings in the Control Panel.
5. Right-click on the Unsaved Theme and select Save theme. The Unsaved Theme appears in the My Themes section and contains the the settings you just adjusted.
6. Give your theme a name in the window dialog box and hit OK.
Your new theme will be saved and you can switch between it and other themes easily by going to the personalization options in the Control Panel. Once your theme is saved, you can also right-click on it and save the theme for sharing as a .deskthemepack file.
Microsoft doesn’t offer a built-in way to create more complex themes than this (e.g., changing app icons or default sounds), but there’s an app in the Windows App Store called Theme Creator that promises to let create a complete Windows theme package. The app crashed on me when I tried it, but you might have better luck.
Also, Microsoft offers many Windows theme packs you can download for free here. Here are some of the best Windows 10 themes.
How To Make Windows 10 Theme
Windows 10 Theme offer you the possibility to make a number of personalization settings; you can change the background of your desktop, as well as the colours, sounds, windows borders, start menu and you can switch between themes as often as you like. You can use the following steps, in order to customize your computer exactly as you wish.
Change the background of your desktop
Windows 10, like other versions, come with several backgrounds that you can choose from. In order to do so, you need to enter the personalization group, which can be found in the Settings. Or you can always select ‘Browse’ and add your own picture. For the background you can select picture, solid color or slideshows. Your wallpaper can in fact beanything you like. For example, you can choose to upload a picture from your own collection or one that is already included on this version of Window, a solid color or even a slide show, that can play pictures that you have selected randomly on all displays.
Pick up new colors
You can choose an accent color from a palette or you can select to have Windows 10 pick up a color from your wallpaper automatically. If you wish you can extend the color choice to the Start menu, taskbar and action center, below the palette. There is also another option; you can turn on transparencies for all these items. In fact, this last one can actually allow you to eke out a bit more performance in case your card of your graphics isunderpowered or older.
Add sounds
Windows 10 Theme can play a sound when certain events take place on your PC. For instance, an event can be an action that you perform (eg. when you empty your Recycle Bin) or an action that Windows perform (e.g. when you receive a new mail). In fact, you can find a number of sound schemes offered with the new version of Windows. Keep in mind, though, that some themes on your desktops have their own sound schemes. Moreover, you can save any additional sound that you changed.
Screen saver
If you want to changer or add a screen saver, you need to click ‘Screen Saver, then click an iten in the list and change the settings, according to your preferences and at the end click OK. The screen saver is actually a moving pattern or a certain image that appears on your PC screen when you haven’t touched your mouse or keyboard for a certain period of time. Moreover, the screen saver is turned off in the themes that offered by the Windows, but you have the option to turn it on and add one to a theme. You can actually find all kind of themes in Personalization window (found in Control Panel). Then, you can alter the background of your desktops, as well as the colour, sounds etc.
Pointer
After you have added icons and sound, you can also add a fancy cursor as well. Just like the icons and sound schemes, you need to apply the new cursor, before including the same in the theme. Once you have installed it, click Change mouse pointer at thte left side of Personalization window, choose your new cursor from the drop down list and press the apply button.


