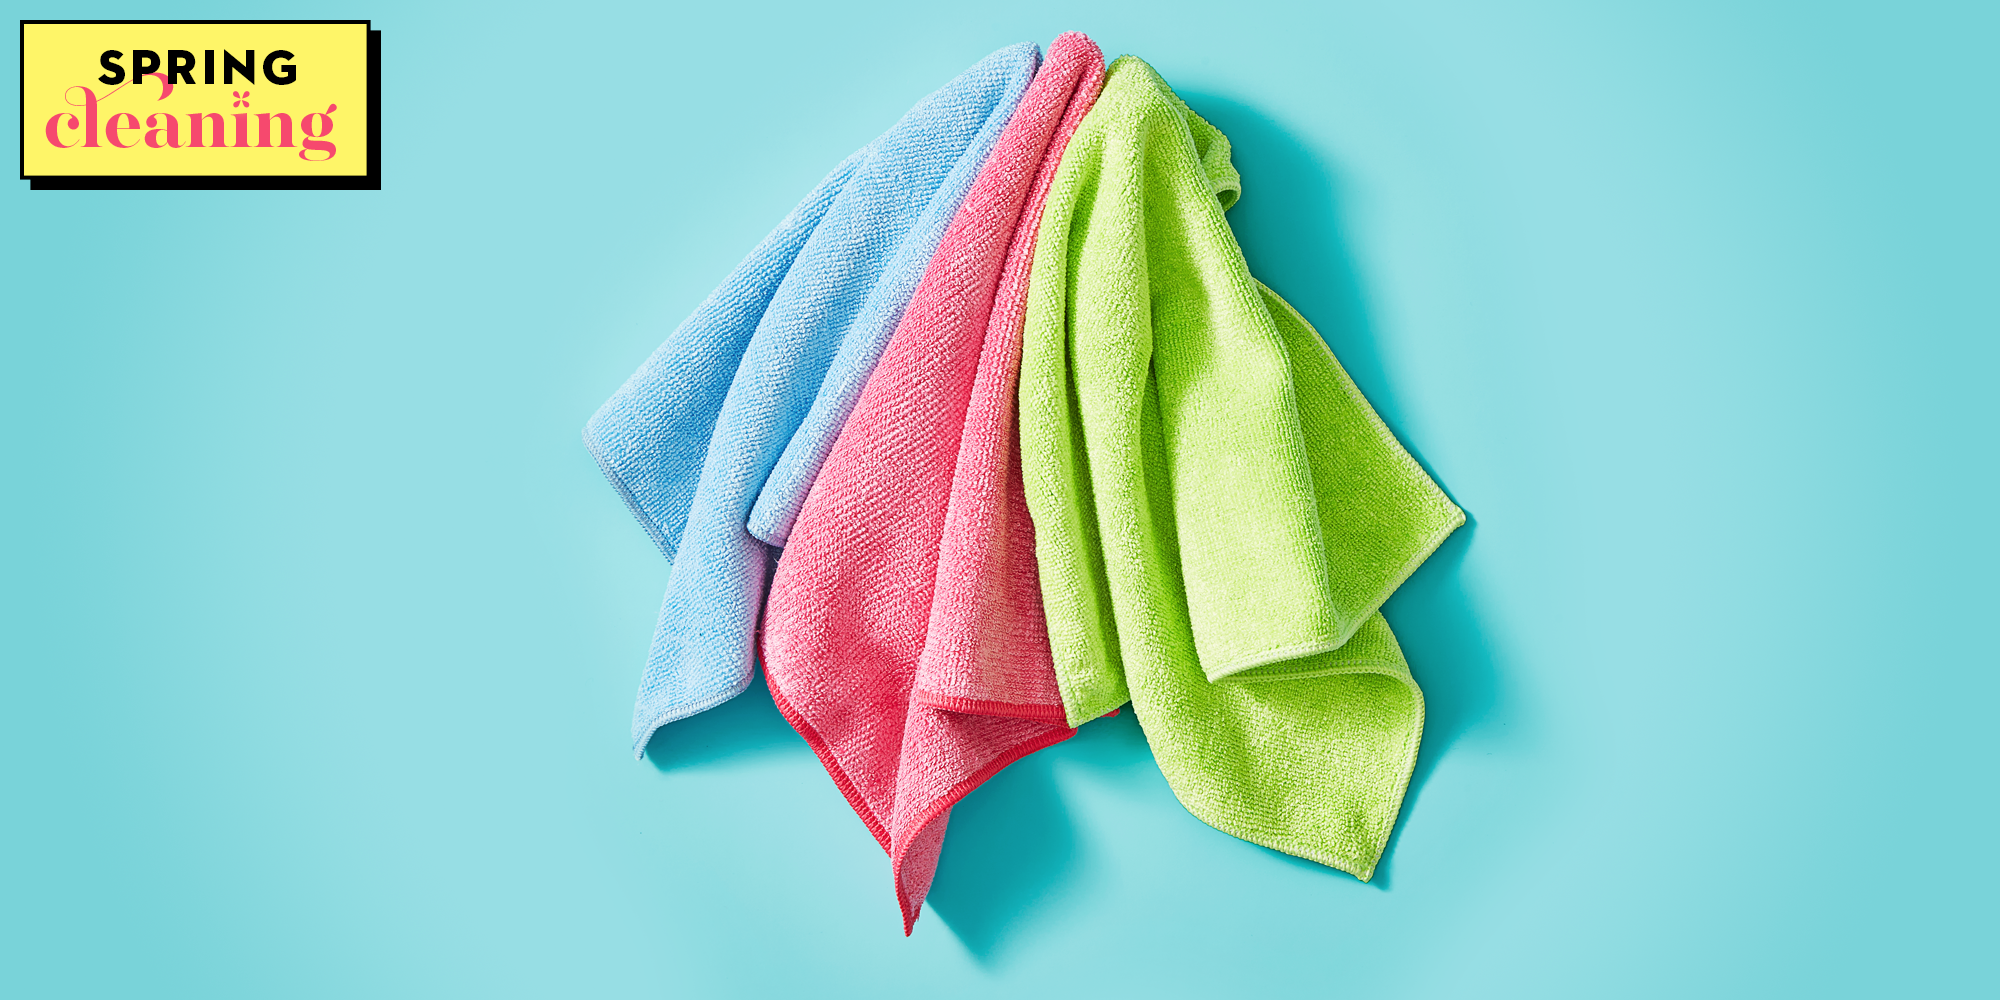
- How to Clean Your House Fast: 11 Efficient House Cleaning Tips [Video]
- Fast House Cleaning Tips
- 1. Clean the whole house, not one room at time
- 2. Gather all your cleaning tools in a caddy
- 3. Clear the clutter
- 4. Dust and vacuum
- 5. Wipe mirrors and glass
- 6. Disinfect countertops and surface areas
- 7. Focus on tubs, sinks and toilets
- 8. Sweep, then mop
- 9. Keep moving when you vacuum
- 10. Don’t forget to routinely wash your cleaning tools
- 11. Make cleaning a group activity
- How to Clean Windows Like a Pro
- Share this story
- Share All sharing options for: How to Clean Windows Like a Pro
- Project details
- Skill
- Estimated Time
- The Best Way to Clean Windows
- For Picture Windows
- Step 1: Wash with a strip applicator
- Step 2: Wipe clean with a squeegee
- Step 3: Dry off remaining drips
- For Multipane Windows
- Step 1: Customize the squeegee
- Step 2: Scrub the panes
- Step 3: Wipe clean with a squeegee
- Getting rid of stubborn spots
- How to Clean Windows Inside and Out for Streak-Free Results
- 1. Test the temperature.
- 2. Remove dust and dirt from windows.
- 3. Clean outside windows.
- 4. Clean inside windows.
- 5. Use a system for cleaning windows.
- The Best Way to Clean Windows, According to Our Cleaning Lab
- 1. Choose a dry, cloudy day.
- 2. Remove dirt and dust first.
- 3. Pick the right cleaner — and spritz generously.
- How to Clean Window Screens
How to Clean Your House Fast: 11 Efficient House Cleaning Tips [Video]
Everyone hates to clean but everyone loves a clean house. Is there a best way to clean your house fast?
Most novices aren’t sure if they should dust or vacuum first. They wonder whether they should clean the kitchen before the bathroom or vice versa.
Follow this step-by-step guide, based on years of hard-earned experience, to make the most of your time and clean your house fast:
Fast House Cleaning Tips
1. Clean the whole house, not one room at time
Cleaning is much more efficient if you pick one task (dusting, vacuuming, mopping) and do the same task in every room in the house, rather than cleaning the kitchen, the bathrooms and then the bedrooms. Doing it that way prevents you from feeling like you’re in an endless cleaning cycle, starting the same task over and over again.
2. Gather all your cleaning tools in a caddy
Whether it’s a caddy, bucket or tote, having everything you need to clean in one portable place makes it much easier to get the job done. You won’t waste time looking for tools while you clean, and don’t have to worry about gathering them before your next go around.
3. Clear the clutter
Before you even start cleaning, go room to room and pick up the clutter. As you pick up each item – magazines, well-read paperbacks, old sneakers – consider whether you should put it away, toss it or donate it.
4. Dust and vacuum
Before you start dusting, make sure ceiling fans are turned off. Concentrate your dusting on the tops of furniture and the undersides of shelves, on handrails, picture frames, knickknacks and TV screens. For hard-to-reach areas, like blinds and upper shelves, tie a microfiber cloth to the end of a mop or broom. Change the sheets in the bedrooms before you vacuum.
5. Wipe mirrors and glass
Use one damp microfiber cloth, followed by one dry cloth in wiping clean all the mirrors and glass surfaces.
6. Disinfect countertops and surface areas
Go through your house and wipe down the hard surfaces – from countertops, appliances and cabinets to doorknobs, light switches, TV remotes and telephones. You should disinfect some of those surfaces, particularly the ones that might deliver germs to people’s fingers and faces. Make a nontoxic disinfection solution by mixing one-fourth to a half cup of white or apple cider vinegar with a cup of water.
7. Focus on tubs, sinks and toilets
Spray cleaner on the kitchen sink then on bathroom sinks, tubs and toilets. Let it sit for a few minutes so the cleaner has time to dissolve dirt and stains. Then return to the kitchen and start scrubbing. Don’t forget to wipe down the inside of the microwave. Clean toilets last.
While in the kitchen, you also want to make sure your garbage disposal is in tip-top shape. If you aren’t sure the best way to clean a garbage disposal, click here for some useful DIY garbage disposal cleaning tips.
8. Sweep, then mop
Sweep the kitchen and bathroom floors. Start mopping from the farthest corner of the room and move backwards towards the doorway (that is, don’t mop yourself into a corner). Rinse the mop every time you complete a 4-by-4-foot area.
9. Keep moving when you vacuum
Don’t worry about getting every nook and cranny when you vacuum. Just keep moving through the house, running the vacuum in every carpeted room in one pass through.
Some tasks don’t need to be done each week. These include waxing the furniture, cleaning the windows, and washing area rugs and bath mats. Inspect these accessories and use your own judgment.
10. Don’t forget to routinely wash your cleaning tools
An often overlooked part of cleaning the house is maintaining your cleaning tools. Using a dirty mop or a vacuum with a full bag is much less effective, and you’ll end up spending more time trying to clean.
11. Make cleaning a group activity
Making cleaning a team effort is one of the best ways to clean a house fast. Schedule a time in advance with your family, and assign tasks to each person. Working together can add some fun to cleaning, and your house will be sparkling in no time.
While you’re cleaning make sure to check on home maintenance items, such as a faulty sink that may cause water damage.
How to Clean Windows Like a Pro
Looking for the best window washing solutions? Follow our DIY window cleaning tips.
Share this story
Share All sharing options for: How to Clean Windows Like a Pro
/cdn.vox-cdn.com/uploads/chorus_image/image/65891572/iStock_585597690.8.jpg)
Project details
Skill
Estimated Time
The Best Way to Clean Windows
Ideally, windows should be washed twice a year, but it’s a task most people don’t look forward to. Part of what makes DIY window cleaning such a chore is that homeowners insist on doing it with wadded-up paper towels or newspaper, spray cleaner, and a ton of elbow grease.
“All that rubbing isn’t a good idea,” says Brent Weingard, owner of Expert Window Cleaners in New York City. “You’re just moving dirt around from one spot to another and putting a static charge on the glass, which attracts dust and dirt. As soon as you finish, the window looks dirty again.”
As Weingard demonstrates, it’s easier and more effective to clean windows like the pros do: with a squeegee and a few other readily available tools. The techniques aren’t complicated, he says, and the results may surprise you.
«I don’t know of anything that can transform living spaces so well. You don’t know what you’re missing until you do the windows,» says Weingard. Here are two 3-step methods for how to get streak-free windows at home; one for picture windows and another for multipane windows. Got stubborn spots? Refer to the last section to help you with those.
For Picture Windows
Step 1: Wash with a strip applicator
Picture windows call for large tools. The long cloth head of a strip applicator soaks up a lot of soapy water and knocks dirt loose without scratching the glass. For a cleaning solution, Weingard uses just a squirt of dishwashing liquid in a bucket of warm water—the less suds, the better.
Step 2: Wipe clean with a squeegee
Starting at the top left, pull the squeegee over the soapy pane in a reverse-S pattern (left-handers would start at the top right). At the end of each stroke, wipe the squeegee’s blade clean with a lint-free rag. Cloth diapers or old linen napkins are perfect for this task.
Step 3: Dry off remaining drips
Remove any water remaining on the edges of the glass with a damp, wrung-dry chamois, which soaks up wetness without leaving streaks. Dry the windowsill with a rag.
For Multipane Windows
Step 1: Customize the squeegee
To clean a divided-light window, you need a squeegee that fits the panes. Weingard uses a hacksaw to cut one to size. He trims the metal channel ¼ inch narrower than the window pane, then files the cut edges smooth. With a utility knife, he cuts the rubber blade to the pane’s full width and fits it into the channel so that it projects 1/8 inch at each end.
Step 2: Scrub the panes
A handheld sponge or hog-bristle brush works best on multipane windows. Weingard prefers natural sponges. «They’re firmer and more absorbent than synthetics,» he says. Using the same solution of a squirt of liquid soap in water, he rubs each pane from left to right, top to bottom, working the sponge edges or brush bristles into the corners to loosen dirt.
Step 3: Wipe clean with a squeegee
Pull the squeegee down each pane in a single stroke from top to bottom. After each stroke, clean the blade with a rag so it doesn’t leave streaks. (If the squeegee squeaks a lot, add a bit more soap to the water.) As above, remove any streaks on the glass with a chamois and dry the muntins and sill with a rag.
Getting rid of stubborn spots
Over time, hard-water runoff from masonry or rain falling through metal window screens leaves stubborn mineral stains on glass that normal washing can’t erase. So after a regular cleaning, Weingard wets the glass and gently «supercleans» it either with fine 000 steel wool (if the panes are small) or with Barkeeper’s Friend, which contains oxalic acid. (Other brands of powder may scratch the glass or fail to remove stains.) He mixes the powder into a paste on a wet towel, rubs away the stains, then rinses and squeegees the glass twice to remove the residue. Even with that treatment, the staining generally comes back in about six months.
To get rid of stains for good, Weingard recommends the application of 3 Star Barrier Glass Surface Protectant, a clear polymer coating. «After the stains are gone, you just put the coating on with a strip applicator and squeegee it off,» he says. Protection against staining is permanent, as long as the polymer is reapplied after each regular cleaning.
How to Clean Windows Inside and Out for Streak-Free Results
Make windows shine with this easy cleaning guide. Follow these steps on how to wash windows to clear away grime and leave your home sparkling.
Compare a clean window with a dirty one, and the contrast is clear. Streak- and grime-free windows offer a lovely way to enjoy the outdoors, as well as an uninterrupted path for sunshine to enter into your home’s interior. But many people avoid this task because they are unsure how to clean windows. Luckily, it takes just a bit of planning and a little elbow grease. Washing the windows is a good spring cleaning job for the family to help with, and clean windows will make the entire house look cleaner. Here are six must-follow steps for cleaning windows.
1. Test the temperature.
Don’t want to waste a sunny day chasing away the dirt and grime on windows? You’re not alone—and you’re in luck. One of the best pieces of advice for how to clean windows is to pick a cloudy day. The absence of sunlight will help to minimize the chance of streaks because heat makes window cleaning solution evaporate faster than you can wipe it off. Lack of glaring sunlight also enables you to better see—and better clean—the windows. To quickly test the temperature, touch the window glass. If it’s hot to the touch, wait for a cooler day.
2. Remove dust and dirt from windows.
No window washing job is complete without using your vacuum first. Dust and dirt can accumulate inside the sills of your windows, and once that gets wet, you’ll be left with muddy streaks to clean up. That’s why an essential step in cleaning windows properly is to hook up the vacuum first, using hose attachments to clean out the interior side of your windows. While you’re at it, use the vacuum to suck up dust or bugs that have gathered at the window closing. Then wipe off any lingering dirt and cobwebs with a wet cloth to reduce grimy smears.
3. Clean outside windows.
There’s one crucial step that many people skip when learning how to clean windows: an exterior hose-down. Close all your windows and use a garden hose to spray the outside. You’ll remove the first layer of dirt and make the detail work that much easier. Plus, on a summer day, you can use window washing as an excuse to splash in the water a little bit.
4. Clean inside windows.
How you wash individual windows depends on the type of windows you have. Newer versions flip open, enabling you to clean both the outside and inside from the same spot. Older ones might be stationary, which means you’ll have to use a ladder to clean the exteriors. Most will allow you to remove the screens and clean them separately. Clean indoor glass panes with a window cleaner. Screens can be cleaned with warm, soapy water, either on a paved outside area or in a bathtub.
5. Use a system for cleaning windows.
Enlist the family for help cleaning windows. Have one person work inside, wiping windows horizontally, while another wipes outside vertically. That way you’ll know which side the dirt or streaks are on. Be sure to find a ladder you feel comfortable on. If you have a window you’d have to reach for, leave it to the pros.
The Best Way to Clean Windows, According to Our Cleaning Lab
That squeegee just might make a bigger mess.
Over time, pollution and grime accumulate slowly but surely on your windows, obstructing your view and blocking precious sunlight. The only thing worse? Thick streaks left behind by improper cleaning.
To keep your vista clear (and your light-loving houseplants happy), follow this expert advice from Carolyn Forte, Director of the Good Housekeeping Institute Cleaning Lab. With the right spray, cloth, and technique, your windows will have never looked better.
1. Choose a dry, cloudy day.
«Do this job in the blazing sun and the cleaner will dry onto the hot windows before you get to wipe it off, leaving hard-to-remove streaks,» Forte says. If the weather won’t cooperate, start on the shady side of the house.
2. Remove dirt and dust first.
Before you get started, sweep dirt from the window frame with a brush or vacuum it up with your machine’s dusting attachment. This will prevent dirt from turning into a muddy mess when mixed with a cleaner. If your window screen looks especially grimy, pop it out and wash with hot, sudsy water and a soft brush, then rinse and let dry before putting it back.
For quickly dusting shades and blinds, Forte recommends going over both sides with a microfiber duster or opening the slats and going over each one with a damp cloth and followed by a dry one.
LAB TIP: You can also refresh your curtains at the same time by putting them in the dryer for 15 minutes on an «air-only» cycle and rehanging quickly to prevent wrinkles.
3. Pick the right cleaner — and spritz generously.
Don’t hold back on the spray, especially if your windows look extra dirty. «You need plenty of cleaner to dissolve and suspend the dirt so it can be completely wiped away — skimp and you’ll be seeing streaks,» Forte says.
She recommends Invisible Glass Cleaner With EZ Grip. The fine mist from the bottle stays where you spray until you wipe it, meaning less drips and mess. Check out these other top-tested cleaners depending on the job too:
How to Clean Window Screens
Last Updated: March 26, 2021 References
This article was co-authored by Kadi Dulude. Kadi Dulude is the owner of Wizard of Homes, a New York City based cleaning company. Kadi manages a team of over 70 registered cleaning professionals, and her cleaning advice has been featured in Architectural Digest and New York Magazine.
There are 15 references cited in this article, which can be found at the bottom of the page.
This article has been viewed 154,468 times.
Window screens are exposed to wind, rain, dust, dirt, and bugs. This can cause all kinds of junk to build up, which can quickly turn a clean screen into a dirty one. Knowing how to properly clean your window screens will keep them looking great. It will also prolong the life of your window screens. Thankfully, cleaning a window screen is an easy process that doesn’t require a ton of fancy supplies or preparation.


Kadi Dulude
House Cleaning Professional Expert Interview. 22 September 2019. Make sure you spray the entire screen before scrubbing it down with the cleaning solution. [3] X Research source
- Start at the top of the screen and work your way down, covering the entire screen with water.
- Flip the screen over to make sure you’ve sprayed both sides.


