- How to get old versions of macOS
- Check compatibility
- Download macOS using Safari on your Mac
- How to upgrade to macOS Big Sur
- Check compatibility
- Download macOS Big Sur
- Install macOS Big Sur
- Stay up to date
- Downloading and installing an old version of OS X (mac OS) on your Mac
- Note to iOS developers
- Obeying the rules
- Finding an old version of OS X
- Preparing to install the old macOS version
- macOS Big Sur 4+
- Apple
- Снимки экрана
- Описание
How to get old versions of macOS
If your Mac isn’t compatible with the latest macOS, you might still be able to upgrade to an earlier macOS, such as macOS Catalina, Mojave, High Sierra, Sierra, or El Capitan.
To get the latest features and maintain the security, stability, compatibility, and performance of your Mac, it’s important to keep your software up to date. Apple recommends that you always use the latest macOS that is compatible with your Mac.
Check compatibility
The version of macOS that came with your Mac is the earliest version it can use. For example, if your Mac came with macOS Big Sur, it will not accept installation of macOS Catalina or earlier.
If a macOS can’t be used on your Mac, the App Store or installer will let you know. For example, it might say that it’s not compatible with this device or is too old to be opened on this version of macOS. To confirm compatibility before downloading, check the minimum hardware requirements:
Download macOS using Safari on your Mac
Safari uses these links to find the old installers in the App Store. After downloading from the App Store, the installer opens automatically.
- macOS Catalina 10.15 can upgrade Mojave, High Sierra, Sierra, El Capitan, Yosemite, Mavericks
- macOS Mojave 10.14 can upgrade High Sierra, Sierra, El Capitan, Yosemite, Mavericks, Mountain Lion
- macOS High Sierra 10.13 can upgrade Sierra, El Capitan, Yosemite, Mavericks, Mountain Lion
Safari downloads the following older installers as a disk image named InstallOS.dmg or InstallMacOSX.dmg. Open the disk image, then open the .pkg installer inside the disk image. It installs an app named Install [ Version Name ]. Open that app from your Applications folder to begin installing the operating system.
- macOS Sierra 10.12 can upgrade El Capitan, Yosemite, Mavericks, Mountain Lion, or Lion
- OS X El Capitan 10.11 can upgrade Yosemite, Mavericks, Mountain Lion, Lion, or Snow Leopard
- OS X Yosemite 10.10can upgrade Mavericks, Mountain Lion, Lion, or Snow Leopard
Источник
How to upgrade to macOS Big Sur
Learn how to download and install macOS Big Sur, the latest version of the Mac operating system.
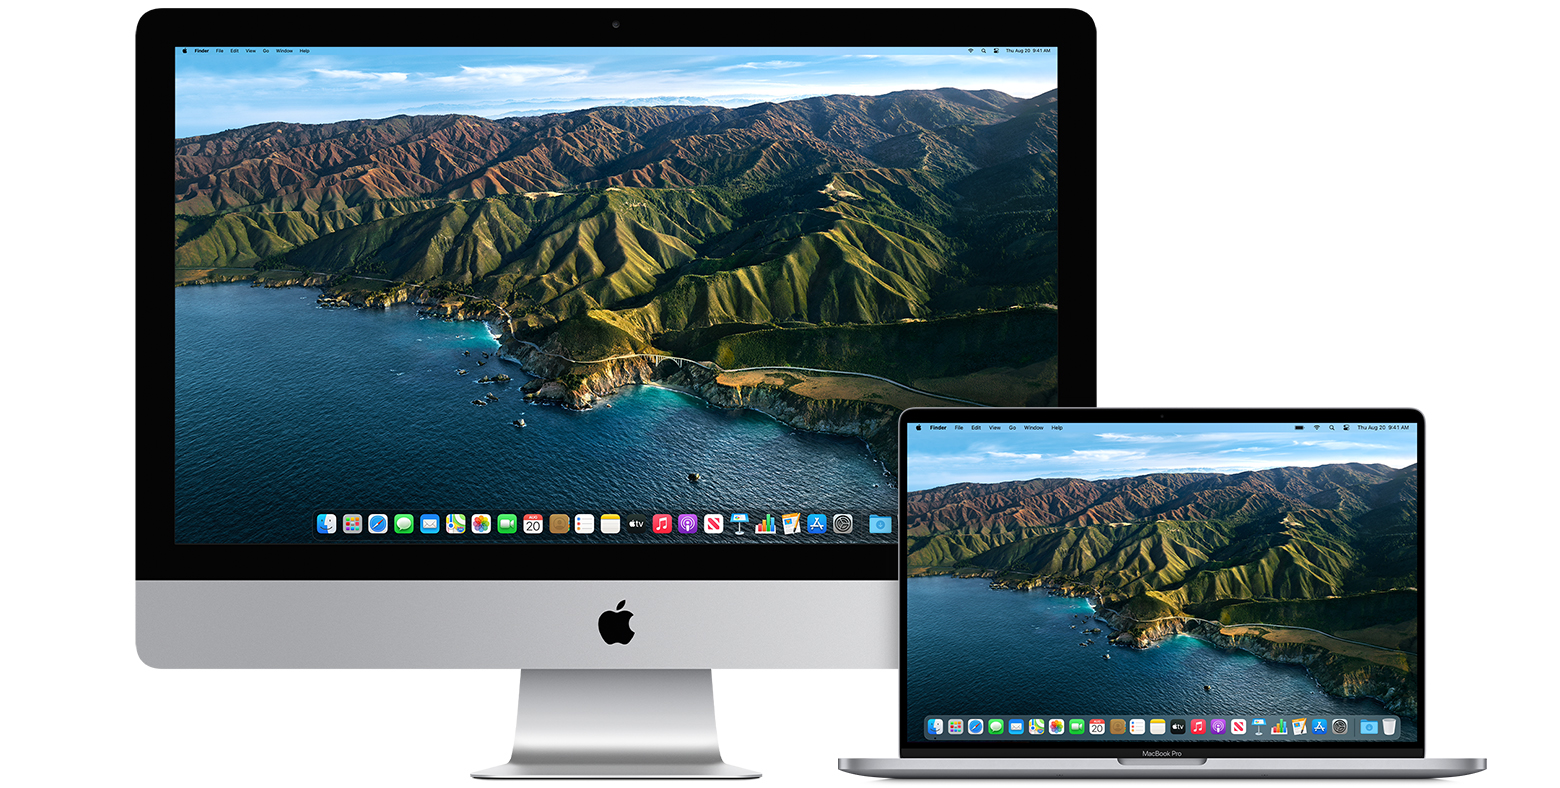
macOS Big Sur elevates the most advanced desktop operating system in the world to a new level of power and beauty. Experience Mac to the fullest with a refined new design. Enjoy the biggest Safari update ever. Discover new features for Maps and Messages. And get even more transparency around your privacy.
Check compatibility
macOS Big Sur is compatible with the following computers. If your Mac isn’t compatible, you might be able to install an old version of macOS instead.
MacBook introduced in 2015 or later
MacBook Air introduced in 2013 or later
MacBook Pro introduced in late 2013 or later
Mac mini introduced in 2014 or later
iMac introduced in 2014 or later
iMac Pro
Mac Pro introduced in 2013 or later
View the complete list of compatible computers.
If upgrading from macOS Sierra or later, your Mac needs 35.5GB of available storage to upgrade. If upgrading from an earlier release, your Mac needs up to 44.5GB of available storage. To upgrade from OS X Mountain Lion, first upgrade to OS X El Capitan, then upgrade to macOS Big Sur.
Download macOS Big Sur
If you’re using macOS Mojave or later, get macOS Big Sur via Software Update: Choose Apple menu > System Preferences, then click Software Update.
Or use this link to open the macOS Big Sur page on the App Store: Get macOS Big Sur. Then click the Get button or iCloud download icon.
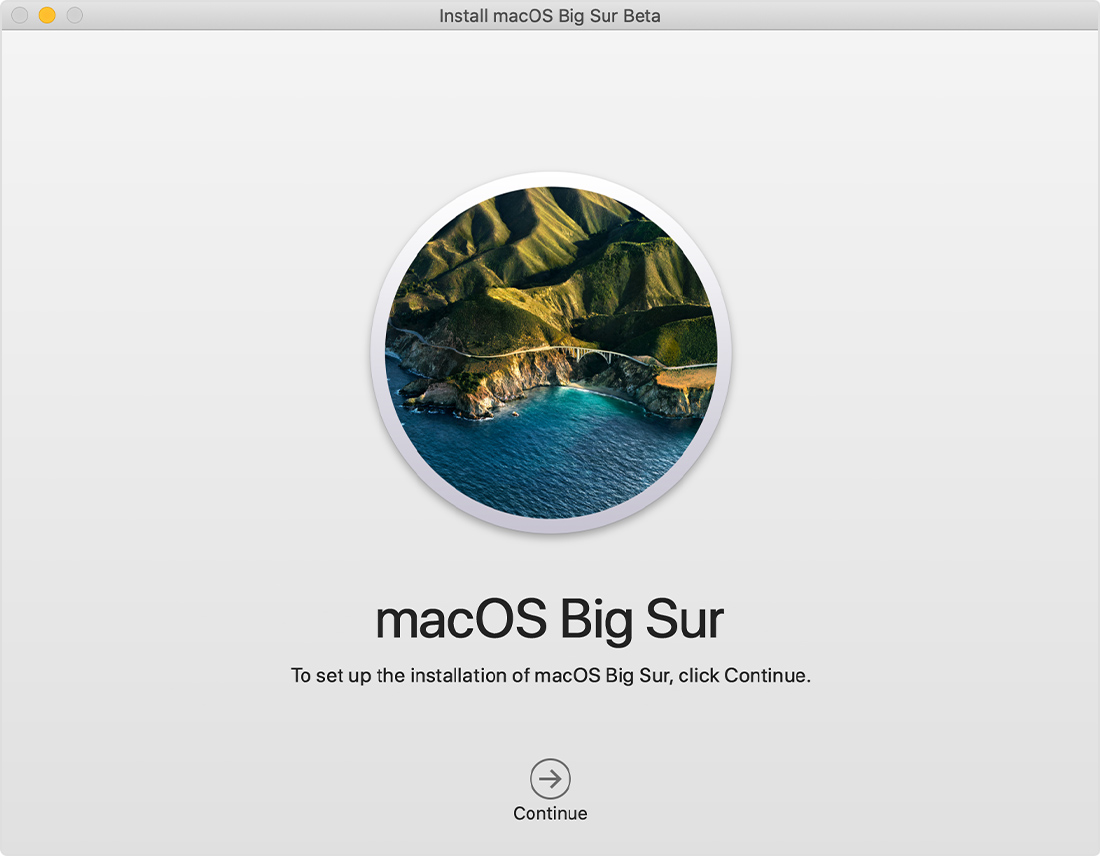
Install macOS Big Sur
After downloading, the installer opens automatically. Click Continue and follow the onscreen instructions.
Please allow installation to complete without putting your Mac to sleep or closing its lid. During installation, it might restart and show a progress bar or blank screen several times. You might find it easiest to begin installation in the evening so that it can complete overnight, if needed.
Stay up to date
After installing macOS Big Sur, you will be notified when updates to macOS Big Sur are available. To check for updates, choose Apple menu > System Preferences, then click Software Update.
Источник
Downloading and installing an old version of OS X (mac OS) on your Mac
We’re going to talk about installing a version of your Mac’s operating system (OS), known as “macOS” or “OS X,” on your Mac, older than the one you’re currently running, on a partition of your primary hard drive or on an external hard drive. You may find that your current instance of OS X is too unstable for normal day-to-day usage or more heavy-duty tasks like development. Remember all the problems people had when they upgraded to OS X 10.13, also known as “High Sierra?” Oy, vey. You might have been like “Get me the heck outta Dodge!” You wanted or needed to get back to a stable OS, like Sierra (OS X 10.12) or El Capitan (OS X 10.11). For developers, you may have to install an older version of Xcode not supported by your latest OS. For Cocoa/macOS developers, you may need to make absolutely sure that your desktop apps are backward compatible, and the only way to do that for sure is to install and run your apps on older versions of macOS. I will show you, step by step, how to get a valid copy of an older version of macOS, make a bootable installer disk, and install the old OS.
Note to iOS developers
As iOS developers, you’re probably mostly concentrated on using Xcode and perhaps a few supplementary Mac apps, like Safari, TextEdit, or Pages, to develop apps for iPhone (iOS), iPad (iOS), Apple Watch (watchOS), and Apple TV (tvOS). You probably heavily use Git, Xcode command-line tools, or development tools like CocoaPods. If you’ve been developing for more than even a year, then you know that Apple pushes out a new OS about once a year and also pushes out a new Xcode version once a year. It behooves you to know something about OS X. So while this tutorial is of course open to anyone who needs to roll back their OS, my core audience of iOS developers should give it a read and consider practicing developing some macOS apps. There are millions of people out there with Macs. That’s a big potential target audience for whom you can build apps.
Obeying the rules
I’m pretty sure that according to Apple’s rules, you can only run one version of OS X on one Mac at a time. Be sure to consult Apple’s End User License Agreement and its Terms and Conditions before proceeding. As we’ll see in a bit, they do allow you to download old versions of OS X that you previously purchased and/or downloaded through the Mac App Store using a valid Apple ID.
Finding an old version of OS X
Only you can decide which old version of OS X you want to install, but you can’t just grab any version from any time period and install it on any Mac.
Hardware requirements
You need to know if your Mac’s hardware is compatible with the old version of OS X you’ve chosen to install. Here’s a hardware compatibility list for OS X versions 10.6 (Snow Leopard), 10.7 (Lion), 10.8 (Mountain Lion), 10.9 (Mavericks), 10.10 (Yosemite), 10.11 (El Capitan), and 10.12 (Sierra). Here are the requirements for the latest OS X 10.13, High Sierra.
Finding and downloading an old macOS version
You can only get old versions of OS X that you previously downloaded/installed on one of your Macs using your valid Apple ID. Go to the App Store app on your Mac and then select the Purchased tab. Look for the version you want — and one that’s in the list (obviously). Using my Apple ID and browsing my Purchased history, I’m going to get OS X Yosemite by clicking the DOWNLOAD link as show here:
Click to enlarge 
You’ll get a warning that “A newer version of OS X is already installed on this computer. Are you sure you want to download OS X 10.10?” Click Continue as shown:
Click to enlarge 
This will start the download of Install OS X Yosemite.app into your /Applications folder. This file is 5.72 GB, so expect the download to take awhile.
Preparing to install the old macOS version
If you double-click on Install OS X Yosemite.app, you’ll get the warning, “This copy of the ‘Install OS X’ application is too old to be opened on this version of OS X.” Here’s what you’ll see:
Click to enlarge 
Never fear. We can do this!
Creating “a bootable installer for macOS”
Apple has the answer to how we’ll make use of the installer (OS X Yosemite.app) we downloaded. They have a page entitled “How to create a bootable installer for macOS.”
What we’ll do is follow Apple’s advice and “use an external drive or secondary partition as a startup disk from which to install the Mac operating system.” The best way to create a “startup disk” is to use a USB thumbnail drive with “at least 12GB of available storage.” Everything on your USB drive will be erased, so back it up if you need the files contained on it.
In a nutshell, we’re going to use an Apple command, available only from Terminal, that will turn our USB stick into a bootable drive and copy that OS X installer we downloaded to the USB stick.
When I got that USB stick with at least 12 GB of available space, I inserted it into an available USB port on my Mac. The stick was mounted in my OS X 10.13 file system as “/Volumes/Untitled” and showed up in Finder as “Untitled” as you see here:
Click to enlarge 
Now that I had that USB stick mounted, it was time to continue with Apple’s advice. I made the USB stick into a bootable drive containing all the OS X Yosemite installation files.
I was able to copy the command I needed to do this straight off Apple’s page. Here’s their version of the command:
Источник
macOS Big Sur 4+
Apple
Снимки экрана
![]()
![]()
![]()
![]()
![]()
![]()
Описание
macOS Big Sur поднимает Mac на новый уровень производительности и визуальной эстетики. Оцените эффектный дизайн, который делает работу на Mac еще удобнее. Отдайте должное самому масштабному обновлению Safari. Попробуйте новые функции Карт и Сообщений. И узнайте еще больше о способах защиты личных данных.
Дизайн
• Работать с контентом в приложениях стало еще удобнее благодаря лаконичным панелям инструментов и полноразмерным боковым меню.
• Строка меню теперь шире. Она почти незаметна, пока не понадобится.
• Системные звуки зазвучали по‑новому: они оповестят о загрузке, передаче файлов, перемещении объектов в Корзину, снятии защиты и других действиях.
Пункт управления
• В Пункте управления есть все, что нужно для управления. Откройте его из строки меню, чтобы быстро изменить настройки.
• Раскройте нужное меню, чтобы перейти к дополнительным параметрам
• Элементы из Пункта управления можно перенести в строку меню.
Центр уведомлений
• В обновленном Центре уведомлений собраны все уведомления и виджеты.
• После раскрытия интерактивных уведомлений отображаются действия и дополнительная информация.
• Информативные виджеты для Календаря, Часов, Заметок, Фото, Подкастов, Напоминаний, Экранного времени, Акций и Погоды.
• В режиме редактирования можно настроить виджеты и их размер.
• Поддержка виджетов сторонних разработчиков.
Safari
• Скоростной браузер с высокой производительностью и энергоэффективностью.*
• Для стартовой страницы можно выбрать фон и разделы: список для чтения, вкладки iCloud, отчет о конфиденциальности и т. п.
• Больше расширений, а также новая категория для их поиска в App Store.
• Новый дизайн вкладок и значки. Наведите указатель на вкладку для предпросмотра веб‑сайта.
• Бета-версия функции «Перевод» поддерживает английский, испанский, упрощенный китайский, французский, немецкий, русский и португальский (Бразилия).
• В отчете о конфиденциальности рассказано, как Safari защищает Вас в интернете и какие трекеры были заблокированы.
• Safari безопасно проверяет пароли на случай утечки.
• Safari спрашивает, использовать ли расширение на веб‑сайте.
Сообщения
• Закрепите до 9 избранных разговоров вверху списка.
• Упоминания: адресуйте сообщение в групповом разговоре.
• Цепочки ответов: ответьте на определенное сообщение.
• Сообщения можно отправить с эффектом воздушных шариков, конфетти и другими.
• По хештегу #images легко найти GIF-анимацию и добавить ее в сообщение.
• С Memoji можно легко создать своего персонажа и отправлять стикеры, отражающие Вашу индивидуальность и настроение.
Карты
• Путеводители от любимых брендов помогут выбрать, куда сходить и чем заняться.
• Функция «Осмотритесь» для виртуальных прогулок по улицам.
• Карты зданий помогут сориентироваться в аэропортах и торговых центрах.
• Велосипедные маршруты удобны для планирования поездки на велосипеде.
• Маршруты для электромобилей помогут спланировать поездку для поддерживаемых электромобилей, добавленных на iPhone.
Некоторые функции доступны не во всех регионах и не на всех устройствах Apple.
* Производительность зависит от конфигурации системы, сетевого подключения и других факторов.
Источник


