- Config plist editor windows
- Plist Editor
- Plist Editor — редактор списков свойств Mac на операционных системах Windows. После скачивания Plist Editor бесплатно, вы сможете редактировать файлы .plist
- Работайте со списками свойств Mac на Windows
- Особенности Plist Editor
- # config.plist Setup
- # Creating your config.plist
- # Adding your SSDTs, Kexts and Firmware Drivers
- # Selecting your platform
- # Intel Desktop
- # Intel Laptop
- # Intel HEDT
- Config plist editor windows
- Config plist editor windows
- Why plist Editor Pro?
- Download Free Trial
Config plist editor windows
Новые темы необходимо создавать только в корневом разделе! В дальнейшем они будут обработаны модераторами.
Если Вы выложили новую версию программы, пожалуйста, сообщите об этом модератору нажав на вашем сообщении кнопку «Жалоба».
plist Editor Pro
версия: 2.1.0
Последнее обновление программы в шапке: 30.04.2014

Описание:
Как правило, некоторые люди делают джейлбрейк для доступа к внутренней системе гаджета. Редактируя многие файлы *.plist и *lproj, можно добится интересных результатов. Этот формат можно редакторовать прямо с девайса с помощью iFile, но некоторым сподручнее делать это с ПК, для этого и предназначена программа plistEditor. И весит мало.
— Скачайте программу
— И откройте файл *plist с ее помощью
Инструкция с вариантом установки версии 2.5.0 поверх активированной находится здесь.
Сообщение отредактировал MadFile — 15.10.20, 12:51
Та же проблема «DLL NOT INSTALLED»
Добавлено 21.05.2012, 13:42:
Решил проблему. Файлы нужно открывать в самом iFunBox-е
Интересно каким макаром файлы открывать в самом Ifanboxe ?? если Файлы даже не утанавливаются на девайс из-за прошивки (выше )
Всё , разобрался, кидаешь Установочный файл в любую папку в телефон (через iFanBox) и там же его и открываешь )))
Сообщение отредактировал XaTTa6bI4 — 24.05.12, 14:50
Plist Editor
Plist Editor — редактор списков свойств Mac на операционных системах Windows. После скачивания Plist Editor бесплатно, вы сможете редактировать файлы .plist

Пользователи компьютеров Mac уже знакомы с файлами «Property List» или списком свойств, которые собирают информацию о конфигурации системных приложений или третьих сторон. Plist Editor — это редактор файлов с расширением plist, с помощью которого вы сможете выполнять любые необходимые вам изменения в поведении ваших инструментов.
Работайте со списками свойств Mac на Windows
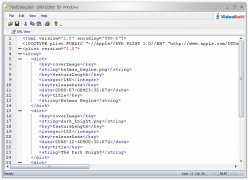
Plist Editor способен читать и редактировать подобный файл, будь он в XML или двоичном формате. Вы сможете редактировать содержимое этих Mac-файлов на Windows, что раньше считалось невозможным.
Приложение может быть использовано разработчиками программного обеспечения, а также конечными пользователями.
Особенности Plist Editor
- Чтение и редактирование файлов .plist как в двоичном, так и в XML-формате.
- Просмотр и редактирование XML-файлов в текстовом режиме.
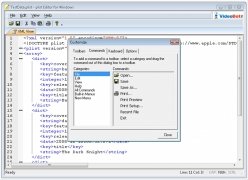
- Параметры поиска и замены, выделения синтаксических элементов, назначения закладок .
- Модификация синтаксиса, прежде чем сохранять свою работу.
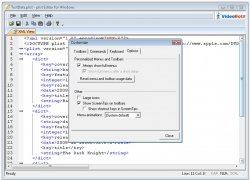
- Адаптировать интерфейс, используя скины.
Скачайте Plist Editor для просмотра и редактирования файлов с расширением plist, связанных в основном с Mac, на компьютерах с ОС Windows.
# config.plist Setup
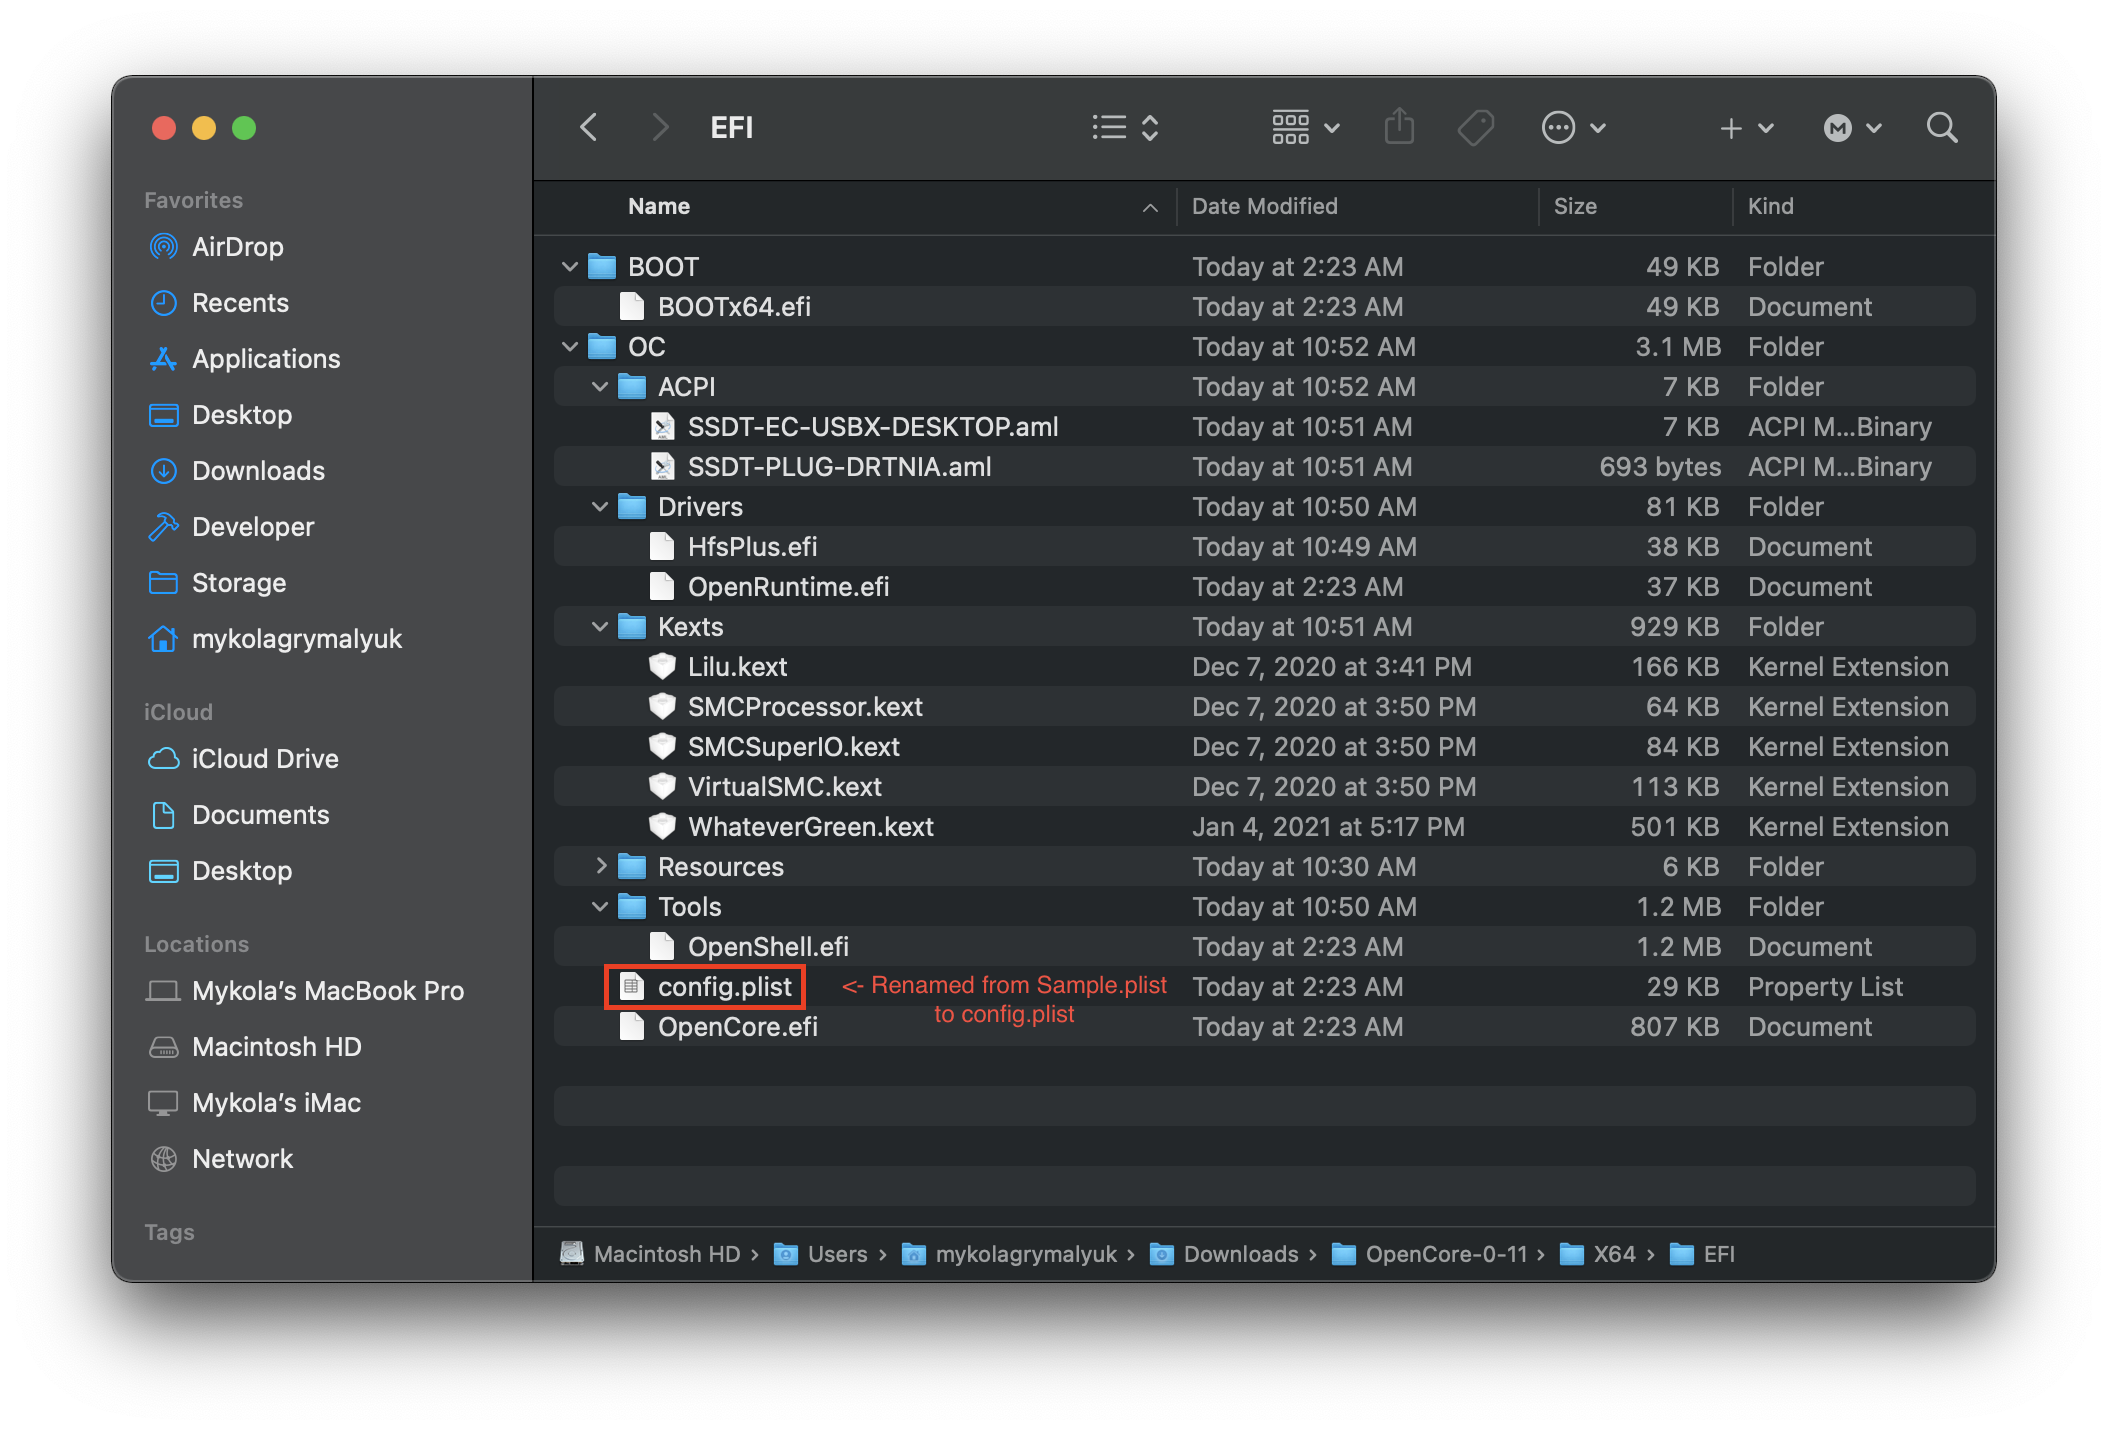
Now that we’ve got all our Kexts(.kext), SSDTs(.aml) and firmware drivers(.efi), your USB should start to look something like this:
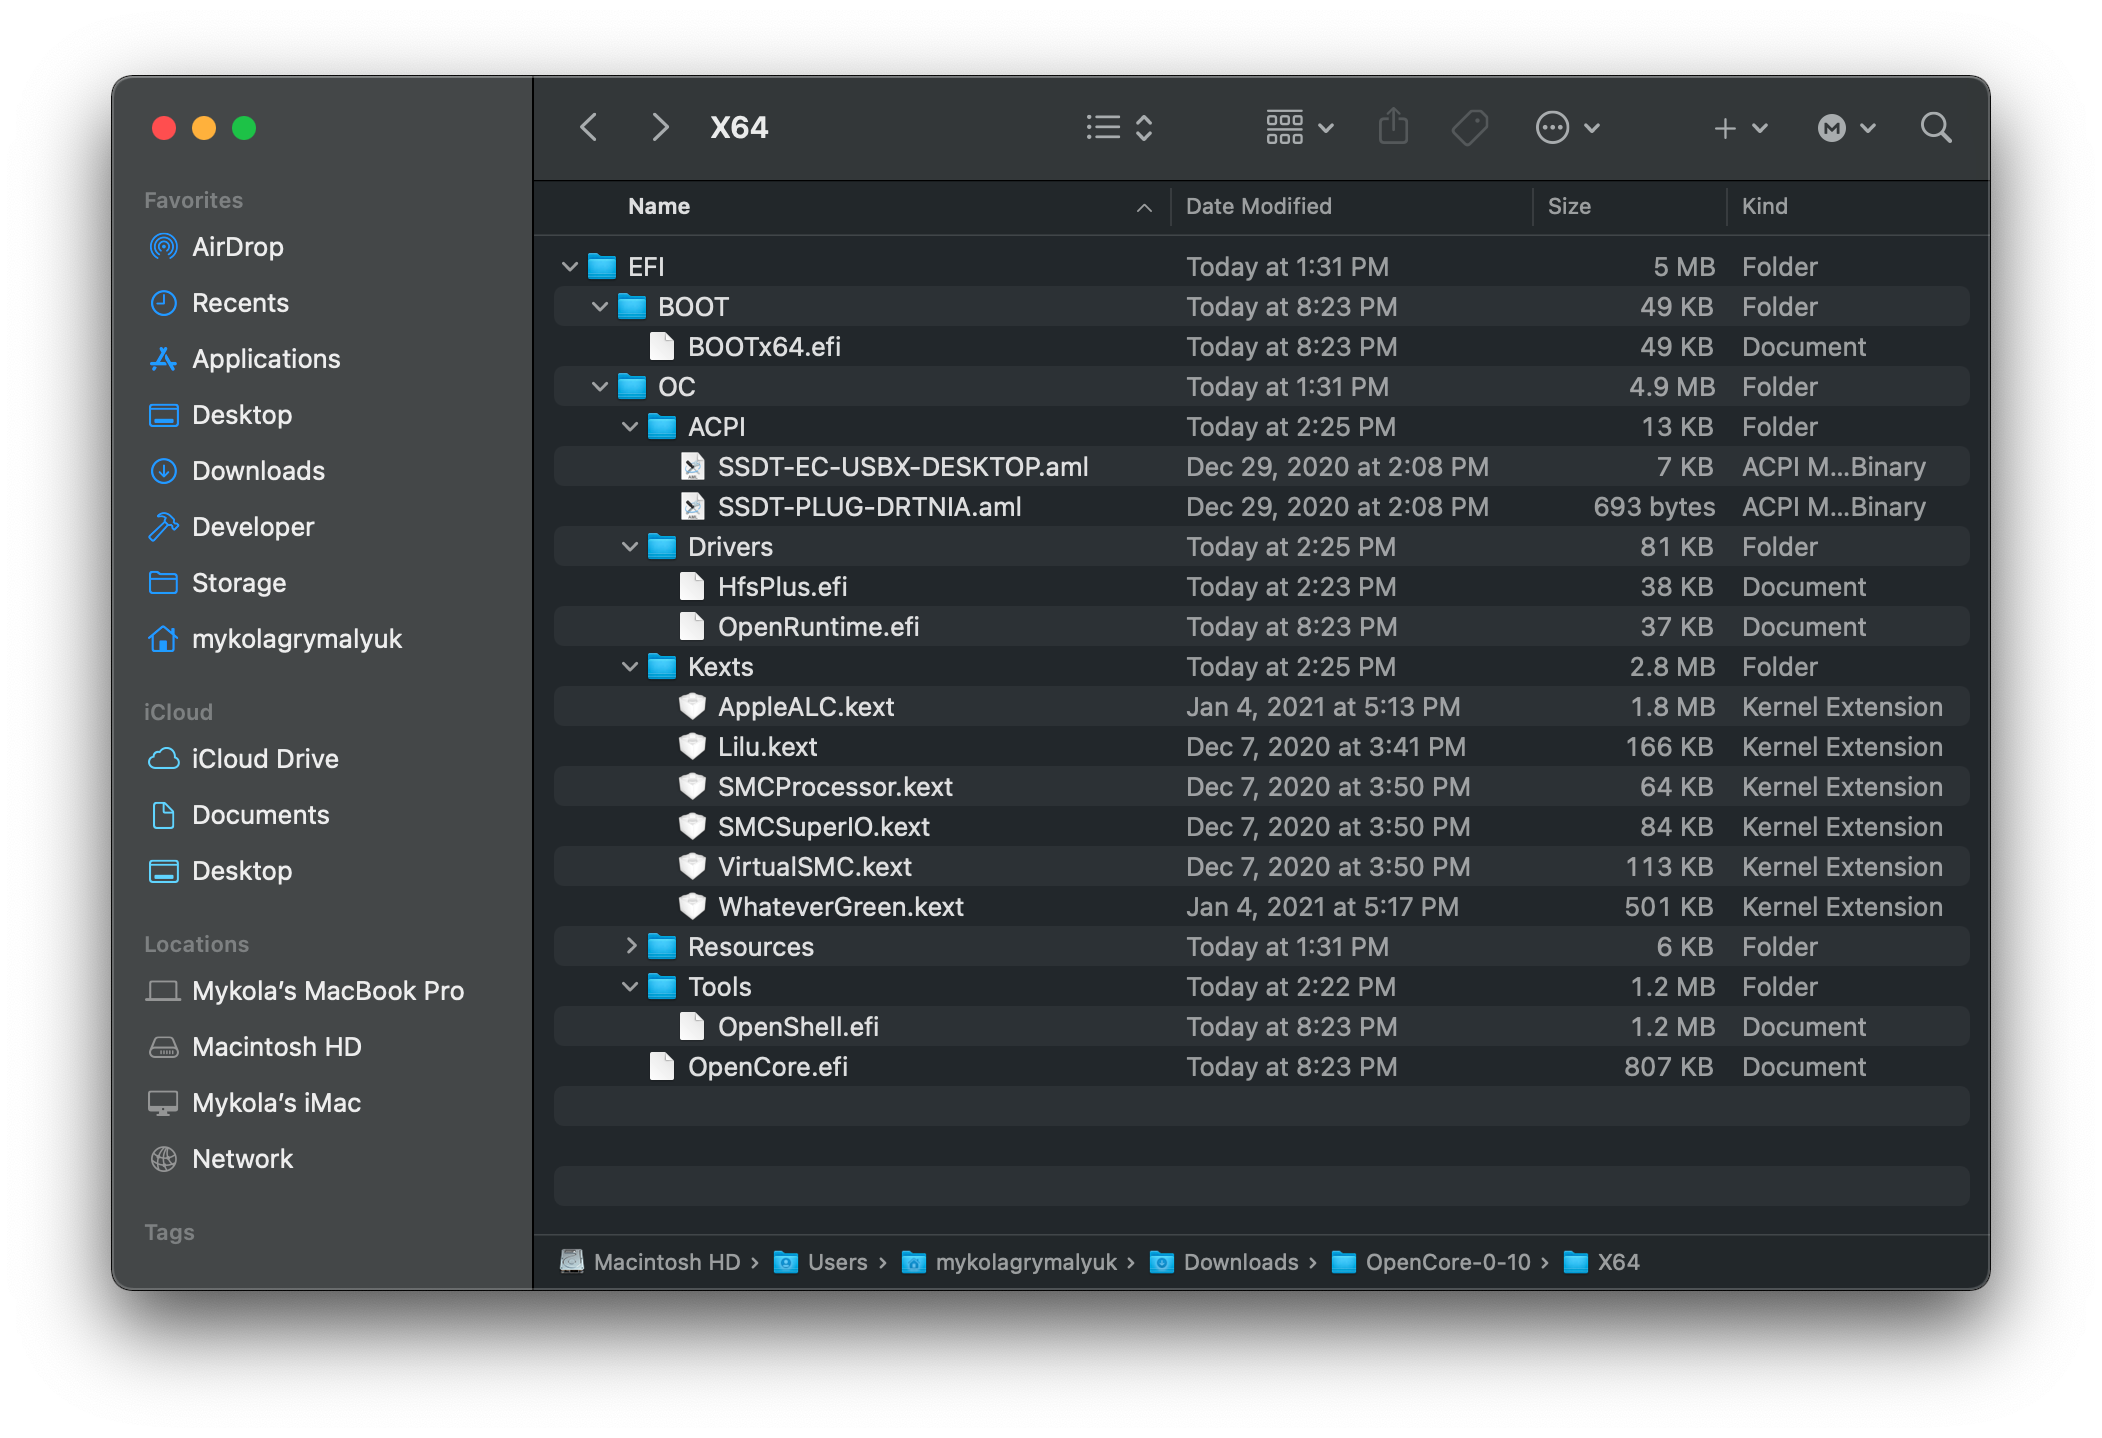
- Note: Your USB will look different, everyone’s system will have different requirements.
# Creating your config.plist
First we’ll want to grab the sample.plist from the OpenCorePkg
(opens new window) , this will be located under the Docs folder:

Next lets move it onto our USB’s EFI partition(will be called BOOT on Windows) under EFI/OC/ , and rename it to config.plist:
# Adding your SSDTs, Kexts and Firmware Drivers
For the rest of this guide, you’re gonna need some form of plist editing. And for our guide, we’ll be using ProperTree and GenSMBIOS to help automate some of the tedious work:
Next, let’s open ProperTree and edit our config.plist:
- ProperTree.command
- For macOS
- Pro tip: there’s a buildapp.command utility in the Scripts folder that lets you turn ProperTree into a dedicated app in macOS
- ProperTree.bat
- For Windows
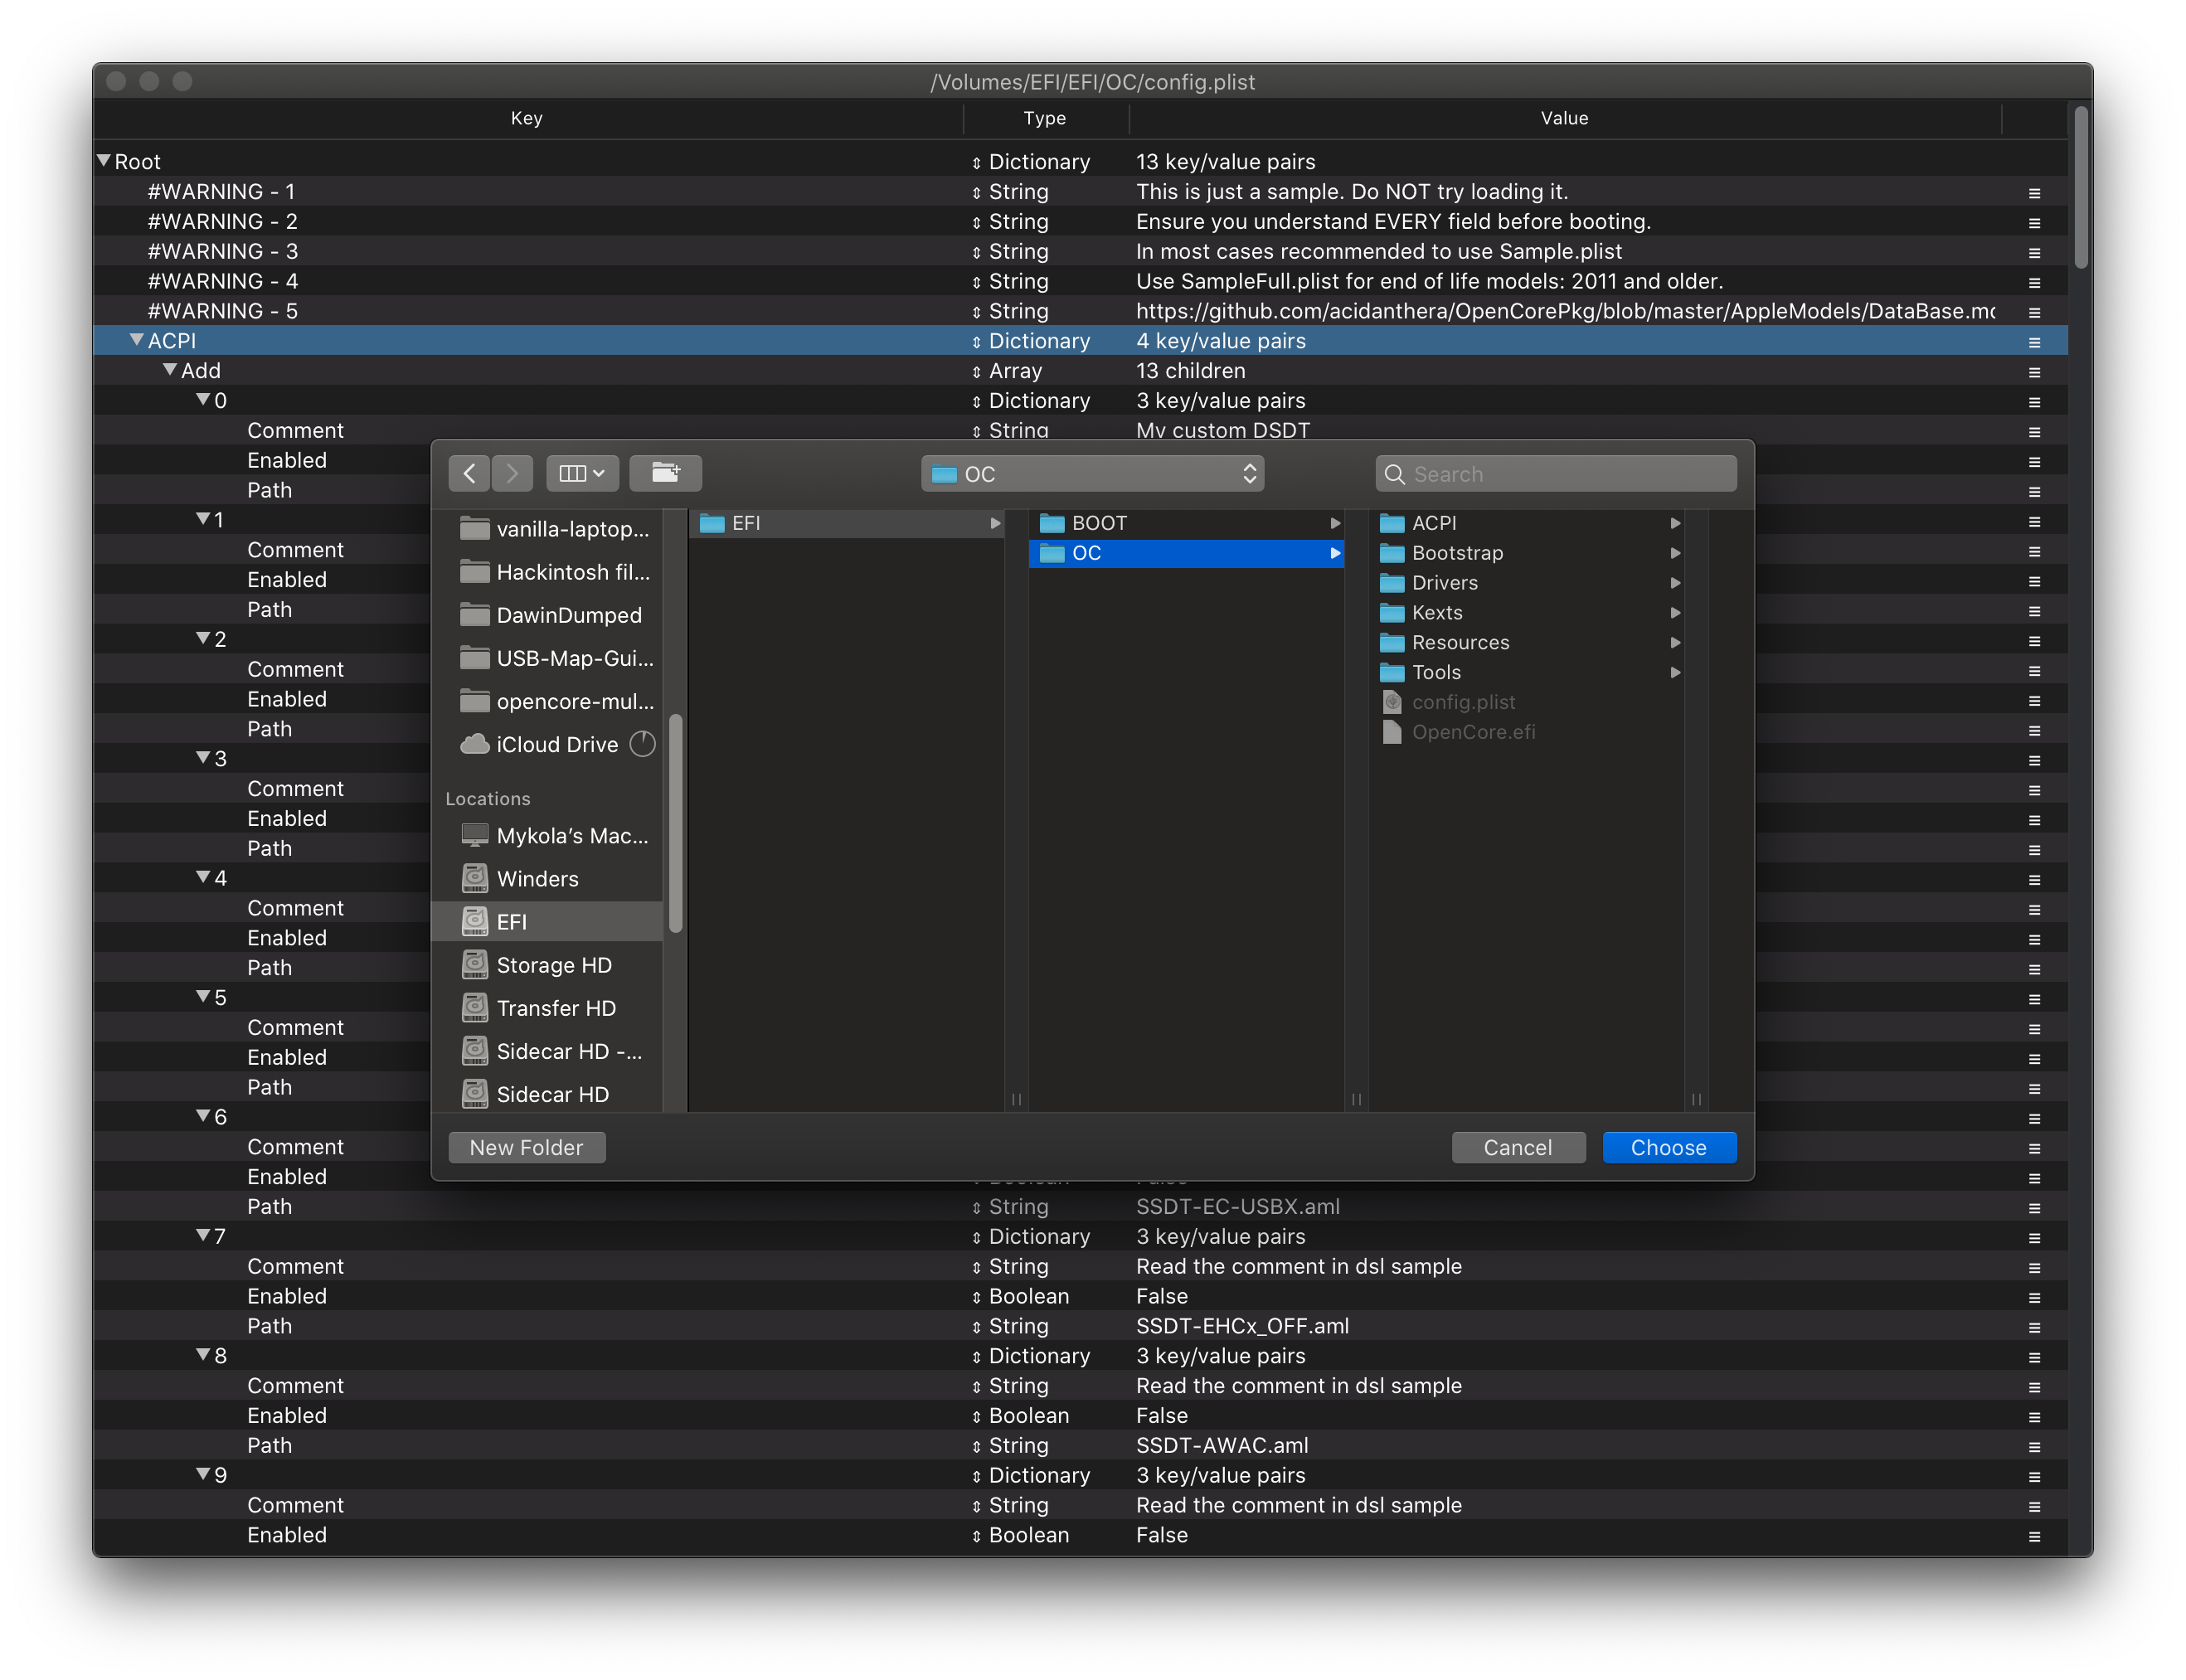
Once ProperTree is running, open your config.plist by pressing Cmd/Ctrl + O and selecting the config.plist file on your USB.
After the config is opened, press Cmd/Ctrl + Shift + R and point it at your EFI/OC folder to perform a «Clean Snapshot»:
- This will remove all the entries from the config.plist and then adds all your SSDTs, Kexts and Firmware drivers to the config
- Cmd/Ctrl + R is another option that will add all your files as well but will leave entries disabled if they were set like that before, useful for when you’re troubleshooting but for us not needed right now
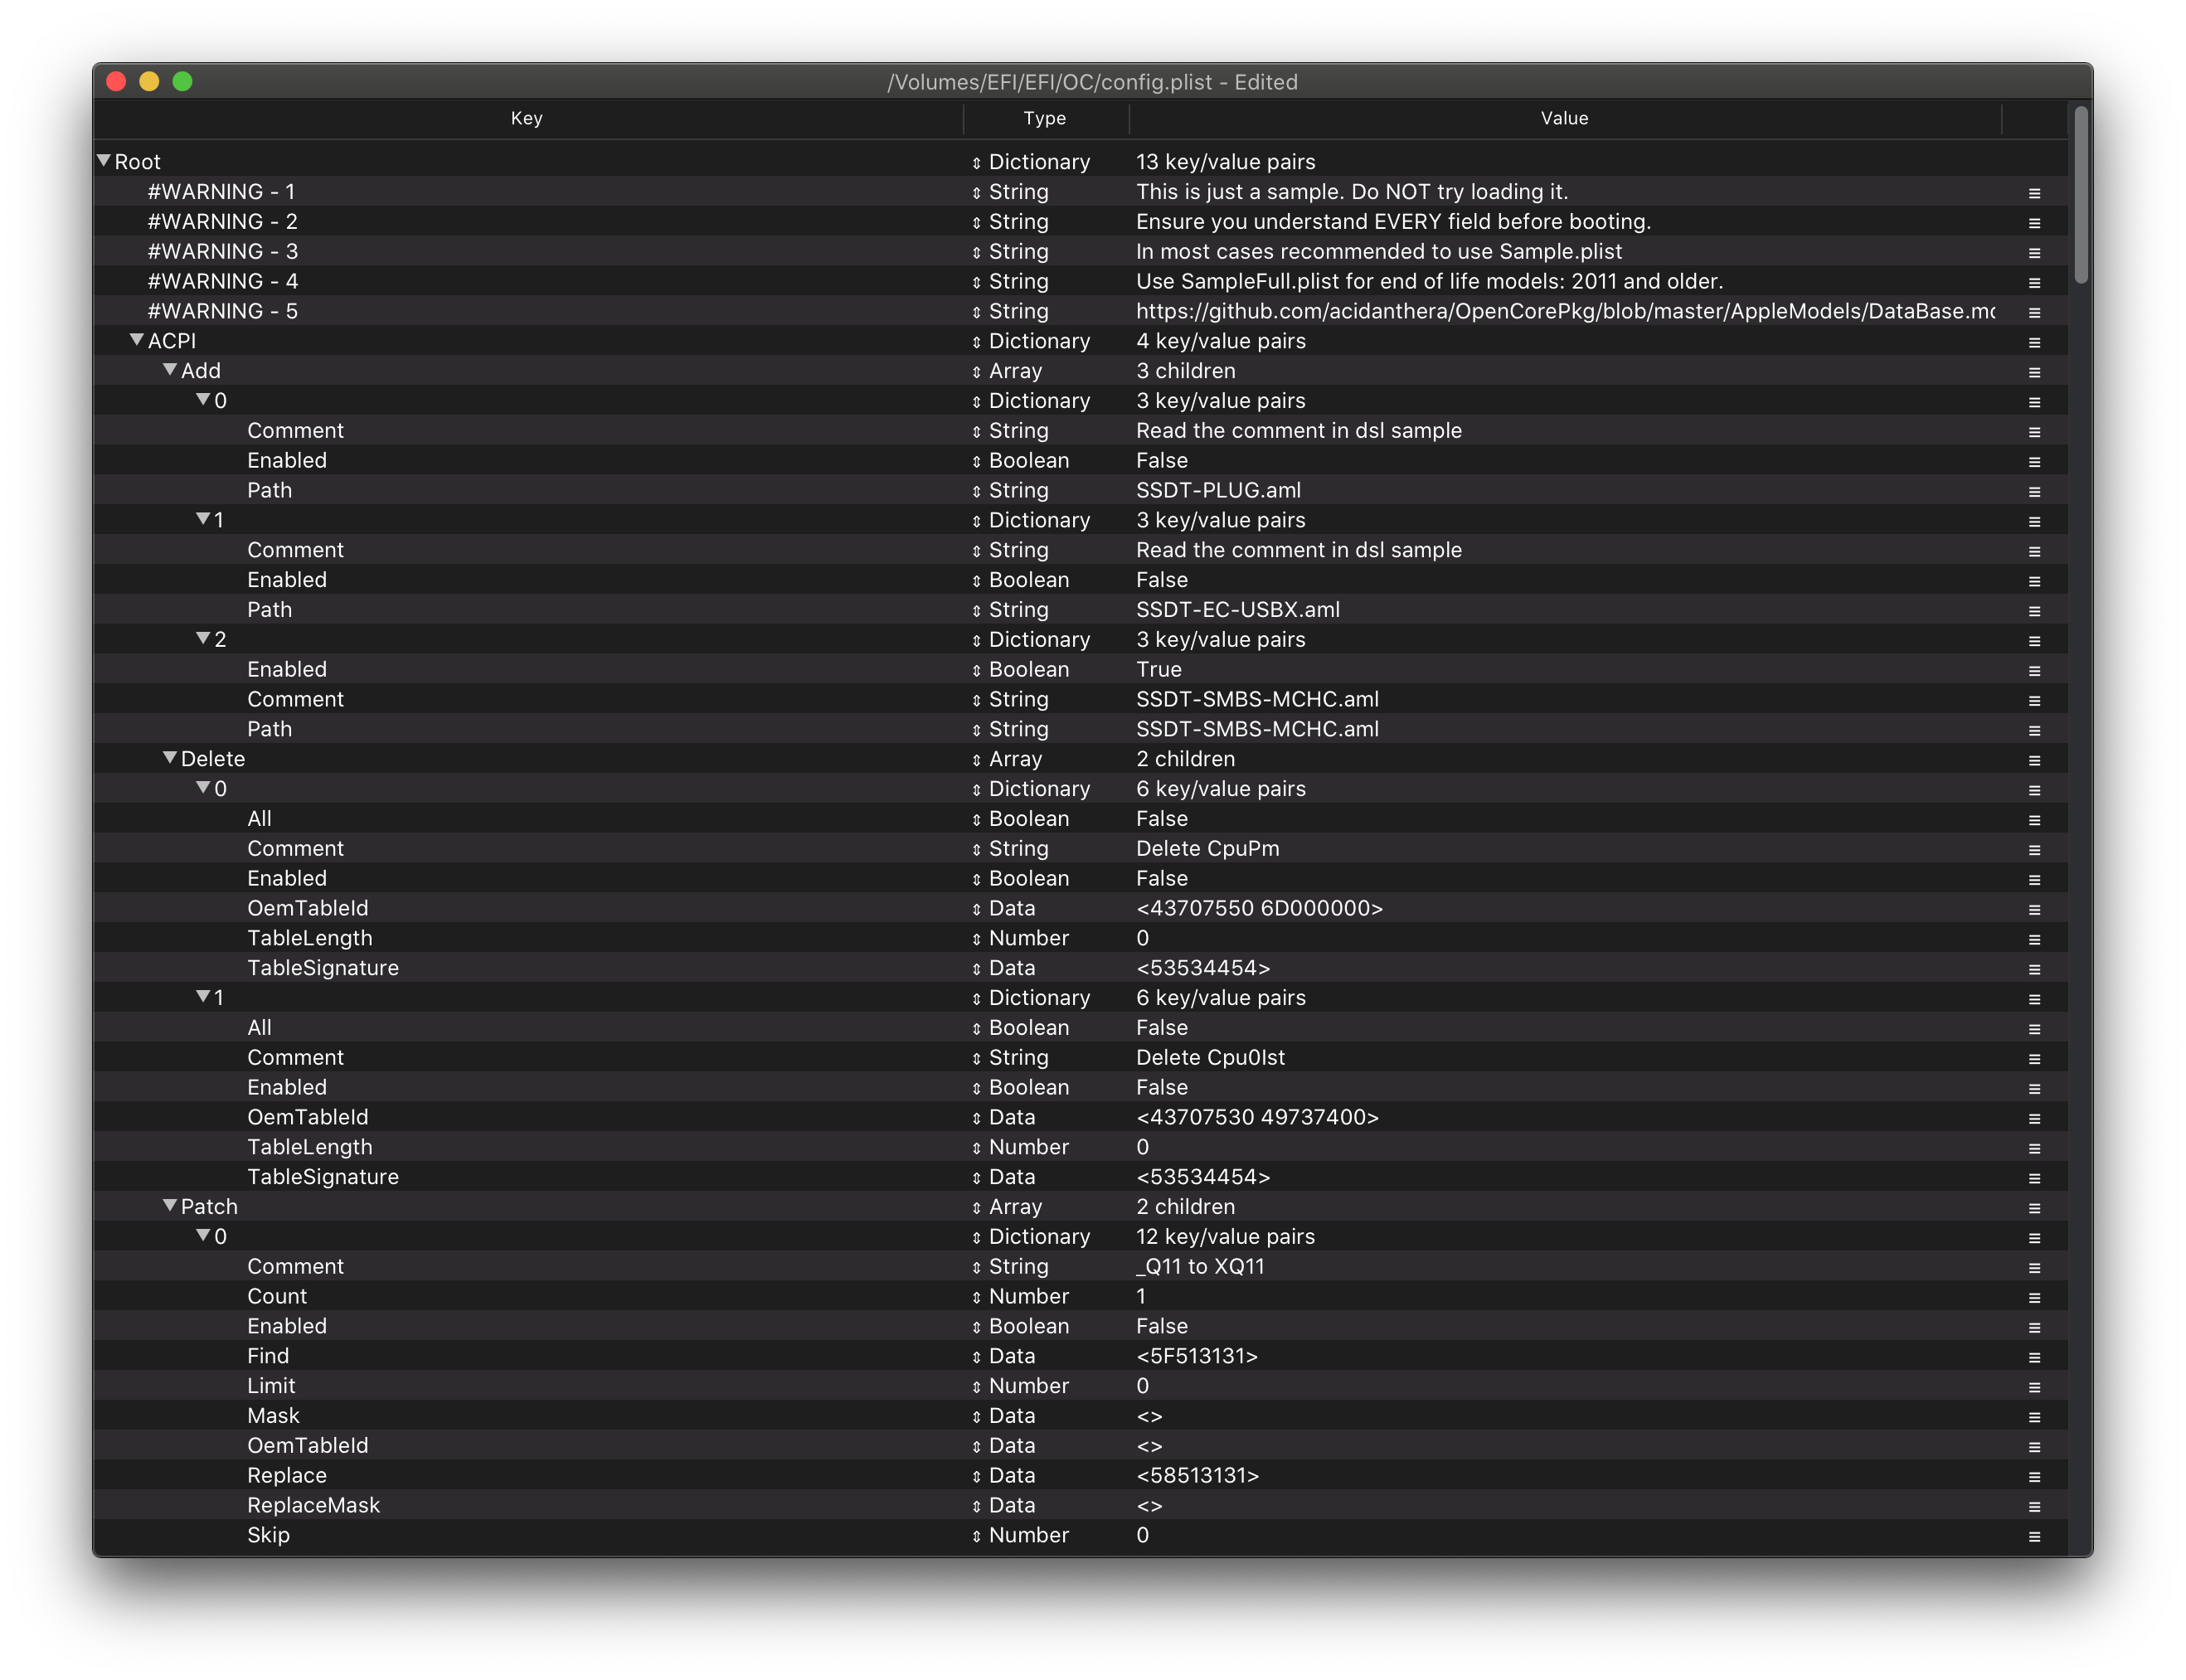
Once done, you’ll see your SSDTs, Kexts and firmware drivers populated in the config.plist:
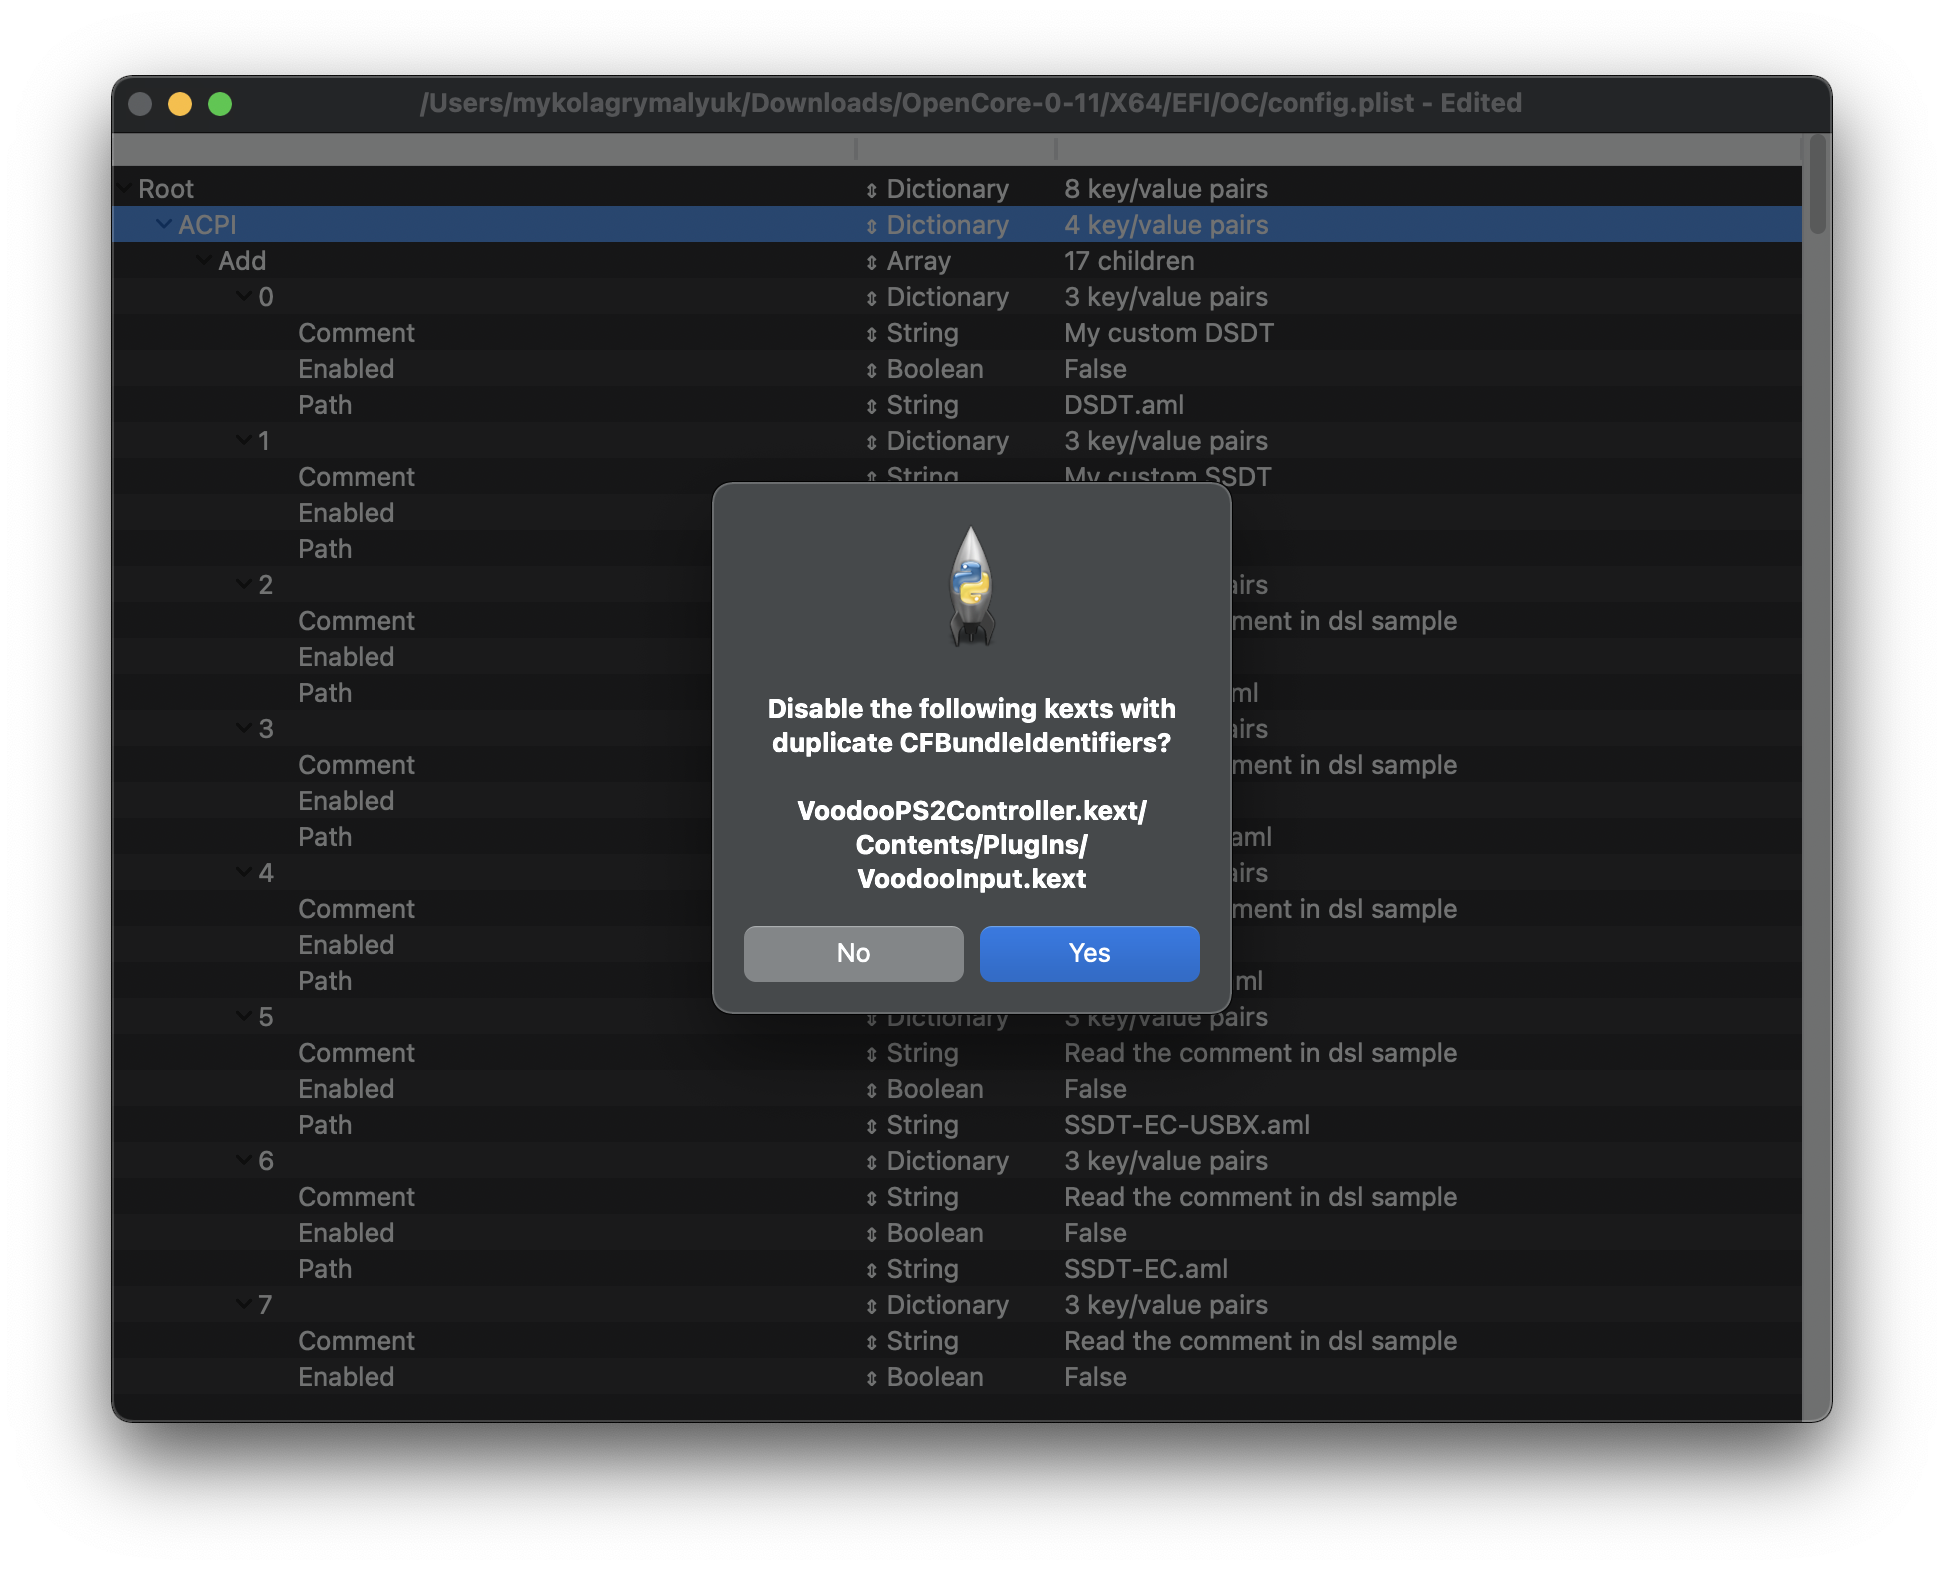
- Note: If you get a pop up «Disable the following kexts with Duplicate CFBundleIdentifiers?», press «Yes». This is to ensure you don’t have duplicate kexts being injected, as some kexts may have some of the same plugins(ie. VoodooInput is in both VoodooPS2 and VoodooI2C’s plugin folder)
If you wish to clean up the file a bit, you can remove the #WARNING entries. Though they cause no issues staying there, so up to personal preference.
# Selecting your platform
Now comes the important part, selecting the configuration path. Each platform has their own unique quirks that you need to account for so knowing your hardware is super important. See below for what to follow:
# Intel Desktop
- Note: Intel’s NUC series are considered mobile hardware, for these situations we recommend following the Intel Laptop Section
| Code Name | Series | Release |
|---|---|---|
| Yonah, Conroe and Penryn | E8XXX, Q9XXX, etc 1 (opens new window) | 2006-2009 era |
| Lynnfield and Clarkdale | 5XX-8XX | 2010 era |
| Sandy Bridge | 2XXX | 2011 era |
| Ivy Bridge | 3XXX | 2012 era |
| Haswell | 4XXX | 2013-2014 era |
| Skylake | 6XXX | 2015-2016 era |
| Kaby Lake | 7XXX | 2017 era |
| Coffee Lake | 8XXX-9XXX | 2017-2019 era |
| Comet Lake | 10XXX | 2020 era |
# Intel Laptop
| Code Name | Series | Release |
|---|---|---|
| Clarksfield and Arrandale | 3XX-9XX | 2010 era |
| Sandy Bridge | 2XXX | 2011 era |
| Ivy Bridge | 3XXX | 2012 era |
| Haswell | 4XXX | 2013-2014 era |
| Broadwell | 5XXX | 2014-2015 era |
| Skylake | 6XXX | 2015-2016 era |
| Kaby Lake and Amber Lake | 7XXX | 2017 era |
| Coffee Lake and Whiskey Lake | 8XXX | 2017-2018 era |
| Coffee Lake Plus and Comet Lake | 9XXX-10XXX | 2019-2020 era |
| Ice Lake | 10XXX | 2019-2020 era |
# Intel HEDT
This section includes both enthusiast and server based hardware.
Config plist editor windows

- UEFI bios:
- Скидываем все настройки в default.
- AHCI — enable;
- Vt-d: Disable (+ в Clover дропнуть DMAR таблицу)
- Vt-x: Enable (только для 10.13 и если используете виртуальные машины)
- Intel Virtualization Technology — Enable
- Serial-port: Disable
- XHCI Hand-off: Disable (рекомендуеться)
- XHCI Hand-off: Enabled (только если что то не работает в режиме Disable )
- IOAPIC 24-119 Entries: Enabled (подмечено что у многих с этим пунктом паникует, поэтому тестируйте)
- CSM: Disable (по возможности)
- Fasboot: Disable
- Secure boot: Disable or Other OS
Legacy bios:
. .
[i]Примечание:
- HDD должен быть подключен к SATA-0, контролер Intel.
- . [/i]
Для установки потребуется флешка не менее 8Гб.
- ПК на ОС Windows XP/7/8.
- Скачать утилиту Boot Disk Utility с страницы разработчика cvad или с форума applelife.ru со страницы посвящённой данной утилите.
- Установить по инструкции
- Зайти на флешку в папку EFI\CLOVER\ и удалить папку OEM и файл config-sample (не путать с config.plist).
- Зайти на https://github.com/aci…pleSupportPkg/releases скачать ApfsDriverLoader.efi и скопировать его в папку EFI\CLOVER\drivers64UEFI (необходимо для macOs 10.13 и выше!)
- Добавить в EFI\CLOVER\Kext\Other https://github.com/acidanthera/Lilu/releases
- Добавить в EFI\CLOVER\Kext\Other https://github.com/aci…WhateverGreen/releases
- Скачать образ Mac OS X по указанным ссылкам:
Нажми и качай! - Развернуть скаченный образ на подготовленную флешку.
- Инструкция с applelife.ru пункт «Заливка дистрибутива macOS на второй том загрузочного USB Flash drive:«:
- Перед распаковкой образа необходимо нажать кнопку ^Format disk^.
- В основном окне программы -> Destination Disk — выбираем наш USB Flash Drive -> Part2.
- Нажимаем кнопку «Restore Partition».
- В открывшемся окне проводника выбираем распакованный файл с расширением *.hfs.
- Тем, кто устанавливает на ноутбук (или имеет PS/2 мышь или клавиатуру) , обязательно скачать
 VoodooPS2Controller.kext.zip ( 97,46 КБ )
, новая версия:VoodooPS2Controller.kext.zip ( 93,86 КБ )
положить в папку EFI/CLOVER/KEXT/10.X или Other - Всё, установочная флешка готова, можно приступать к установке.
 VoodooPS2Controller.kext.zip ( 97,46 КБ )
За данный споcоб установки благодарим cvad и Skvo
Данная инструкция написана по материалам с applelife.ru
Установить один из загрузчиков на диск (если он не входит в состав сборки) :
— Загрузчик №1 — Clover (рекомендуется для большинства пользователей);
Как это сделать: UEFI, Legacy BIOS.
— Загрузчик №2 — OpenCore (для опытных пользователей)
— Загрузчик №3 — Chameleon (на данный момент существует для очень старых систем и особых случаев);
*загрузчик устанавливаем только один, на ваш выбор
После входа в macOS первое, что делаем:
- Устанавливаем кекст для сетевой карты;
- Настраиваем SMbios;
- «Заводим» видео-карту (разрешение должно быть правильным, и верхняя строка прозрачная);
- Поднимаем «нативное управление питанием» процессора;
- Поднимаем звук через AppleALC или VoodooHDA
.
21. Ставим програмулинки и «рюшечки».
Config plist editor windows
In the Mac OS X and iPhone OS, property list files are files that store serialized objects. Property list files use the filename extension .plist. Mac OS X 10.2 introduced a new format where property list files are stored as binary files. Starting with Mac OS X 10.4, this is the default format for preference files.
plist Editor Pro is a tool that can help you to reading and edit both XML format and binary format plist file under Windows system.
Why plist Editor Pro?
Before, we can only edit plist file under Mac OS, now with plist Editor Pro, we can also reading and edit plist file under Windows system. It is directed both to software developers and to end users who like to have full access plist files under Windows system.
Key feature of plist Editor Pro
- Reading and edit both of XML format and binary format of plist files.
- View and edit plist file in XML text mode.
- View plist file in property list mode, like the default plist Editor in Mac OS.
- In list mode, you can double click a DATA property, the program will decode the data and open with built-in plist Editor/Text Editor/Hex Editor/Image Viewer/Database Viewer, according to its content; double click a bool/string/integer/date property, the program will pop up a window and you can change the value here.
- Search/Replace, Undo/Redo, Syntex Highlight, Bookmark, Print and more.
- Check plist syntex before saving to disk.
- Easy to use, skinable user interface.
Download Free Trial
Current version: v2.5.0, Released at 2017/08/10 (9.67Mb).


