- Создание загрузочной флешки UEFI с Windows 10
- Создаем загрузочную флешку с Windows 10 для UEFI
- Способ 1: Media Creation Tools
- Способ 2: Rufus
- BIOS/UEFI Setup Guide: Boot from a CD, DVD, USB Drive or SD Card
- How-to Summary: Boot Your Computer from a CD/DVD/USB/SD Drive
- BIOS vs. UEFI: What’s the Difference?
- How to Access Your BIOS or UEFI Setup Screen
- Navigating BIOS / UEFI Setup
- How to Change the BIOS / UEFI Boot Order to Boot from a USB / CD Drive
- Booting from a USB drive or CD/DVD
- Troubleshooting Boot Options
- Disabling Fast Startup
- Boot Device Menu / Boot Override
Создание загрузочной флешки UEFI с Windows 10
Мы не раз упоминали ранее о том факте, что рано или поздно все пользователи компьютеров и ноутбуков сталкиваются с необходимостью установки операционной системы. Еще на начальном этапе данной процедуры может возникнуть проблема, когда ОС наотрез отказывается видеть накопитель. Вероятнее всего дело в том, что он был создан без поддержки UEFI. Поэтому в сегодняшней статье мы расскажем вам о том, как создать загрузочную флешку с UEFI для Windows 10.
Создаем загрузочную флешку с Windows 10 для UEFI
UEFI – это интерфейс управления, который позволяет операционной системе и микропрограммам корректно взаимодействовать между собой. Он пришел на смену известному всем BIOS. Проблема в том, что для установки ОС на компьютер с UEFI приходится создавать накопитель с соответствующей поддержкой. В противном случае могут возникнуть сложности в процессе инсталляции. Есть два основных метода, которые позволят достичь нужно результата. О них мы и расскажем далее.
Способ 1: Media Creation Tools
Мы сразу хотели бы обратить ваше внимание на тот факт, что этот способ подходит лишь в том случае, когда загрузочная флешка создается на компьютере или ноутбуке с UEFI. В ином случае накопитель будет создан с «заточкой» под BIOS. Для реализации задуманного вам понадобится утилита Media Creation Tools. Загрузить ее можно по ссылке ниже.
Сам же процесс будет выглядеть следующим образом:
- Подготовьте флешку, на которую в дальнейшем будет загружена операционная система Windows 10. Объем памяти накопителя должен быть не менее 8 гб. Кроме того, стоит предварительно отформатировать ее.
Подробнее: Утилиты для форматирования флешек и дисков
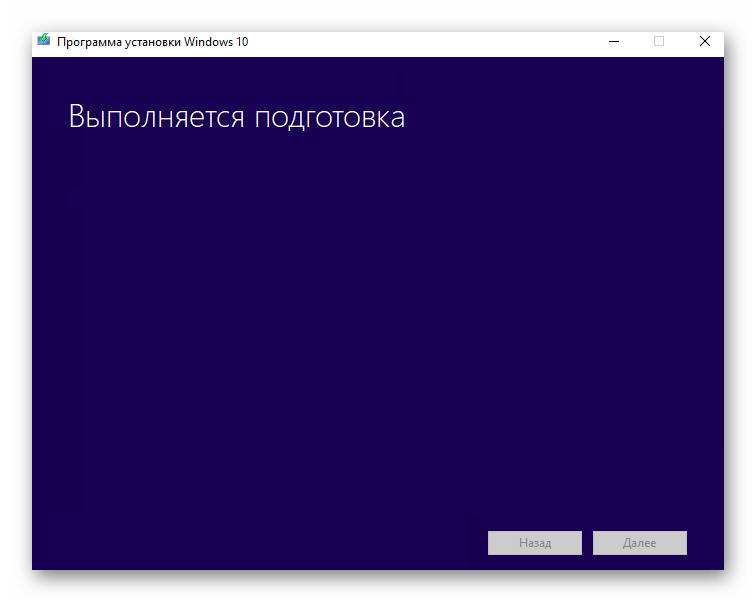
Запустите Media Creation Tool. Необходимо будет немного подождать, пока завершится подготовка приложения и ОС. Как правило, это занимает от нескольких секунд до минут.
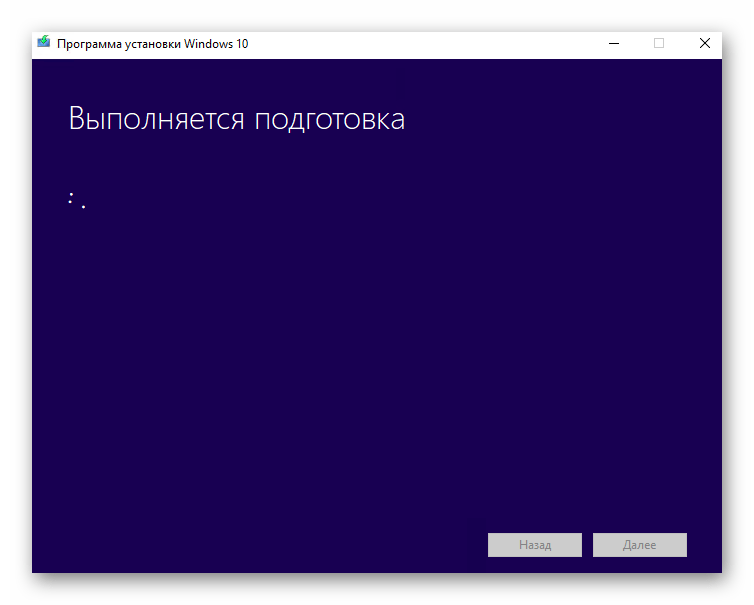
Далее вновь появится окно подготовки. Придется вновь немного подождать.
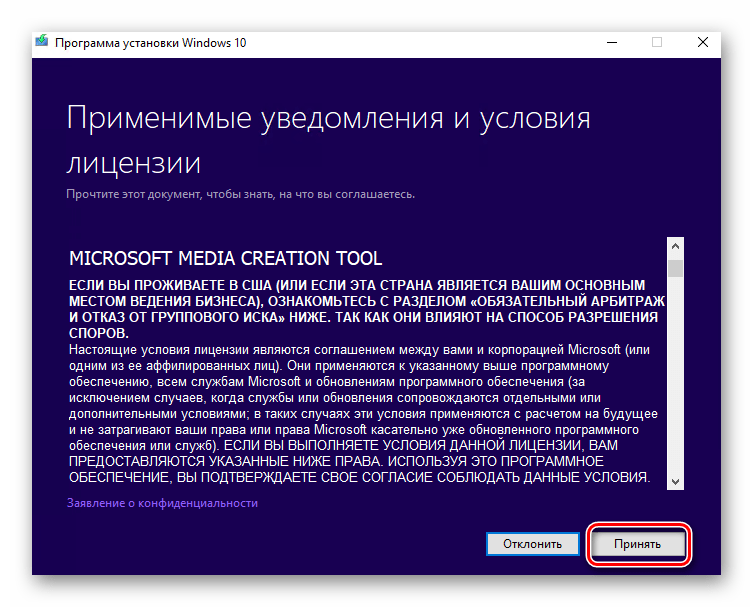
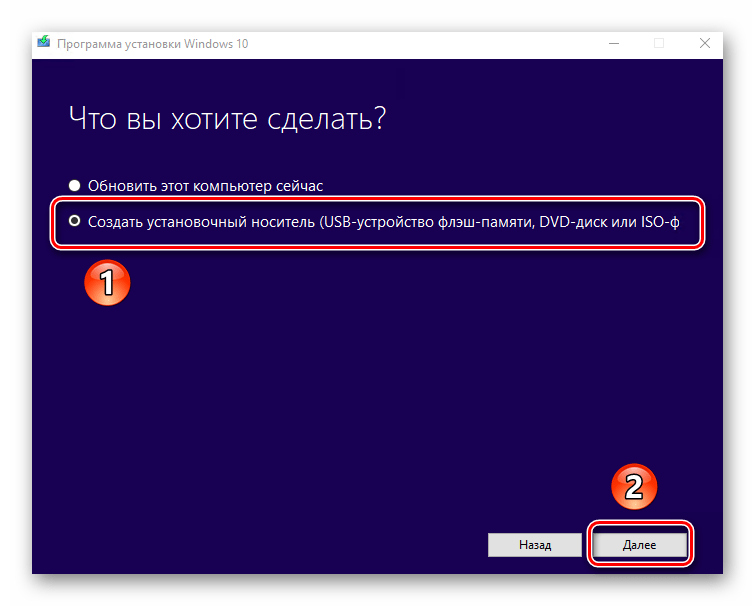
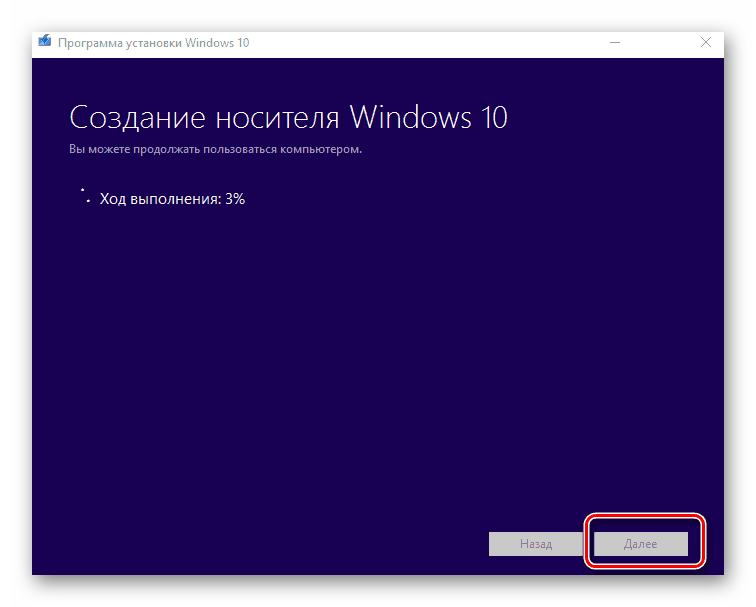
На следующем этапе программа предложит выбор: обновить ваш компьютер или же создать установочный накопитель с операционной системой. Выбираем второй вариант и жмем кнопку «Далее».
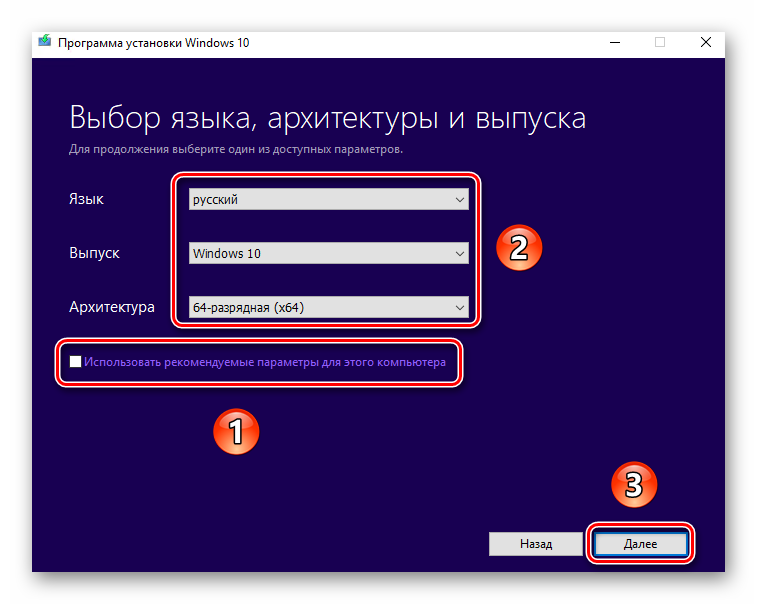
Теперь нужно указать такие параметры, как язык Windows 10, выпуск и архитектуру. Предварительно не забудьте снять галочку напротив строки «Использовать рекомендованные параметры для этого компьютера». Затем нажмите кнопку «Далее».
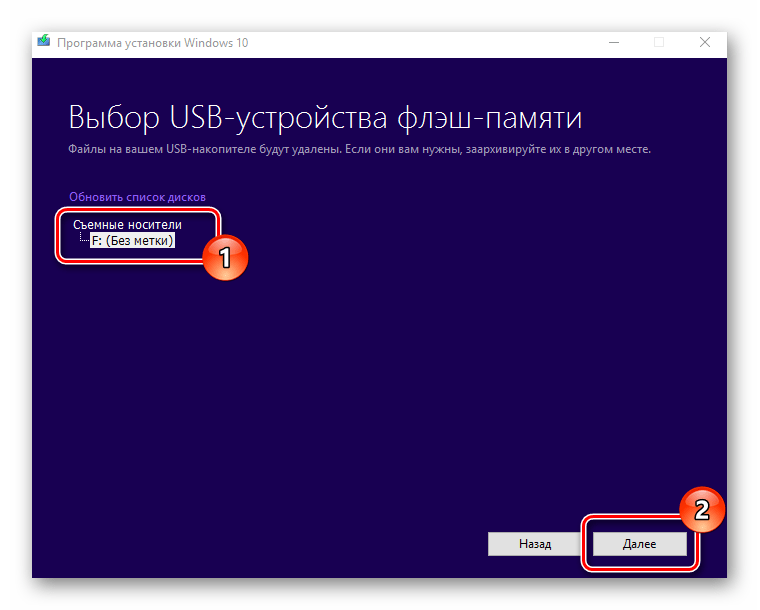
Остается лишь выбрать из списка ту флешку, на которую в дальнейшем будет установлена Windows 10. Выделите в списке нужное устройство и в очередной раз нажмите «Далее».
На этом ваше участие завершится. Далее необходимо подождать, пока программа загрузит образ. Время выполнения этой операции зависит от качества интернет-соединения.
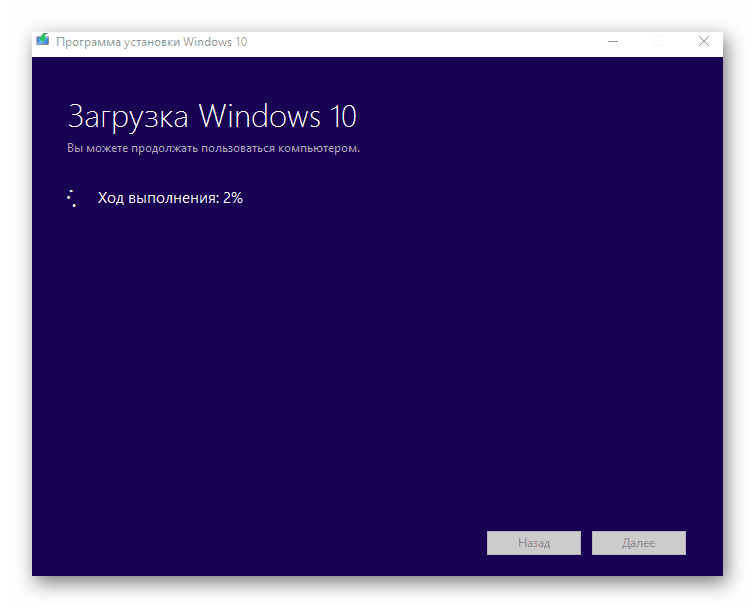
В завершении начнется процесс записи скачанной информации на выбранный ранее носитель. Снова придется подождать.
Через некоторое время на экране появится сообщение об удачном завершении выполняемой процедуры. Остается лишь закрыть окно программы и можно приступать к инсталляции Windows. Если вы не уверены в своих силах, рекомендуем ознакомиться с отдельной обучающей статьей.
Способ 2: Rufus
Для использования данного метода нужно будет прибегнуть к помощи Rufus, наиболее удобного приложения для решения нашей сегодняшней задачи.
От конкурентов Rufus отличается не только удобным интерфейсом, но и возможностью выбора целевой системы. А это именно то, что необходимо в данном случае.
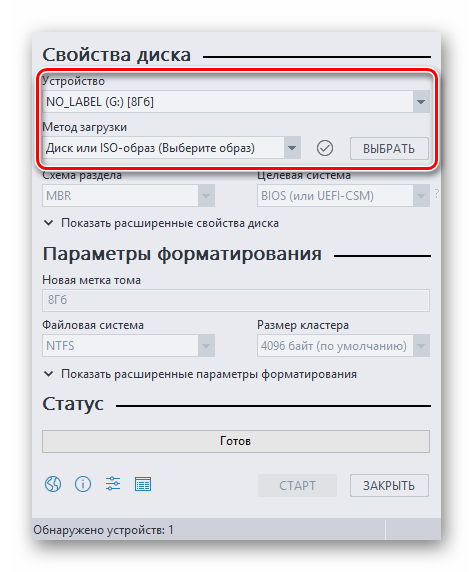
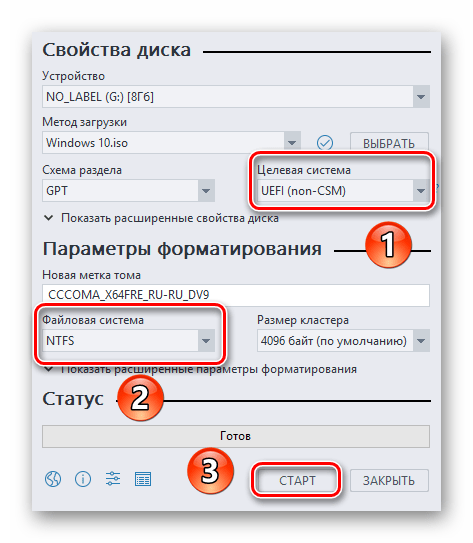
- Откройте окно программы. Первым делом нужно установить соответствующие параметры в верхней его части. В поле «Устройство» следует указать флешку, на которую в результате будет записан образ. В качестве метода загрузки выбираем параметр «Диск или ISO-образ». В завершении нужно будет указать путь к самому образу. Для этого нажмите кнопку «Выбрать».
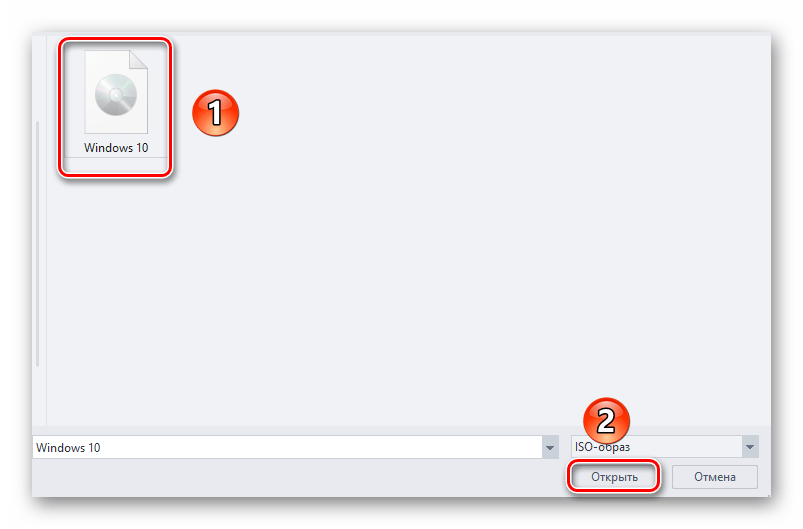
В открывшемся окне перейдите в папку, в которой хранится необходимый образ. Выделите его и нажмите кнопку «Открыть».
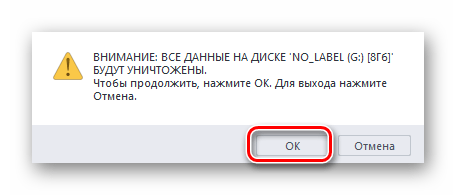
Появится предупреждение о том, что в процессе с флешки будут стерты все имеющиеся данные. Жмем «OK».
Начнется процесс подготовки и создания носителя, который займет буквально несколько минут. В самом конце вы увидите следующую картину:
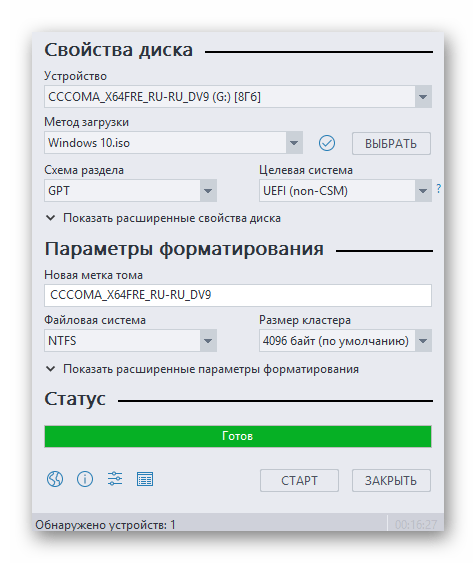
Это значит, что все прошло успешно. Можно извлекать устройство и приступать к инсталляции ОС.
Наша статья подошла к своему логическому завершению. Надеемся, что у вас не возникнет трудностей и проблем в процессе. Если же вам когда-то понадобится создать установочную флешку с Windows 10 под BIOS, рекомендуем ознакомиться с другой статьей, в которой подробно описаны все известные способы.
BIOS/UEFI Setup Guide: Boot from a CD, DVD, USB Drive or SD Card

Windows runs on thousands of computer configurations, but installing a new operating system like Windows 10 on the variety of configurations that exist is another thing. The steps may be different depending on whether your computer has an existing Windows 10 installation on it, an earlier version of Windows on it or a completely different operating system on it, like macOS or Linux. In each case, installing Windows 10 relies on booting from a device other than your main hard disk drive (HDD) or solid state drive (SSD). To do that, you need to access the BIOS or UEFI setup page. Sometimes, this is easier said than done.
In this guide, we’ll walk through the basic steps that apply to most scenarios. Then, we’ll discuss some troubleshooting and alternate methods, in case the simple approach doesn’t work for you.
How-to Summary: Boot Your Computer from a CD/DVD/USB/SD Drive
- BIOS vs. UEFI: What’s the Difference?Optional. In case you want some background info on what the heck UEFI is and why it makes things difficult.
- How to Access BIOS / UEFI Setup Screen. Includes the keyboard commands you need to access the BIOS or UEFI setup screen.
- Navigate BIOS / UEFI Setup Screen. Finding your way around without a typical keyboard/mouse interface.
- How to Change Boot Order in BIOS / UEFI. These are the settings you need to change in BIOS / UEFI to allow your PC to boot from a USB or CD.
- Booting from a USB/CD/DVD Drive or SD Card. Once you’ve configured your BIOS / UEFI correctly, here’s what to do.
Best case scenario, those steps will get you up and running. If not, see our Troubleshooting section. This includes details for changing the boot order on a Microsoft Surface device and booting from another device on a Mac.
Note: Once you master the steps to boot your computer from a USB or CD/DVD, you can use this to boot other operating systems or bootable live environments on your machine.
BIOS vs. UEFI: What’s the Difference?
Each computer, whether it’s a DELL, HP, Acer or even a custom built system, is an island unto itself before Windows 10 (or some other operating system) starts. Since the 1980s, hardware vendors have worked together to standardize around common access routines and commands for managing your BIOS Boot Options. The BIOS, which stands for Basic In Output System, is a critical bit of low-level code stored in nonvolatile memory that your computer uses to manage your hardware and load Windows 10 or another operating system.
A new standard called UEFI or Universal Extensible Firmware Interface came online a decade ago and became the standard for new PCs and devices preinstalled with Windows 8 or later. UEFI offers more advanced options than BIOS, with support for features such as a graphical user interface and mouse support, making it easier to configure boot and hardware settings. UEFI also supports recent security standards required by Windows 10 and previous releases such as Secure Boot, which maintains the integrity of a computer’s state and prevents malicious code from compromising your system at boot time. After decades of systems using BIOS, malware has become more sophisticated, where it is even possible for malicious code to easily infect key operating system code such as the Master Boot Record.
How to Access Your BIOS or UEFI Setup Screen
Because of the variety of brands and configurations, and the ongoing revisions to these systems, this article is not exhaustive. That said, the following provides a comprehensive list of common methods for booting into the BIOS or UEFI firmware interfaces.
To enter the BIOS, you need to press a certain key or combination of keys while your computer is booting up. Usually, your window to do this is very brief—you have to press the button when the splash screen with the manufacturer’s logo is displayed. If it seems like your computer boots too fast for you to get a chance to hit the button, you may need to disable fast startup.
Here is a list of the common functions or commands for loading the BIOS. Please note, your BIOS screen might display a hint to indicate the appropriate function key for loading the firmware. Start your computer then proceed to strike the appropriate key or command to load the BIOS. After loading the BIOS or UEFI, connect your USB media or connect the DVD install media.
F1 / Ctrl + Alt + Esc
F1 / F2 / F10 / Delete
Ctrl + Alt + Enter / Fn + Esc / Fn + F1 / Delete / Reset twice
Esc / F2 / F10 / F12
Ctrl + Alt + F3 / Ctrl + Alt + Ins / Fn + F1
F2 / F10 / Delete
Navigating BIOS / UEFI Setup
Each BIOS or UEFI looks different and works differently, but most share basic principles for navigation. For menu driven BIOS or UEFI interfaces, your keyboard’s arrow keys are used to access and enter menus. The settings for configuring boot options are sometimes hidden under submenus, which you will have to navigate using these keys.
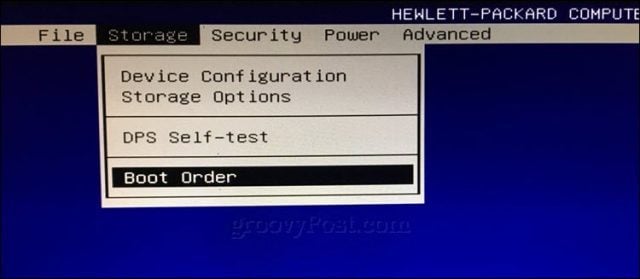
On my HP desktop, the option for changing the system’s boot order is located under Storage > Boot Order. On my other computer, an HP Elitebook, the boot order is called Boot Options located under the System Configuration tab, which uses a graphical interface. So, the experience will vary depending on the system you are using; even if they are the same brands. Navigate through these interfaces by browsing and looking for logical labels that might suggest what you are looking for – storage, boot, disks, etc.
How to Change the BIOS / UEFI Boot Order to Boot from a USB / CD Drive

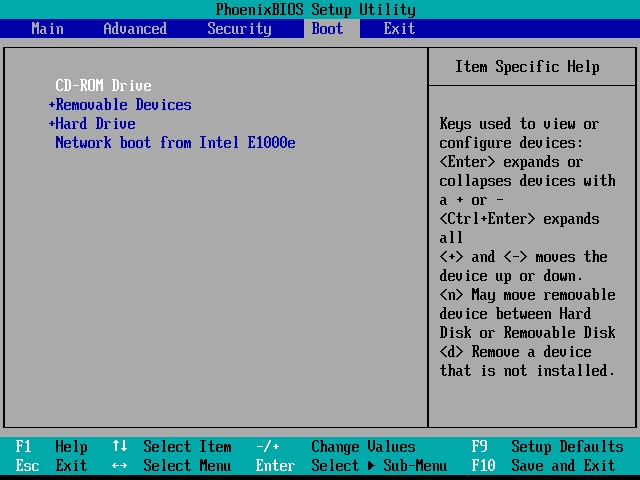
Once you’ve found the Boot Order menu, the interface will present menus displaying the structure of your boot order. Boot order determines which devices your computer will try to boot from first, second, etc. when you turn it on. Most often, your first boot device is your hard disk or SSD containing Windows 10. You can also have your DVD, CD or USB thumb drive, set as the first boot device without it affecting Windows 10 loading into main memory. If you have a removable storage device set as your first boot device the BIOS will check if there is any attached removable storage as part of POST (Power On Self Test). If a USB thumb drive or DVD is detected, the system will prompt you to boot from it before loading any existing operating systems on the local disk.
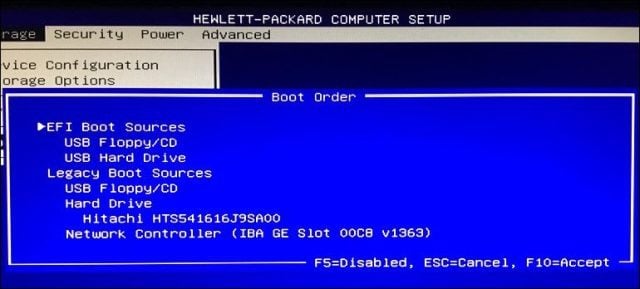
Moving through the options will require using the arrow keys. If you don’t see your connected USB device listed, choose the USB storage listed under EFI or Legacy sources. Use the down arrow key to navigate to the selection; some older BIOS interfaces will require using function keys such as F5 and F6 to navigate up and down the boot order. After selecting the appropriate option, you will need to confirm these changes; pressing F10 will usually save them. If not, read the on-screen instructions, which will identify the appropriate function key for saving or accepting changes.
Booting from a USB drive or CD/DVD
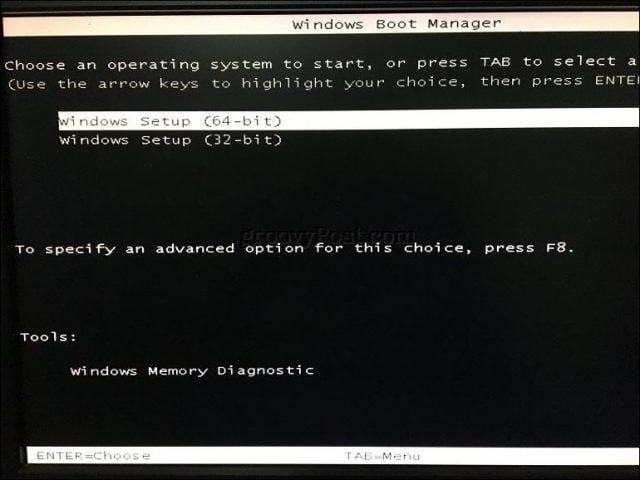
Once the desired option has been selected and confirmed, depending on the type of installation media you are using, you might see different options. USB media will immediately boot into a Windows Boot Manager, prompting selection of the architecture of Windows 10 – 32 or 64 bit – you would like to install.
If you are installing from DVD media, Windows 10 setup will prompt you to hit any key on your keyboard to load setup.

From there, you should be home free. As long as you created your bootable installation media correctly, the on-screen instructions should guide you through the rest of the process.
Troubleshooting Boot Options
Some systems might encounter problems when attempting to boot from removable media. If you are following the steps above to a T and you’re still having issues, look into some of the items below.
- Accessing the UEFI setup page on a Microsoft Surface device. The steps for accessing the BIOS / UEFI page on Surface devices are a bit different. See the steps below for Setting Up UEFI on a Microsoft Surface.
- Changing UEFI settings on an out-of-the-box Windows 8 or Windows 10 device. For computers that you buy with Windows 8 or Windows 10 pre-installed, it may be tricky to access the UEFI / BIOS. See the steps below for Configuring UEFI on Windows 8 or Windows 10 Computers.
- What about Mac? Apple computers support installing Windows, but they don’t have a BIOS / UEFI setup page like your typical PC. See our section on installing Windows on a Mac below.
- Make sure the bootable media was created properly. Boot issues can sometimes be attributed to how the install media was configured or prepared. For instance, on UEFI-based systems – systems designed for Windows 8 or later – preparing the install media, if downloaded from the Microsoft software page, will require using the Microsoft Media Creation Tool or a third-party utility such as Rufus.
- Enable Legacy Boot Sources. If you are installing on an older computer using BIOS, selecting the option under Legacy Boot Sources or Legacy USB will let you start Windows setup from a USB or CD drive.
- Disable Secure Boot. Security technologies included in UEFI such as Secure Boot can be a blocker and prevent the system from booting external storage sources. Disabling Secure Boot, temporarily—normally accessible under the security menu or tab—will often resolve this.
- Disable Fast Startup. If you are unable to access the BIOS, you may need to disable Fast Startup, if it is enabled.
- Resetting BIOS settings. Some BIOS / UEFI setup screens have a factory reset option. This can sometimes be a quick fix but proceed with caution. If you have your drive BitLocker encrypted with TPM enabled, this may make your existing system drive unusable. OF course, this is a non-issue if your goal is to reinstall your operating system from scratch.
Disabling Fast Startup
If you are attempting to load the firmware on a computer already running Windows, this might prove difficult because of the Fast Startup setting that might be enabled. Fast Startup was first introduced in Windows 8 as a way to make Windows start quicker after shutdown by caching key pieces of operating system code.
If you are experiencing problems loading your BIOS or UEFI or changing your boot order, start Windows then turn off Fast Startup.
- Press Windows key + X
- Click Power Options
- Click Choose what the power buttons do
- Click the link Change settings that are currently unavailable
- Under Shutdown settings, uncheck Turn on fast startup (recommended)
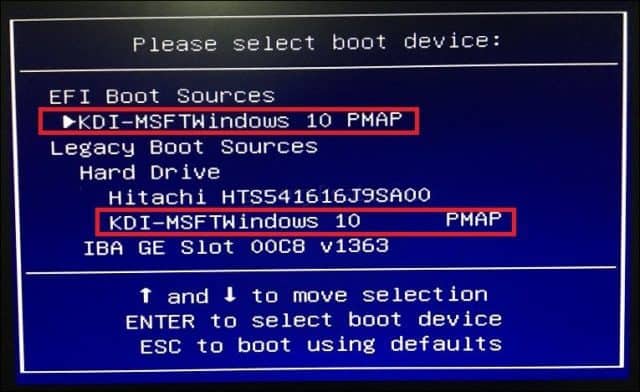
Boot Device Menu / Boot Override
Some computers will let you press a function key that takes you to a direct menu where you can immediately choose, which volume: USB thumb drive, SD Card, external hard disk, local disk or optical media you would like to boot from. Dell and HP systems, for instance, will present an option to boot from USB or DVD after striking the F12 or F9 keys respectively. This boot device menu is accessed once you’ve already entered into the BIOS or UEFI setup screen.
Here is a list of commands for accessing the direct boot menu on popular brands:


