- Включение SMBv1 в Windows 10
- Способ 1: Включение компонента Windows
- Способ 2: Команда для PowerShell
- Способ 3: Управление групповой политикой
- Can’t Access/Map Network Shared Folders over SMB from Windows 10
- Can’t Access Shared Folder Because Security Policies Block Unauthenticated Guest Access
- Windows 10 Error: Your system requires SMB2 or higher
Включение SMBv1 в Windows 10
Перед началом ознакомления со следующими способами отметим, что использование SMBv1 в качестве средства удаленного доступа обычному пользователю чаще всего не нужно, поскольку проще его организовать при помощи других вспомогательных технологий. Более детальную информацию по этому поводу предлагаем прочесть в статьях по ссылкам ниже.
Способ 1: Включение компонента Windows
В Windows 10 существует отдельный модуль, позволяющий подключать различные компоненты. С его помощью активировать SMBv1 будет проще всего, а выглядит процесс так:
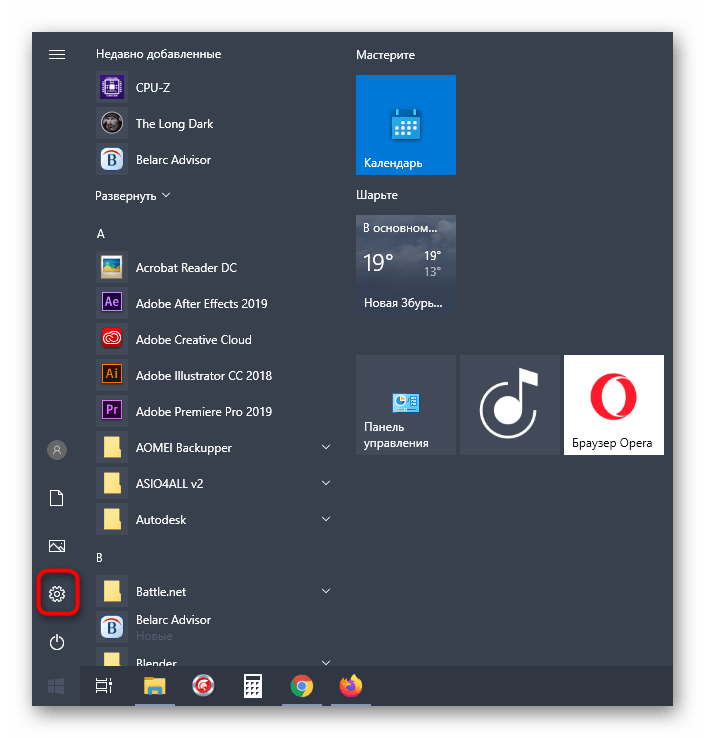
- Откройте «Пуск» и перейдите в меню «Параметры».

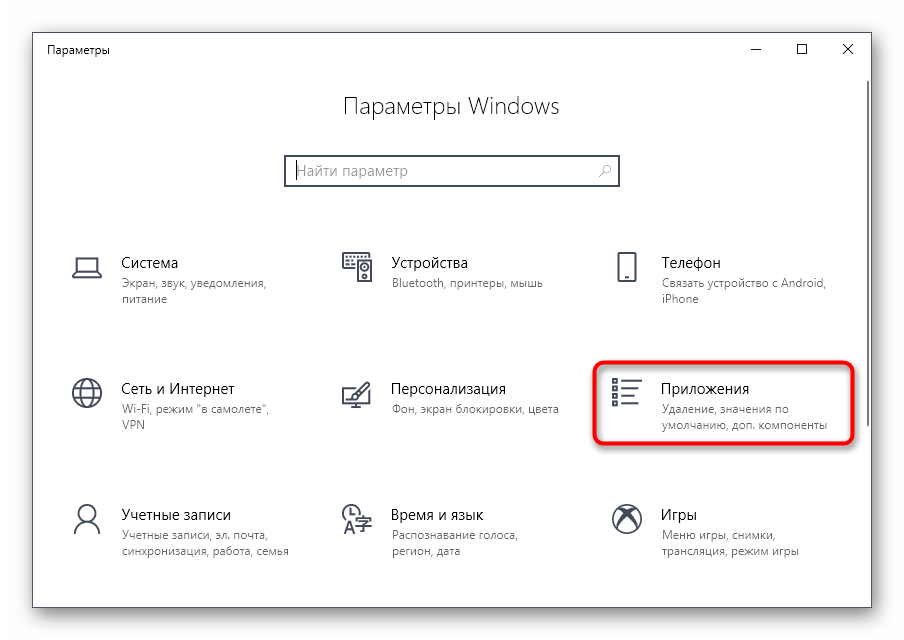
В категории «Приложения и возможности» опуститесь в самый низ, где щелкните по кликабельной надписи «Программы и компоненты».
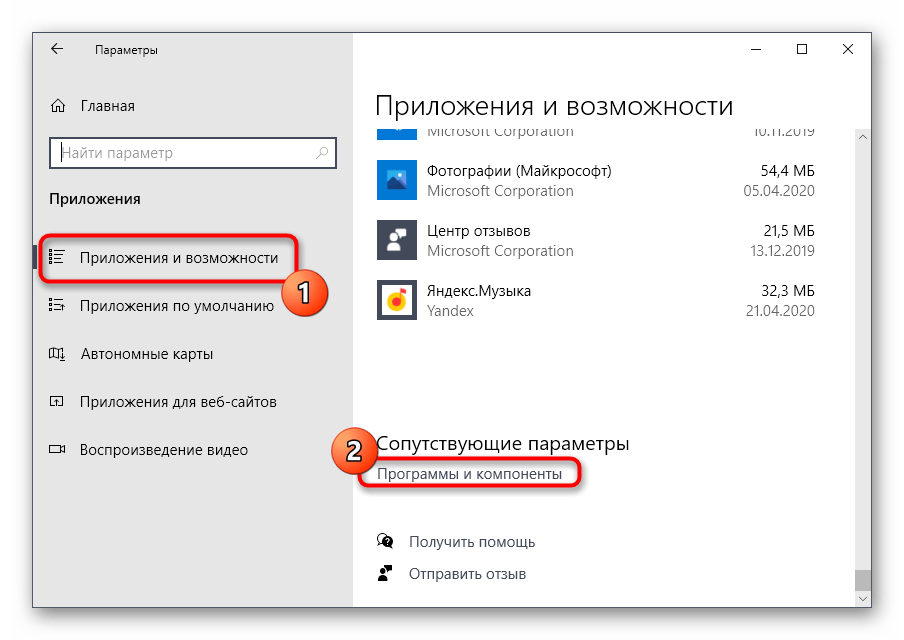
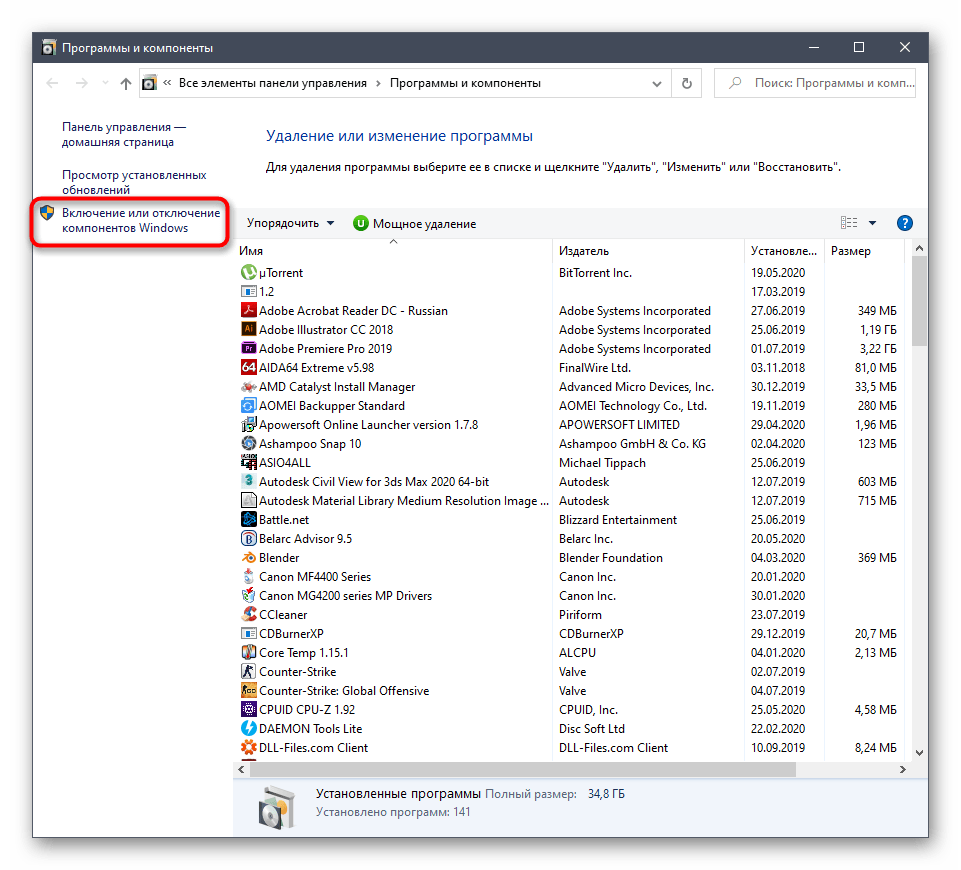
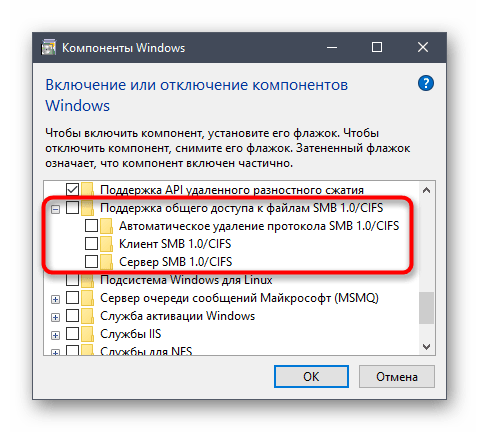
Через левую панель вызовите окно «Включение или отключение компонентов Windows».
Если технология не активировалась сейчас, потребуется перезагрузить компьютер, ведь именно тогда происходит обновление параметров реестра, что и требуется для корректной работы SMB.
Способ 2: Команда для PowerShell
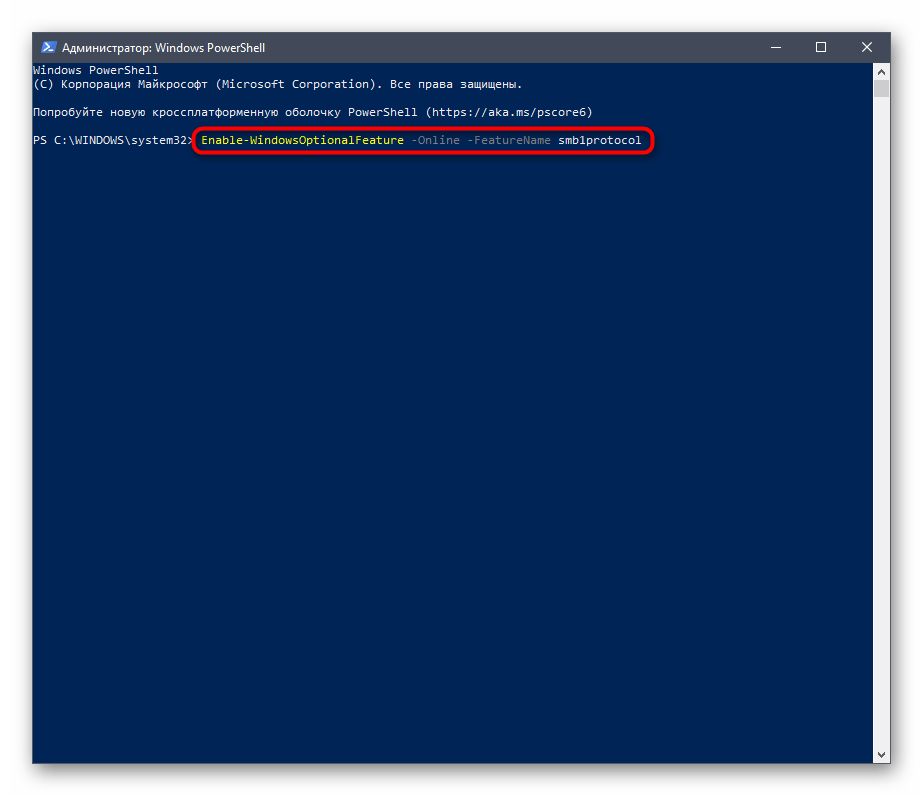
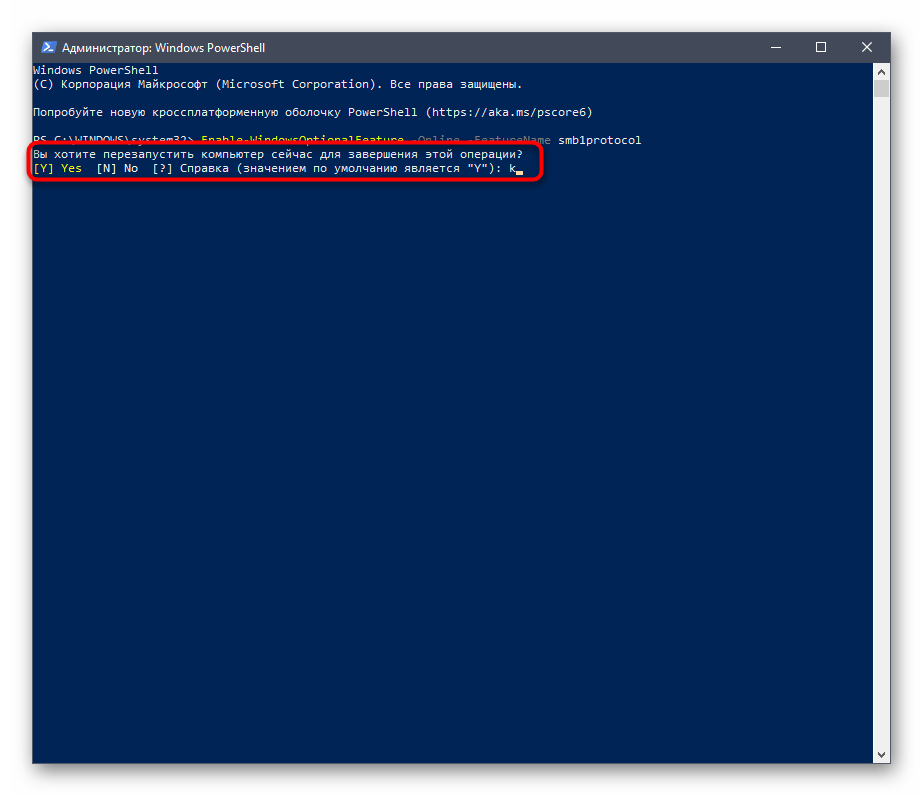
Если вы не боитесь взаимодействовать с оболочкой PowerShell, активировать SMBv1 можно через нее, вставив всего одну команду.
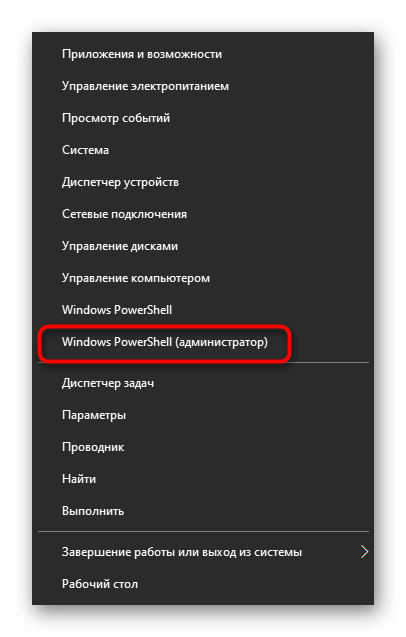
- Щелкните правой кнопкой мыши по меню «Пуск» и выберите «Windows PowerShell (администратор)».
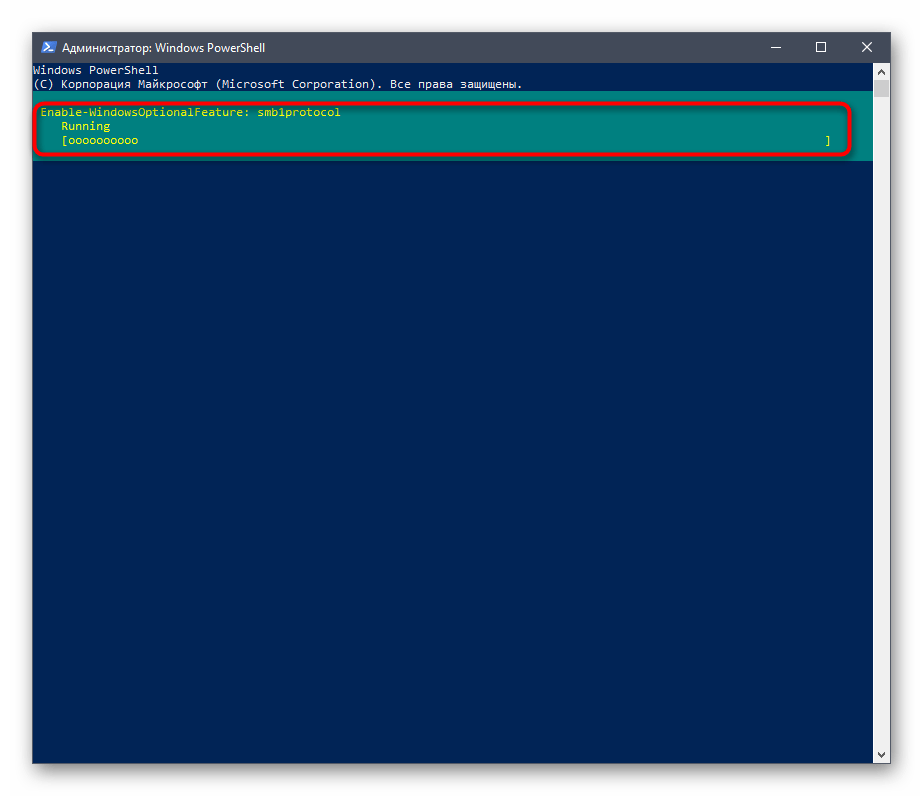
Ожидайте завершения процедуры включения компонента, что займет несколько минут.
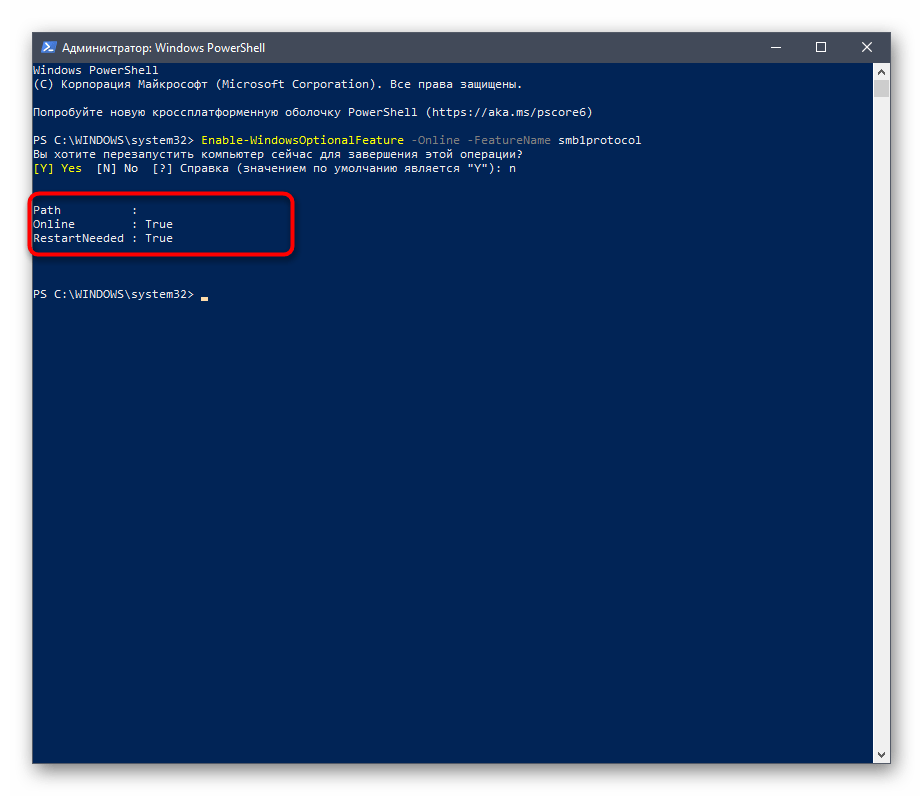
После вам понадобится отправить компьютер на перезапуск, чтобы окончить операцию. Вы можете сделать это потом, выбрав сейчас отрицательный вариант ответа.
Далее в PowerShell отобразится информация о том, что SMBv1 была успешно активирована и находится в рабочем состоянии.
Дополнительно отметим две другие команды для PowerShell, которые могут пригодиться при дальнейшей работе с рассматриваемым компонентом в Windows:
- Get-WindowsFeature FS-SMB1 — позволяет узнать, в каком состоянии сейчас находится SMBv1.
- Disable-WindowsOptionalFeature -Online -FeatureName smb1protocol — отключает работу компонента.
Способ 3: Управление групповой политикой
Отметим, что этот вариант подойдет только владельцам доменов, которые хотят настроить SMBv1 на всех локальных компьютерах. Рядовым пользователям мы не советуем задействовать этот вариант — им лучше остановиться на двух предыдущих.
- Для начала придется добавить средство управления групповыми политиками в ОС. Для этого откройте «Пуск» и перейдите в «Параметры».
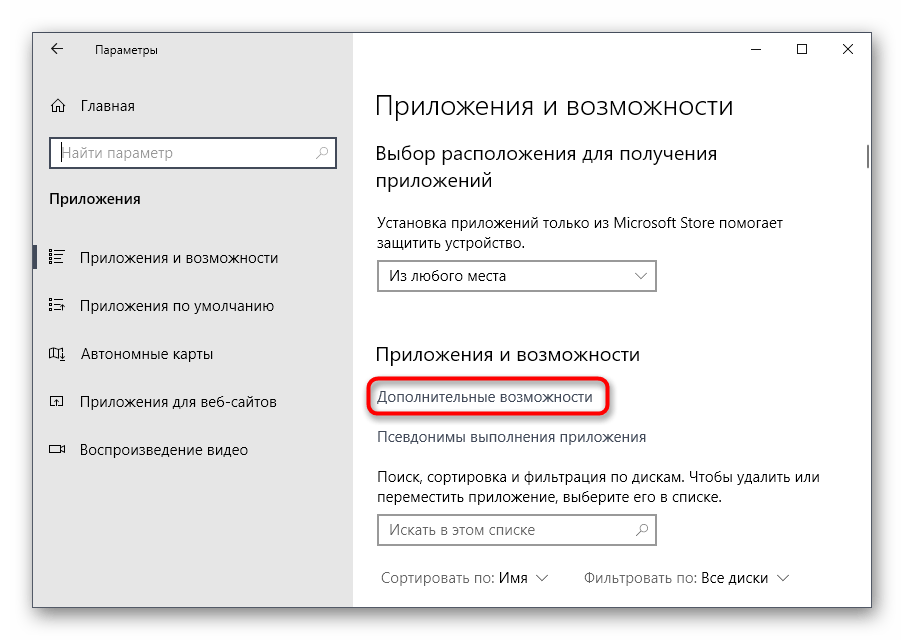
Откройте раздел «Приложения».
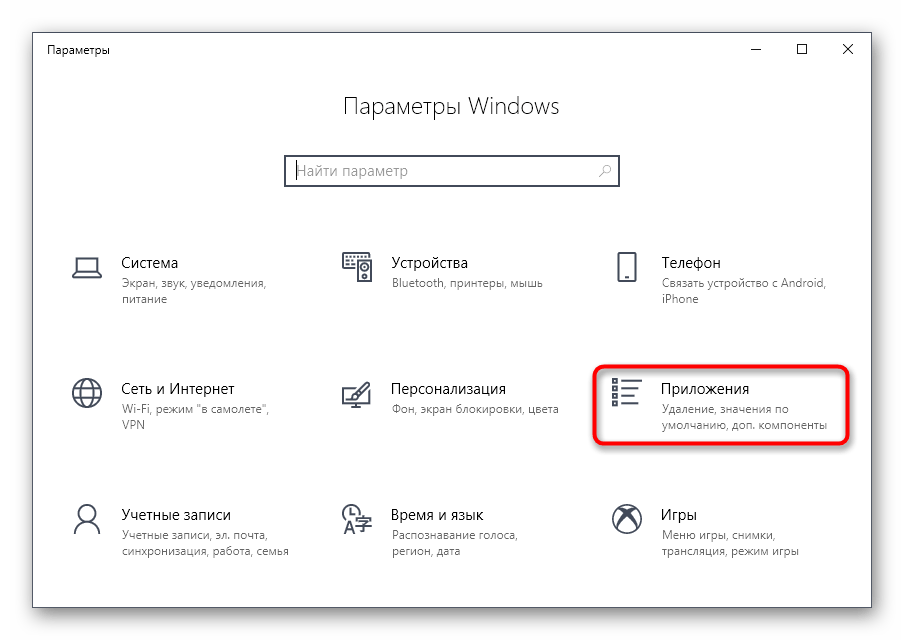
В первой же категории вас интересует кликабельная надпись «Дополнительные возможности».
Нажмите «Добавить компонент», чтобы перейти к его выбору.
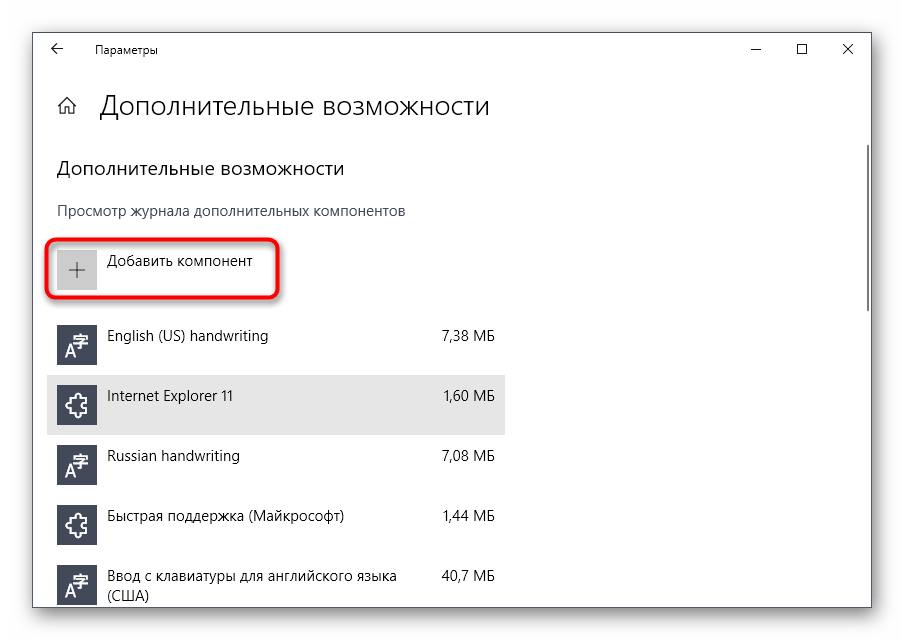
В списке отыщите «RSAT: средства управления групповыми политиками» и запустите установку.

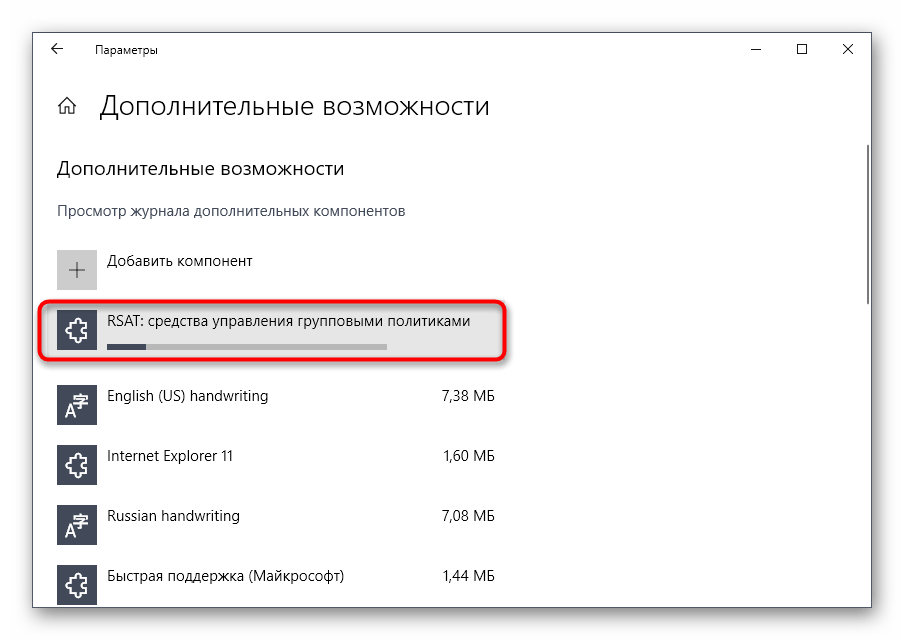
Вернитесь в предыдущее меню и отслеживайте прогресс инсталляции.
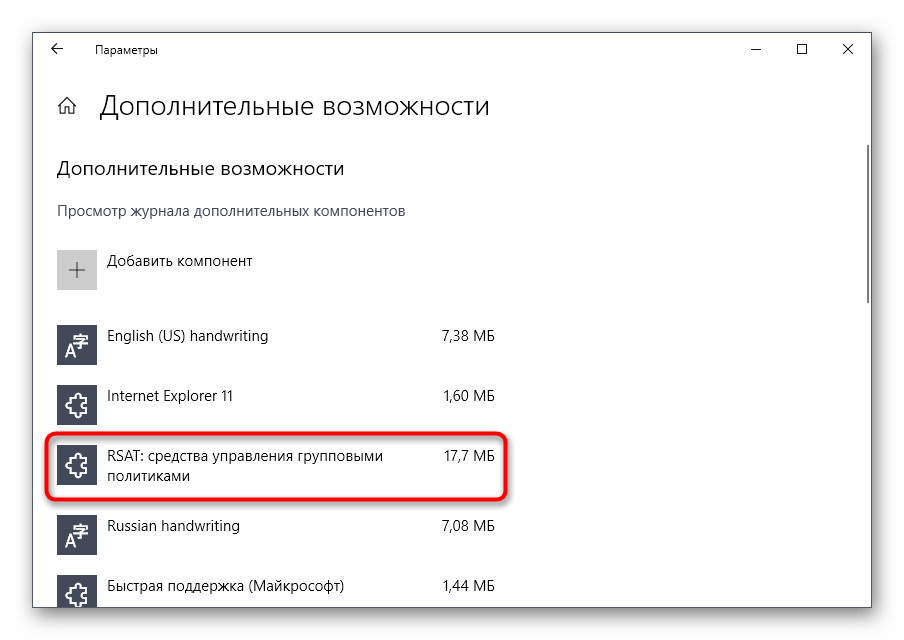
После проверьте компонент на наличие его в списке и перезагрузите компьютер, чтобы все изменения вступили в силу.
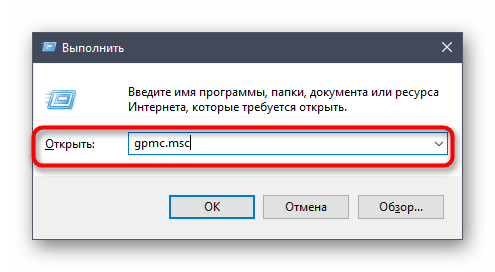
Войдите в операционную систему под именем владельца домена, откройте утилиту «Выполнить» через Win + R и пропишите gpmc.msc , нажав затем на клавишу Enter.
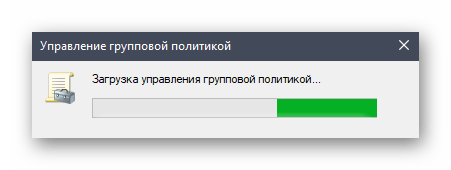
Ожидайте загрузки управления групповой политикой.
Там откройте главный раздел «Управление групповой политики» и найдите реестр.
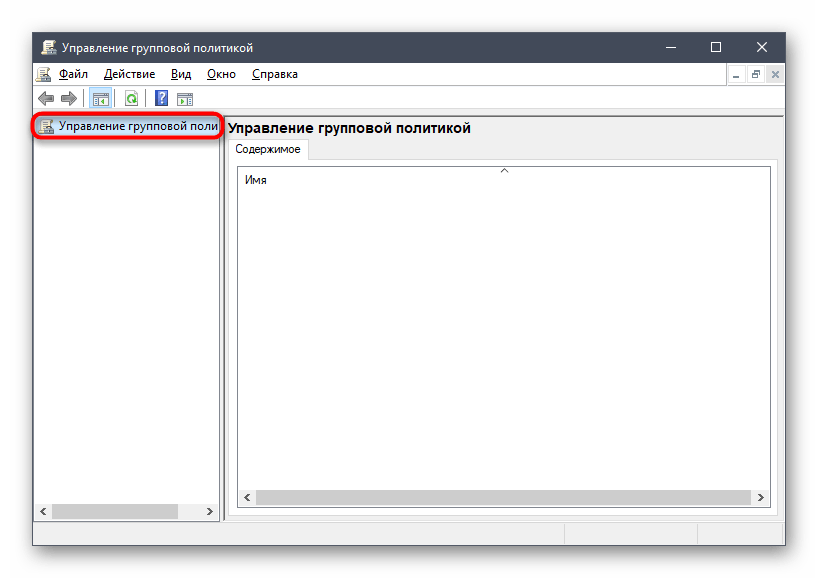
Остается только заполнить сведения реестра в соответствии с приведенным далее списком
- Действие: Создать
- Куст: HKEY_LOCAL_MACHINE
- Путь раздела: SYSTEM\CurrentControlSet\Services\LanmanServer\Parameters
- Имя параметра: SMB1
- Тип параметра: REG_DWORD
- Значение: 1
Остается только сохранить изменения для реестра и перезапустить компьютер, чтобы они вступили в силу. Если захотите в будущем отключить параметр, измените его значение на «0».
Can’t Access/Map Network Shared Folders over SMB from Windows 10
If you cannot open/map network shared folders on your NAS, Samba Linux server, computers with old Windows versions (Windows 7/XP/Server 2003) from Windows 10, most likely the problem is that legacy and insecure versions of the SMB protocol are disabled in the latest Windows 10 builds (SMB protocol is used in Windows to access shared network folders and files).
Starting with Windows 10 1709 and Windows Server 2019 (both in Datacenter and Standard editions), the unsafe SMBv1 protocol is disabled by default SMBv1 because of CVE-2017-0144 (remember the WannaCry ransomware attack, which was implemented through the SMBv1 vulnerability), as well as anonymous (guest) access to network shared folders.
The specific actions that you need to take depend on the error that appears in Windows 10 when you trying to access the shared folder, and on the settings of the remote SMB server that hosts the network shares.
Can’t Access Shared Folder Because Security Policies Block Unauthenticated Guest Access
Starting with the Windows 10 build 1709 Fall Creators Update (Enterprise and Education editions), users began to complain that when they tried opening a network shared folder on a nearby computer, an error appeared:
Microsoft Windows Network: You can’t access this shared folder because your organization’s security policies block unauthenticated guest access. These policies help protect your PC from unsafe or malicious devices on the network.

Moreover, on other computers with Windows 8.1, Windows 7, or on Windows 10 with a build of up to 1709, the same shared network folders open normally. The point is that in modern versions of Windows 10 (starting from 1709 build), the guest access to the shared folders using the SMBv2 protocol is disabled by default. Guest (anonymous) means access to a shared network folder without authentication. When accessing a network folder under a guest account over the SMBv1/v2 protocol, such methods of traffic protection as SMB signing and encryption are not used, which makes your session vulnerable to the MiTM (man-in-the-middle) attacks.
If you try to access a network shared folder using the SMB v2 protocol under the guest account, the following error appears in the SMB client log (Microsoft-Windows-SMBClient):
In most cases you can face this problem when accessing old NAS devices (usually guest access is enabled on them for ease of setup) or when opening network folders on Windows 7/2008 R2/Windows XP/2003 with the anonymous (guest) access configured (see the table of supported SMB protocol versions in different Windows editions).
In this case, Microsoft recommends changing the settings on a remote computer or NAS device that hosts the network folders. It is advisable to switch the network share to the SMBv3 mode. Or configure access with authentication if only the SMBv2 protocol is supported by the device. This is the most correct and safest way to fix the problem.
Depending on the device on which network folders are stored, you must disable guest access on them:
- NAS devices – disable guest access in the settings of your NAS device (depending on model);
- Samba server on Linux — if you are sharing network folder using Samba on Linux, add the following string to the smb.conf configuration file under the section [global]: map to guest = never
And restrict anonymous access in the section with a description of the shared folder: guest ok = no - In Windows, you can enable sharing of network folders and printers with password protection via the Control Panel -> Network and Sharing Center -> Advanced sharing settings. For All Networks in the “Password Protected Sharing” section, change the value to the “Turn on password protected sharing”. In this case, anonymous (guest) access to the network share folders will be disabled and you will have to create local users, grant them access permissions to the shared folders and printers and use these accounts to connect to the shared folders on a remote computer.


There is another way – you can change the settings on your Windows 10 computer to allow access to shared network folders under the guest account. This method should be used only as a temporary workaround (. ), because access to folders without authentication significantly reduces the level of security of your computer and data.
To enable access under the guest account from your computer, you need to use the Group Policy Editor (gpedit.msc). Go to the section: Computer Configuration -> Administrative templates -> Network -> Lanman Workstation. Find and enable the policy Enable insecure guest logons. These policy settings determine whether the SMB client will allow unsafe guest logon to the SMB server.
In Windows 10 Home, which does not have a local GPO editor, you can make a similar change through the registry editor with the command:
reg add HKLM\SYSTEM\CurrentControlSet\Services\LanmanWorkstation\Parameters /v AllowInsecureGuestAuth /t reg_dword /d 00000001 /f
Windows 10 Error: Your system requires SMB2 or higher
Another possible problem when accessing a network folder from Windows 10 is server-side support of the SMBv1 protocol only. Since the SMBv1 client is disabled by default in Windows 10 1709 and newer, when you try to open the shared folder, you may get an error:
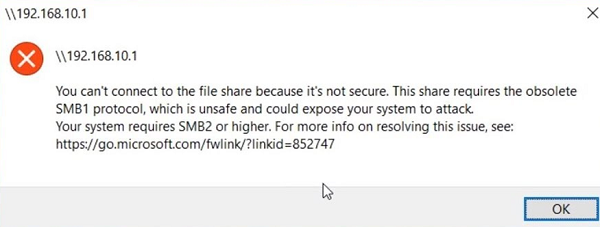
The error message clearly shows that the network shared folder supports access over the SMBv1 protocol only. In this case, you should try to reconfigure the remote SMB device to use at least SMBv2 (the correct and safe way).
If you use Samba server on Linux to share network folders, you can specify the minimum supported version of SMB protocol in the smb.conf file like this:
On Windows 7/Windows Server 2008 R2, you can disable the SMB 1 protocol and enable SMBv2 with the following PowerShell commands:
Set-ItemProperty -Path «HKLM:\SYSTEM\CurrentControlSet\Services\LanmanServer\Parameters» SMB1 -Type DWORD -Value 0 –Force
Set-ItemProperty -Path «HKLM:\SYSTEM\CurrentControlSet\Services\LanmanServer\Parameters» SMB2 -Type DWORD -Value 1 –Force
On Windows 8.1/Windows Server 2012 R2, you can disable SMBv1, enable SMBv2 and SMBv3, with the following command (verify that a private or domain profile is used for your network connection):
Disable-WindowsOptionalFeature -Online -FeatureName «SMB1Protocol»
Set-SmbServerConfiguration –EnableSMB2Protocol $true
If your network device (NAS, Windows XP, Windows Server 2003) supports only the SMB1 protocol, you can enable a separate SMB1Protocol-Client feature on Windows 10. But this is not recommended.
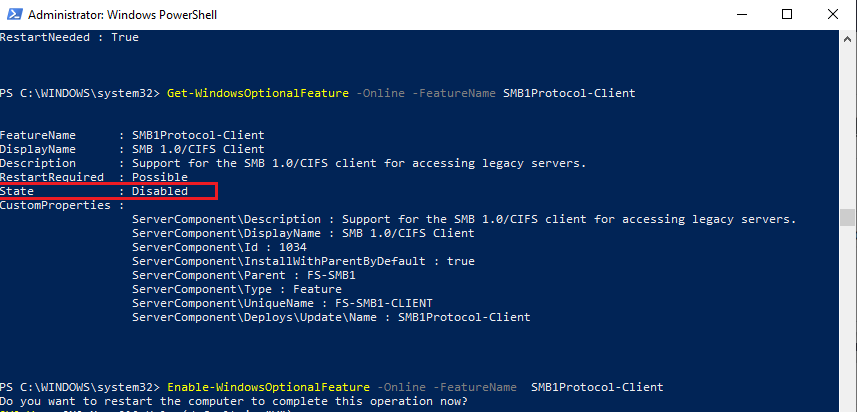
Run the PowerShell prompt and verify that the SMB1Protocol-Client is disabled (State: Disabled):
Get-WindowsOptionalFeature -Online -FeatureName SMB1Protocol-Client
Enable the SMBv1 client protocol (a reboot is required):
Enable-WindowsOptionalFeature -Online -FeatureName SMB1Protocol-Client
You can also enable/disable additional features of Windows 10 (including SMBv1 components) from the dialog optionalfeatures.exe -> SMB 1.0/CIFS File Sharing Support.
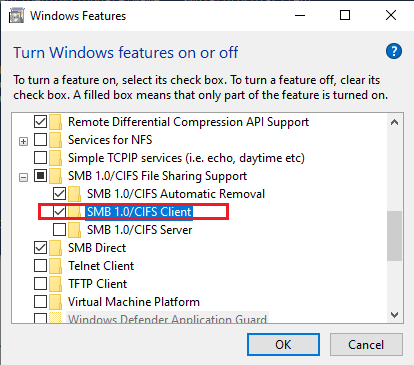
In this example, I enabled only the SMBv1 client. Do not enable the SMB1Protocol-Server feature if your computer is not used by legacy clients as a shared folder SMB server.
After installing the SMBv1 client, you should be able to connect to a shared folder or printer without any problems. However, you should understand that using this workaround is not recommended, because this reduces the level of protection for your system.


